Happy Thursday!!!
Today is Tutorial Thursday over on the My Creative Time blog. I made two watercolor cards with a cool watercolor masking technique.
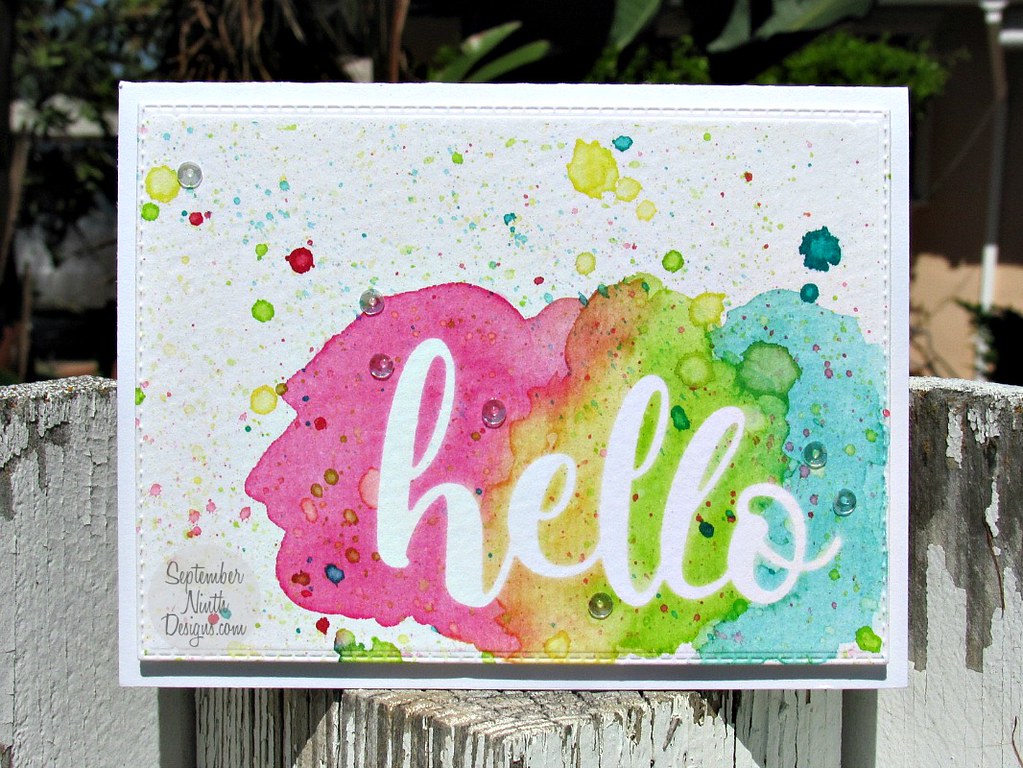
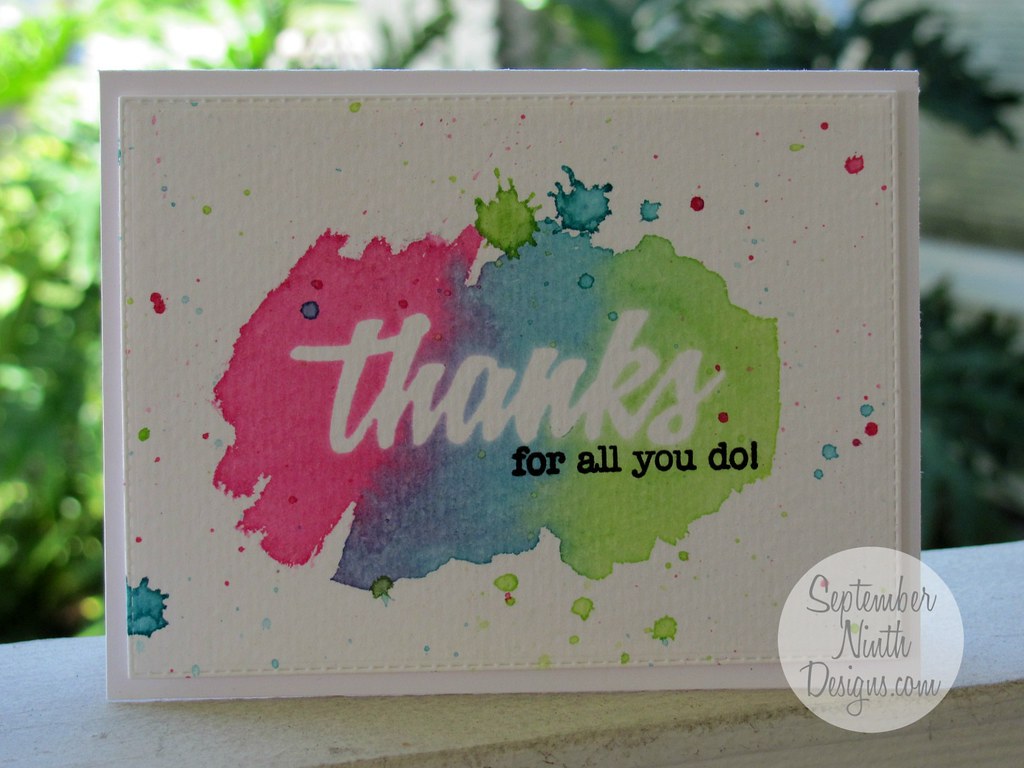
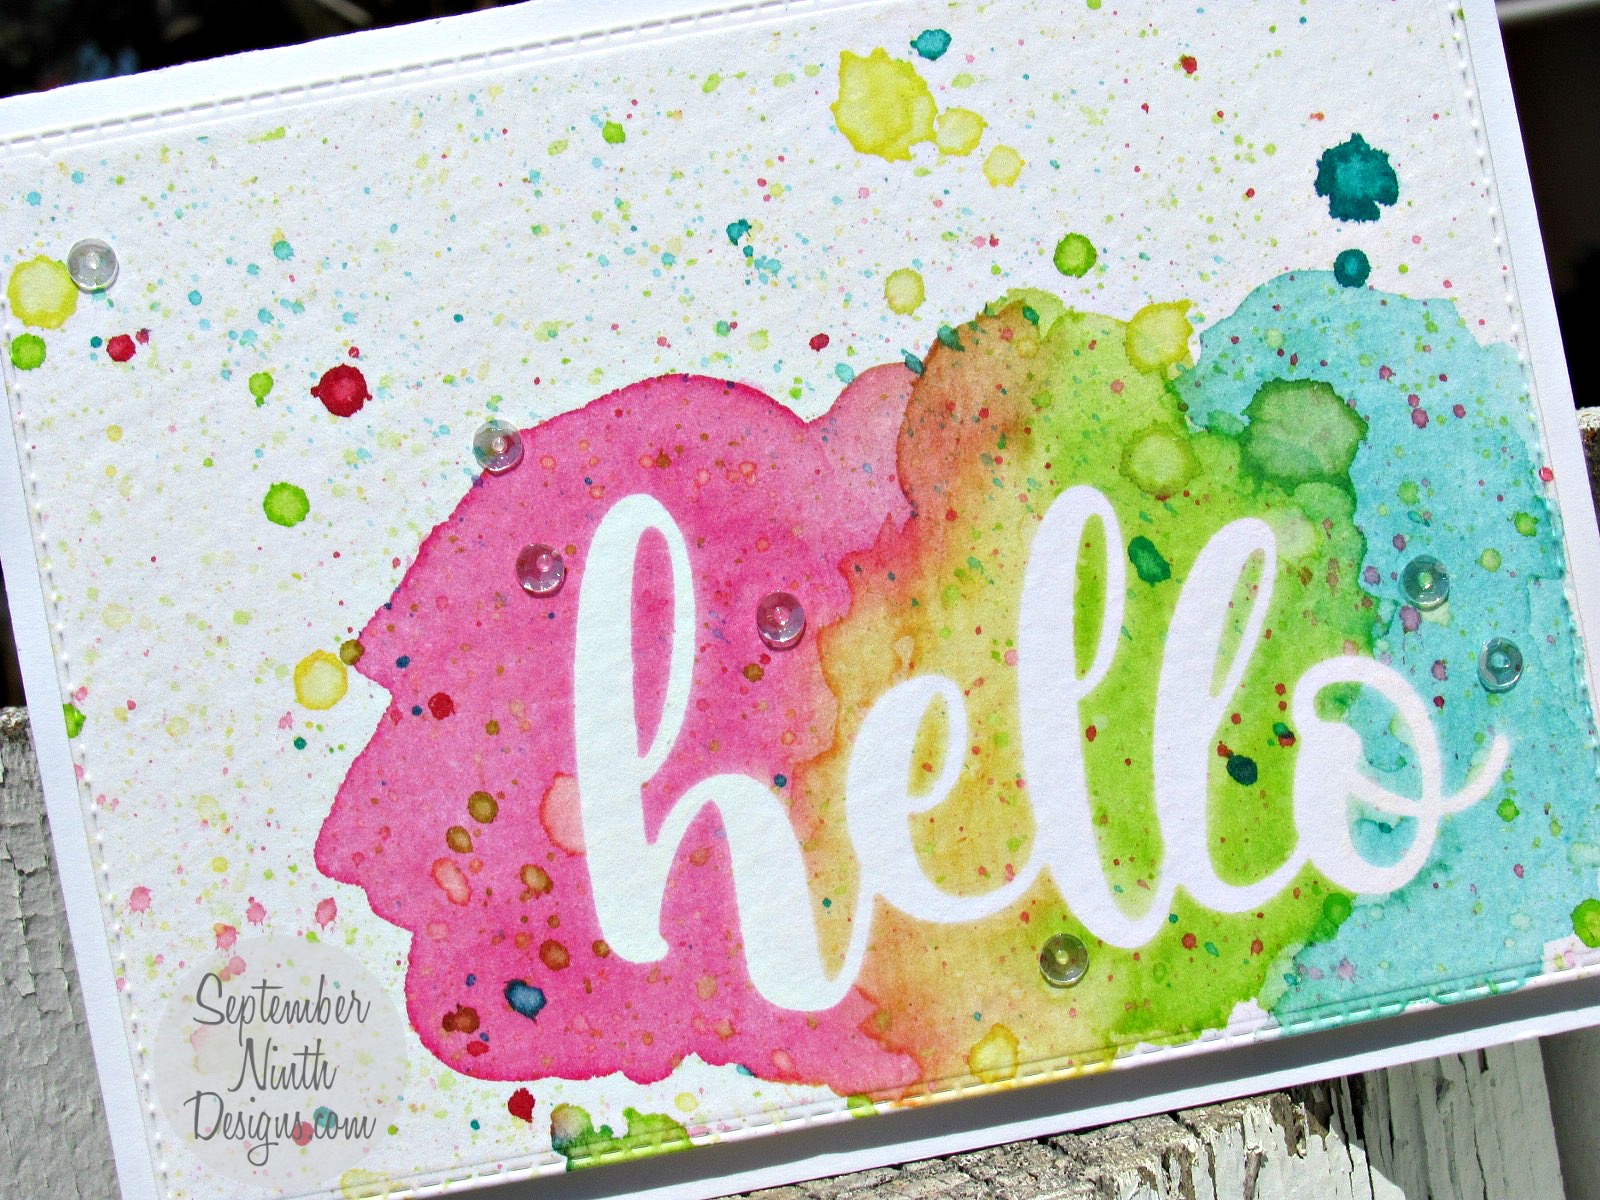
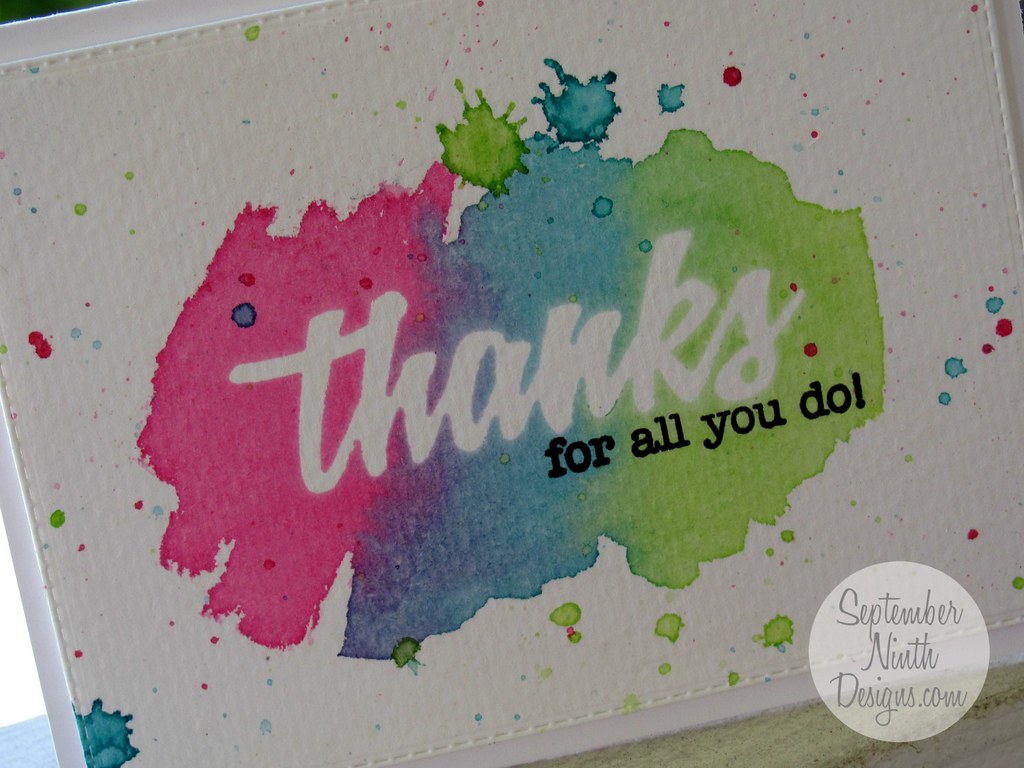
The above card was made with the new Big Hello Die. The card below/in my tutorial, was made with an older stamp and die set called, Happy Thoughts Stamp Set.
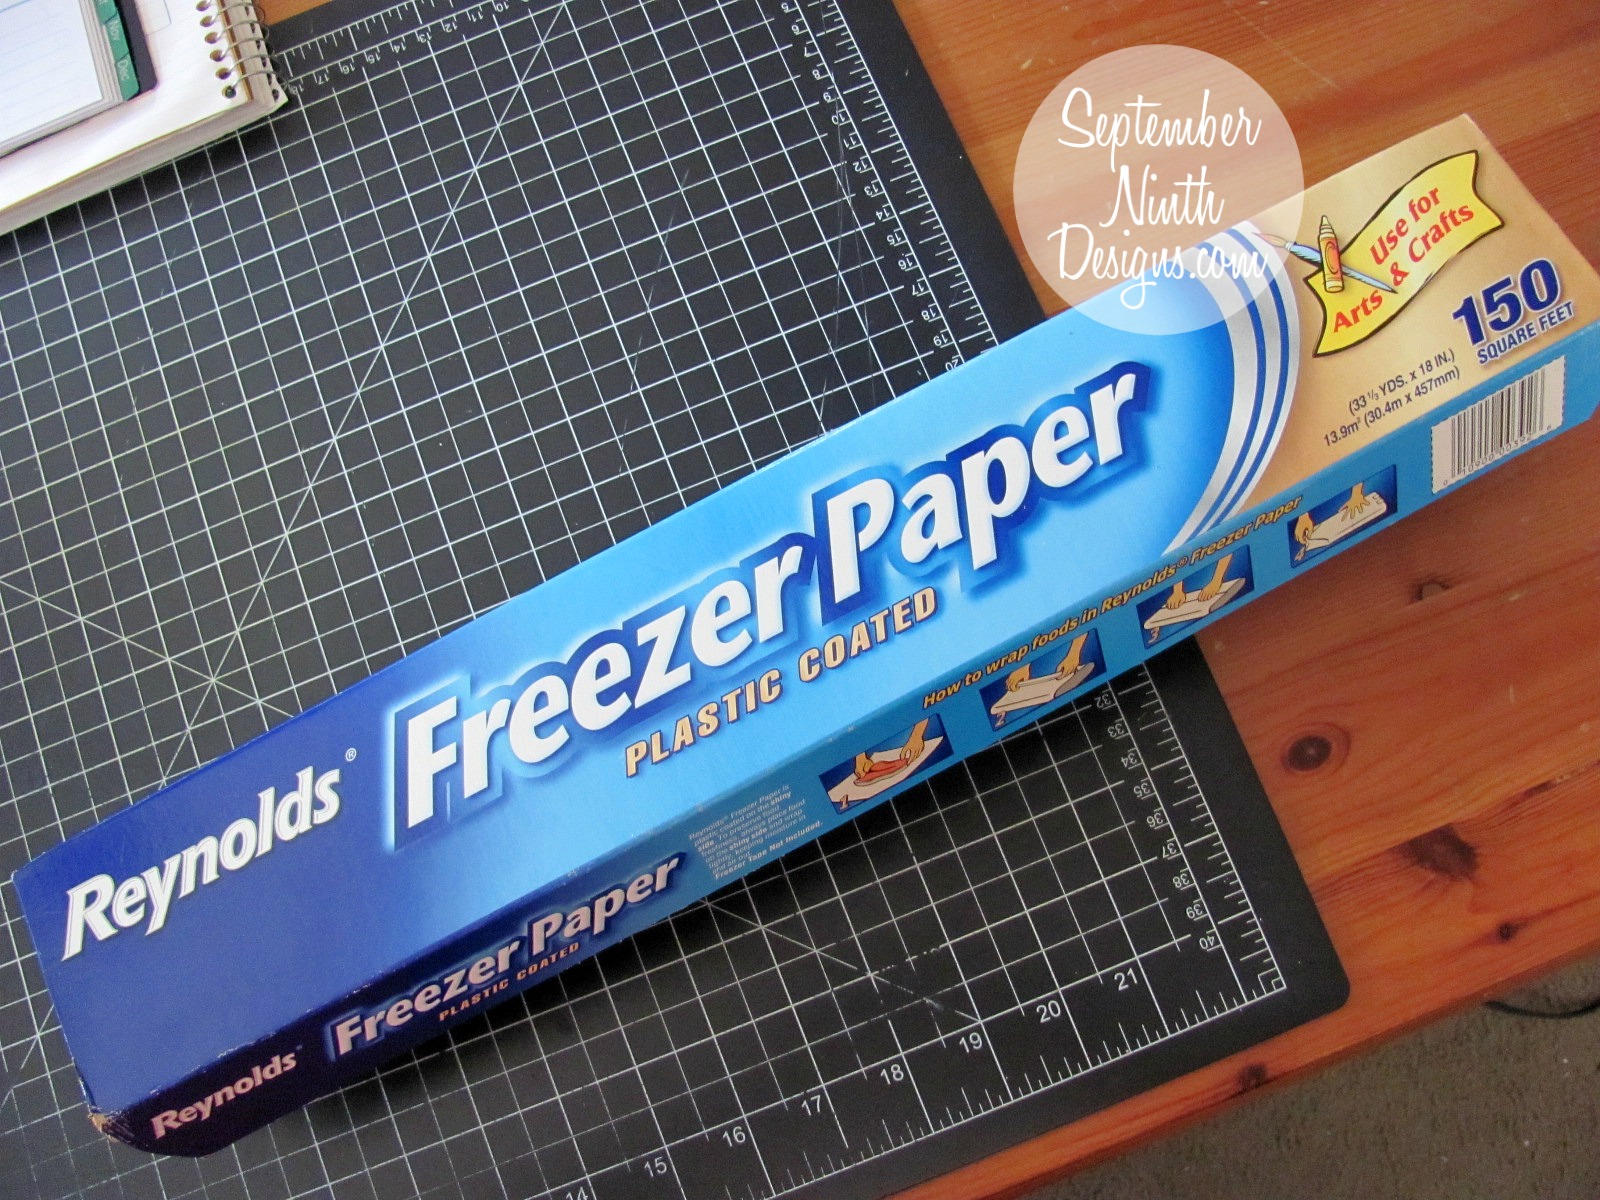
First you need some freezer paper. You can find freezer paper in most grocery stores, it's in the same area as the aluminum foil and plastic wrap. Please Note: wax paper and parchment paper will not work for this technique, it must be freezer paper.
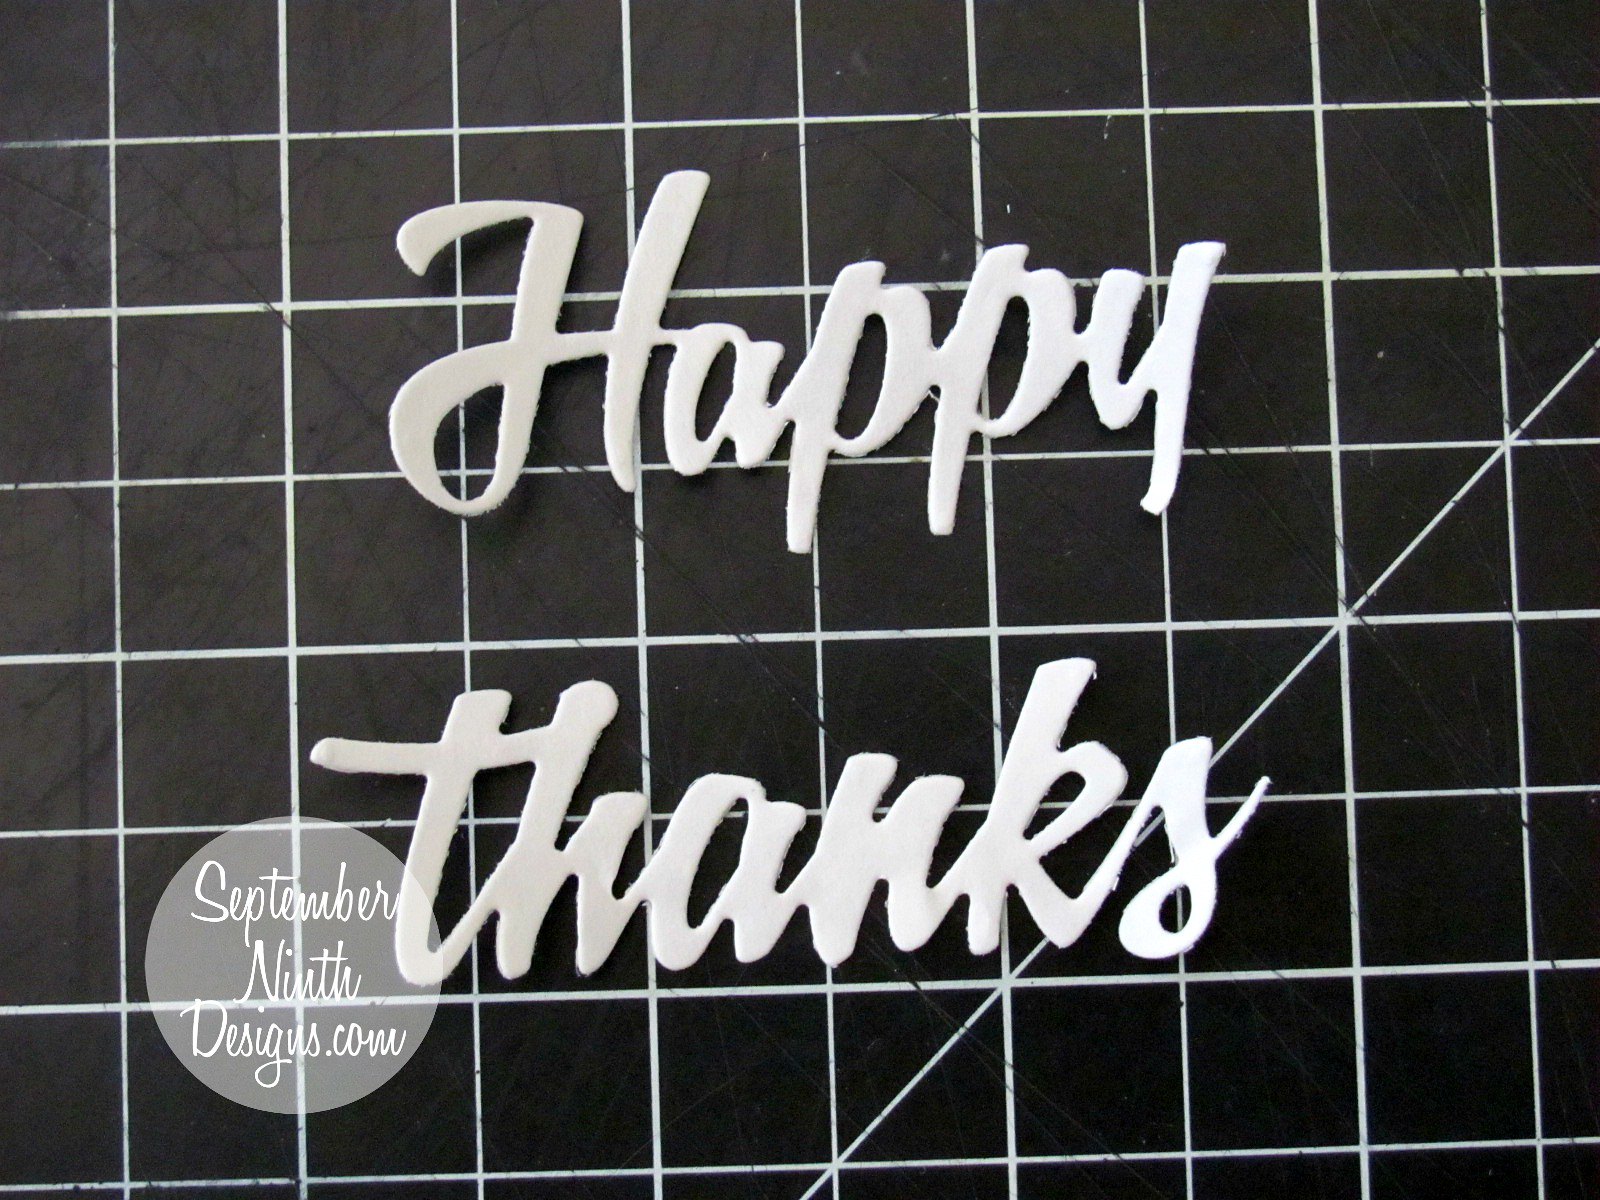
Grab whatever dies you have that will work as a mask. Place the paper side up/wax side down, on you cutting mat, place your dies on top, and run them through your machine. Please note... this technique will not work with wax paper or parchment paper.
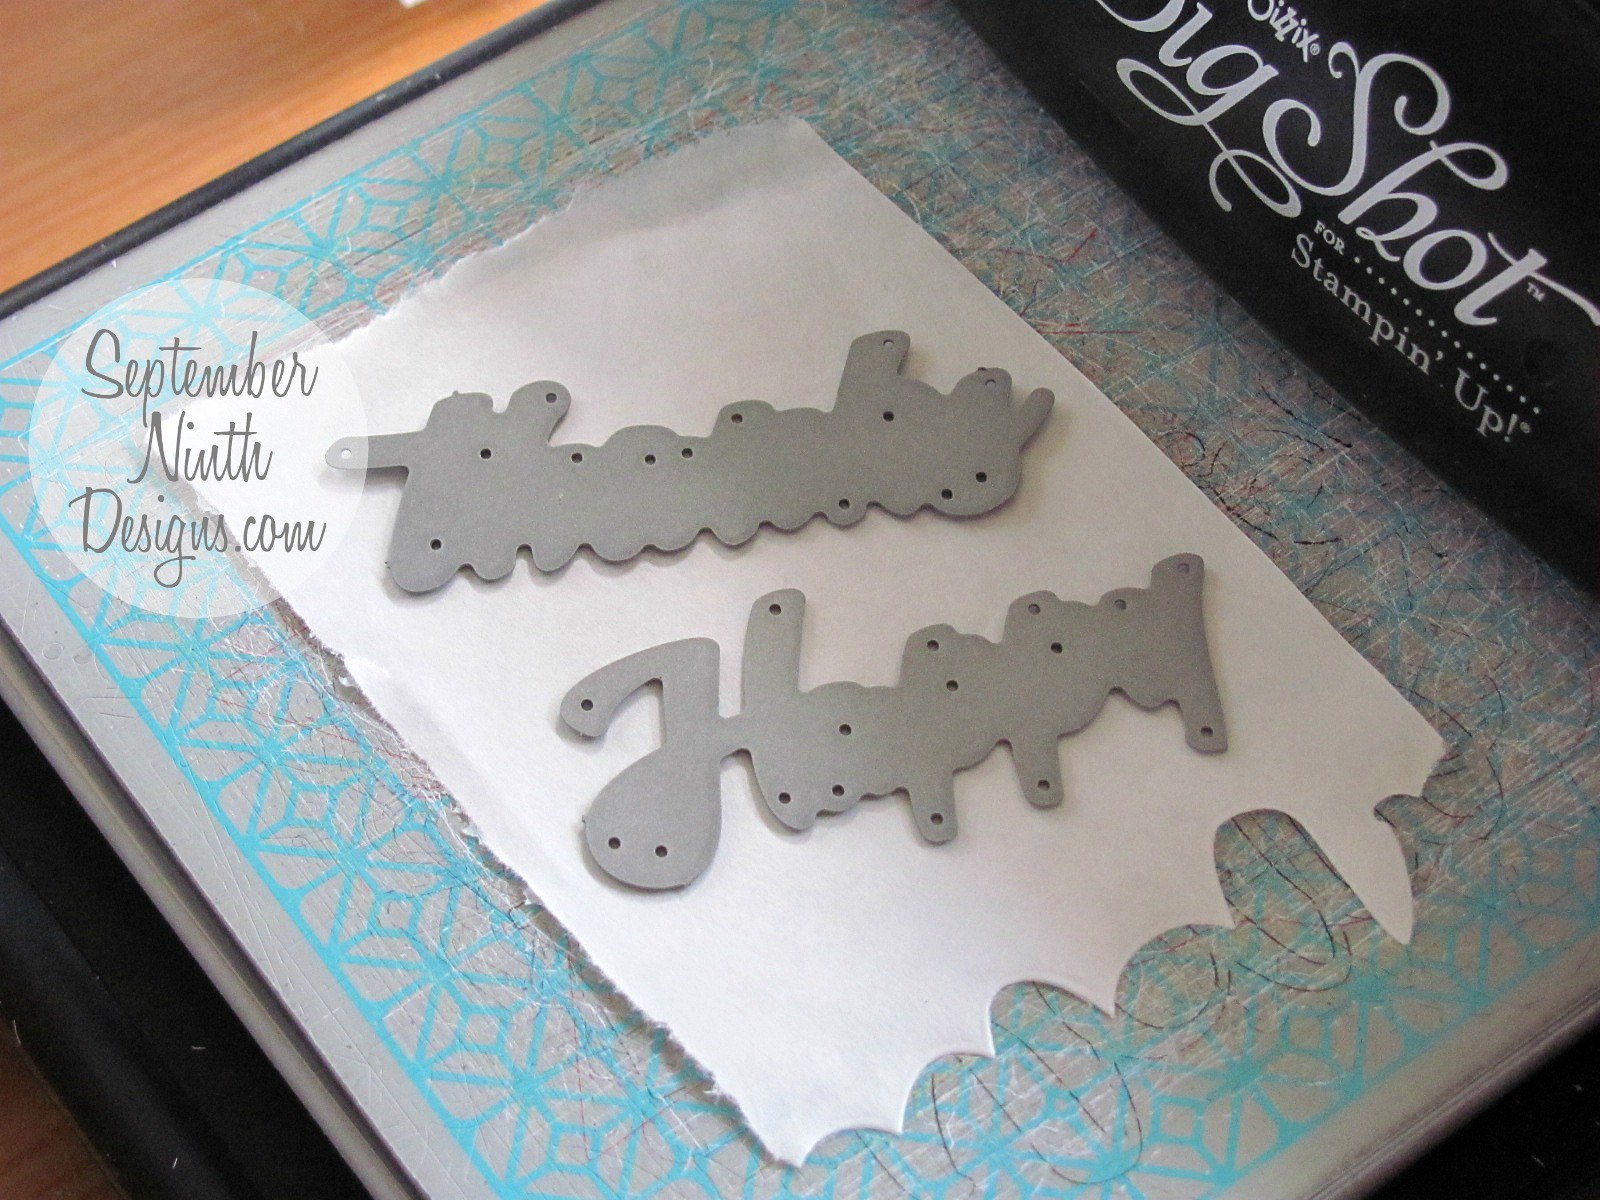
This is what they look like once they're cut out.
Once your masks are cut out, then you need to iron them to the watercolor paper. I set my iron on medium/high (5/6 on my dial) and then pressed for 15 sec intervals. You don't want to burn your paper, but you need to make sure the wax on the back of the freezer paper melts, so that it seals the mask to the watercolor paper.
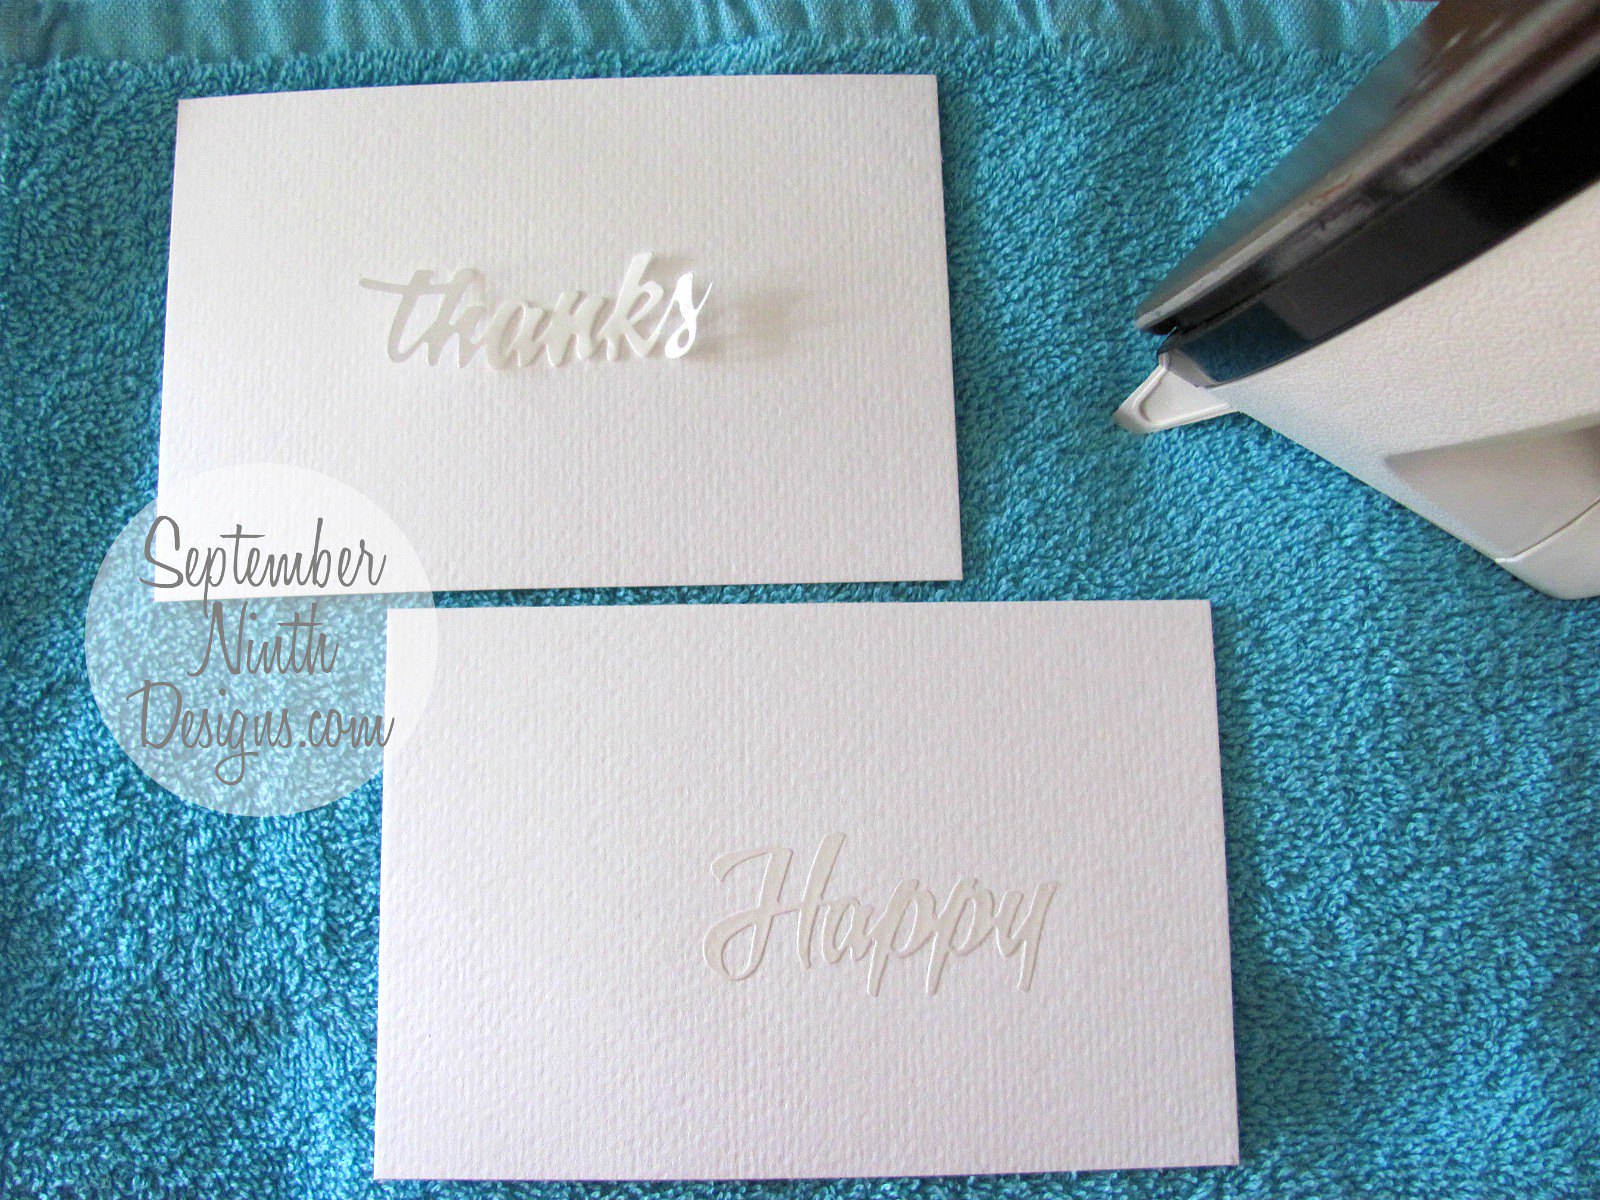
In the above picture you can see what the mask looks like after it's been ironed on (bottom piece).
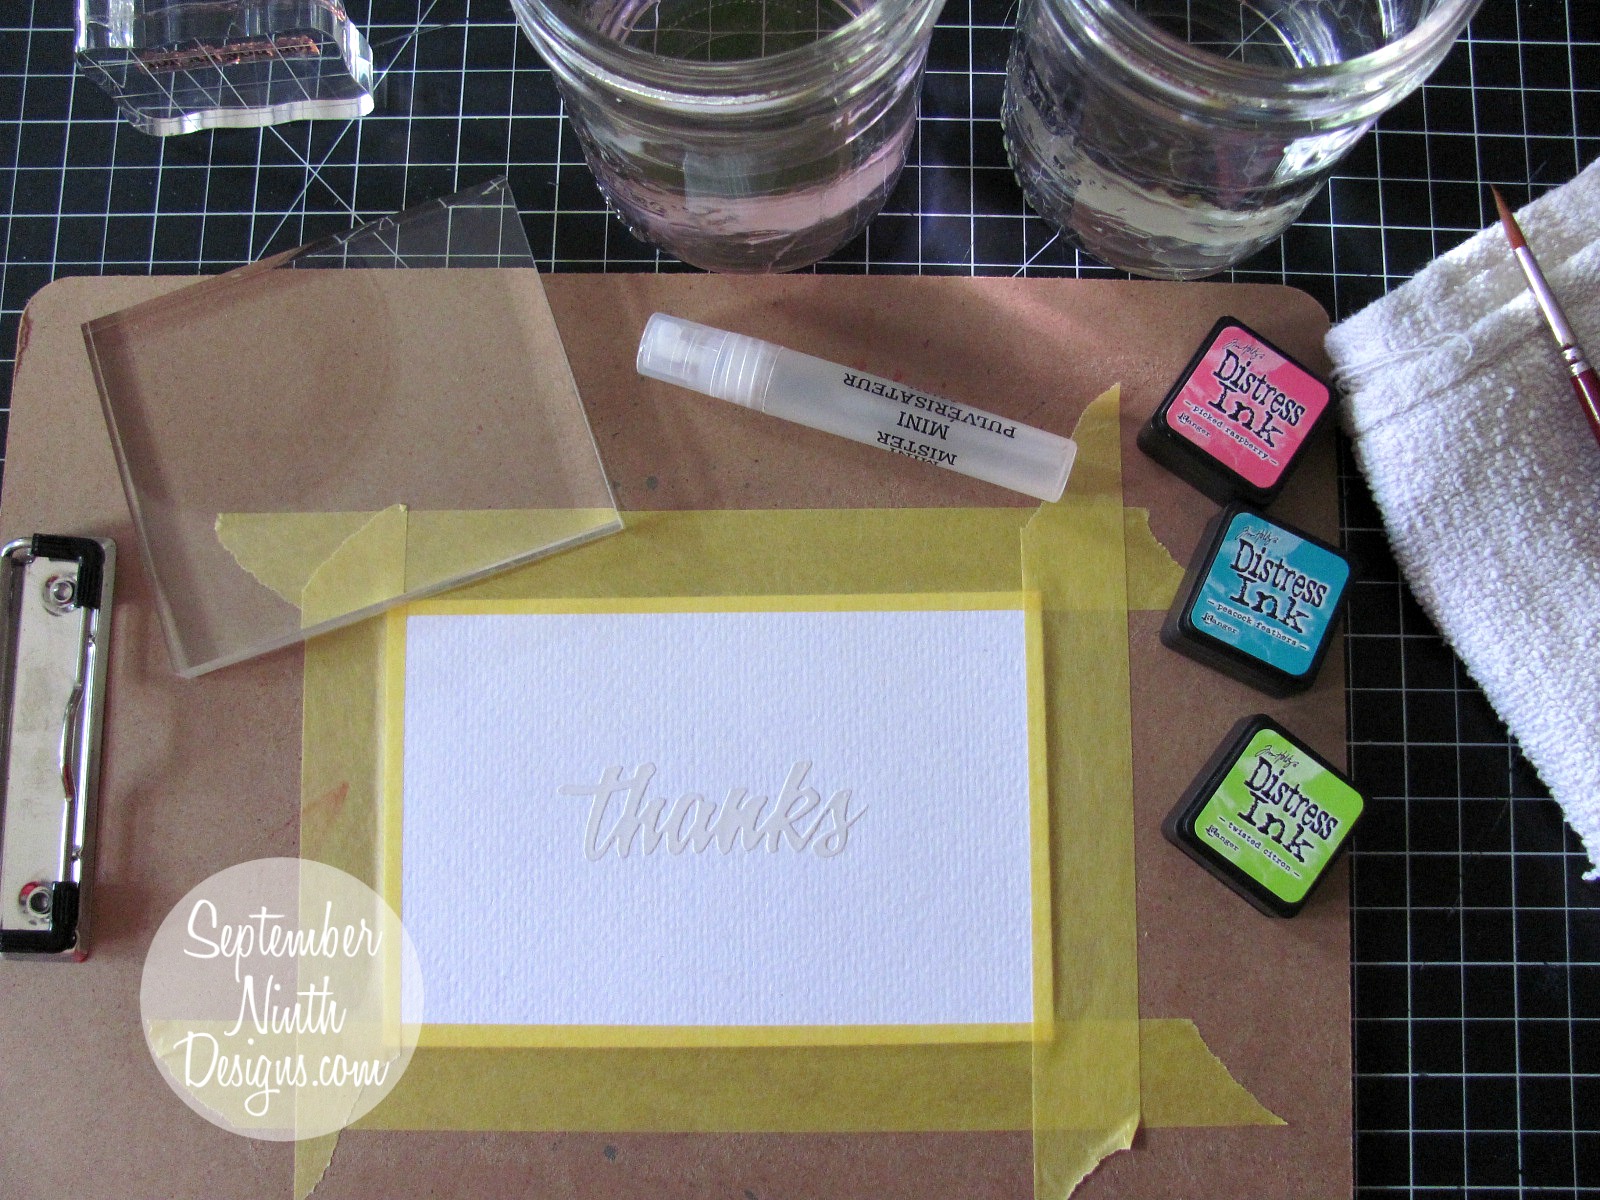
Once your mask is ironed on, then you can start your water coloring process.
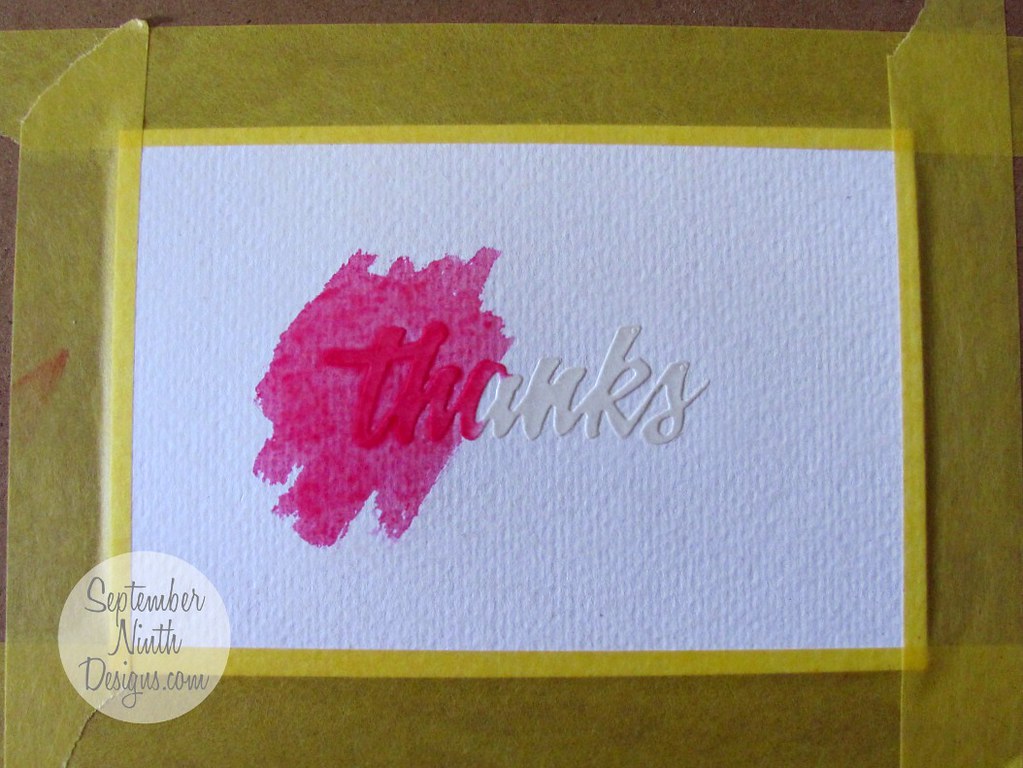
I started with picked raspberry distress ink. If you mask pulls up once the watercolor hits it, then your iron either wasn't hot enough, or you didn't leave the heat on long enough.
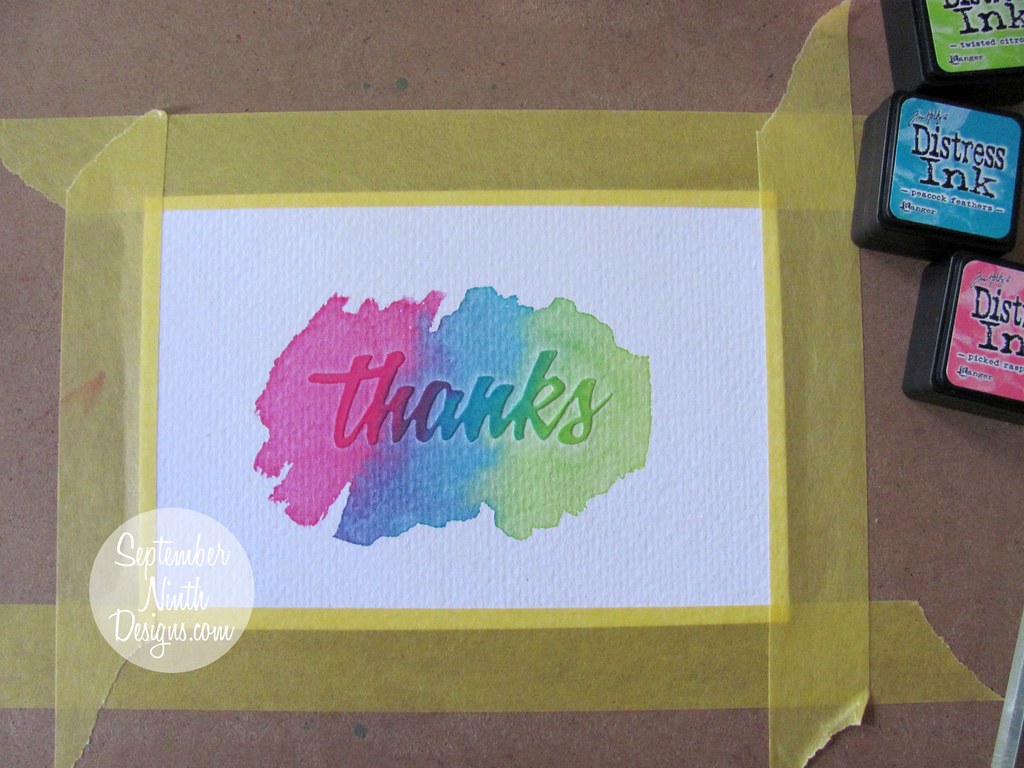
Once I finish my watercolor, I use my heat tool to dry my design/paper. Once the watercolor/paper is all dry then you can use the heat tool to heat the mask as bit. This will warm the wax and the mask will be easily removed. I use my tweezers to gently remove it. There will be no residue left behind.
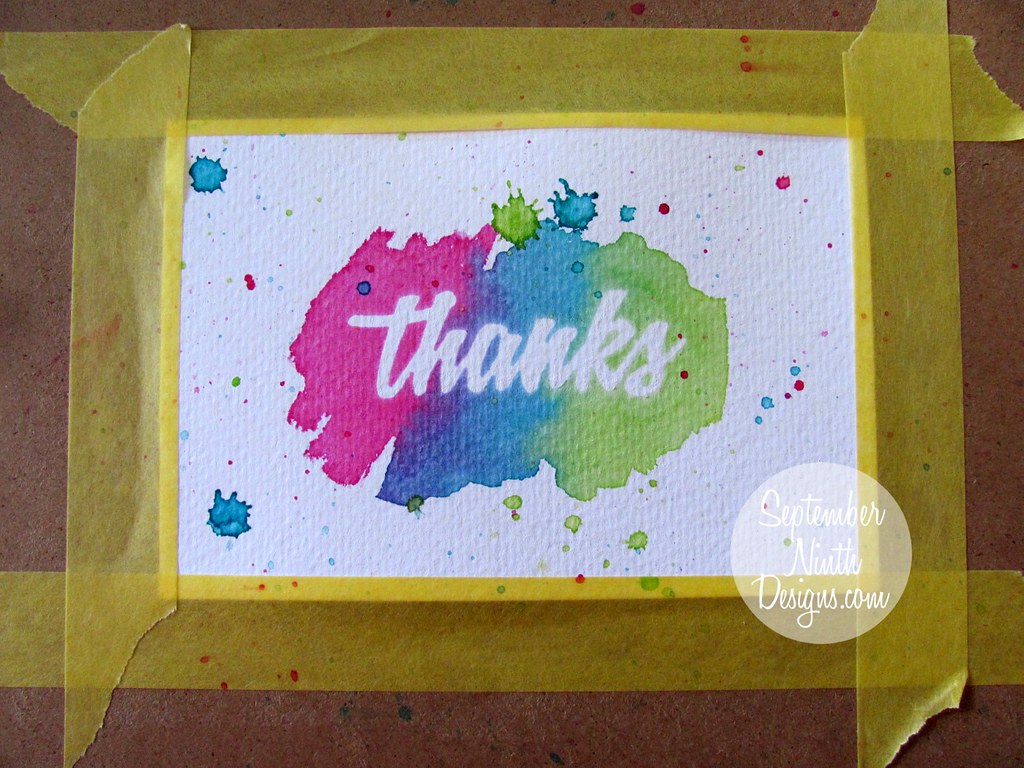
This is what it looks like once the mask is removed. Then you can attach your design to the base of your card. I used the largest of the Stitched Rectangular Frame Dies & More, to cut my design out.
A few more things...
You can also do this same technique, but use your cutting machine. So if you don't have any dies, you can use .svg designs and your electronic machine. Just make sure that you use a lightly sticky (well worn/used) mat, place the paper side of the freezer paper down. The wax will stick to the glue on the mat and ruin your mat, so make sure the paper side is down. Also... remember to "mirror" the design, you are cutting out, since the paper is face side down your design will be backwards if you don't "mirror". I set my blade on 1/2 and pressure at 3/4, but you will probably need to test it on your machine. It will really depend on how worn your blade is. Gently remove you design once it is cut out and follow the instructions above. I use this technique a lot when I am making custom items for gifts or clients. I normally use it for fabric or wood though, I've never used it for paper crafting before. I've made fabric banners, flags, pillows, bags, t-shirts, other clothing, wood signs.... ect. using the same technique but with fabric/regular paint.
Products
Paper: Papertrey Ink (White), Watercolor Paper
Watercolor: Tim Holtz Mini Distress Ink (Twisted Citron, Picked Raspberry, Squeezed Lemonade, Peacock Feathers)Sequins: Pretty Pink Posh
Freezer Paper: Reynolds (Target)
My Creative Time Products:
To see more Tutorial Thurs projects, click here.
I hope you have a wonderful day!


Beautiful!
ReplyDeleteI hope to find this paper here :)
WOW Miss Ruthie what beautiful cards. You really provided a great tutorial. It was fun to see how you achieved your fabulous look. Enjoyed your whole process. YOU so ROCK!!
ReplyDeleteBeautiful!!
ReplyDeleteThanks for showing that the freezer paper can be used to mask paper...I also have used it mainly for fabric projects and appliques but have not tried the paper yet. It worked perfectly. Great job on your tutorial and beautiful cards.
ReplyDeletequilt 4 fun 2 at hot mail dot com
Awesome, Fantabulous!
ReplyDeleteAwesome! If I ever make it back into my craft room I am going to try this out. Love it.
ReplyDeleteSo pretty I've now got freezer paper on my grocery list so I can try this. Thanks!
ReplyDeleteLove your cards...great technique using the freezer paper.
ReplyDeleteThis is an awesome trick! Thanks so much for sharing! Your cards looks amazing.
ReplyDelete