September 03, 2011

SVG Attic Sneaks!

Happy Saturday!

Today's card was made with two new files from SVG Attic.com.
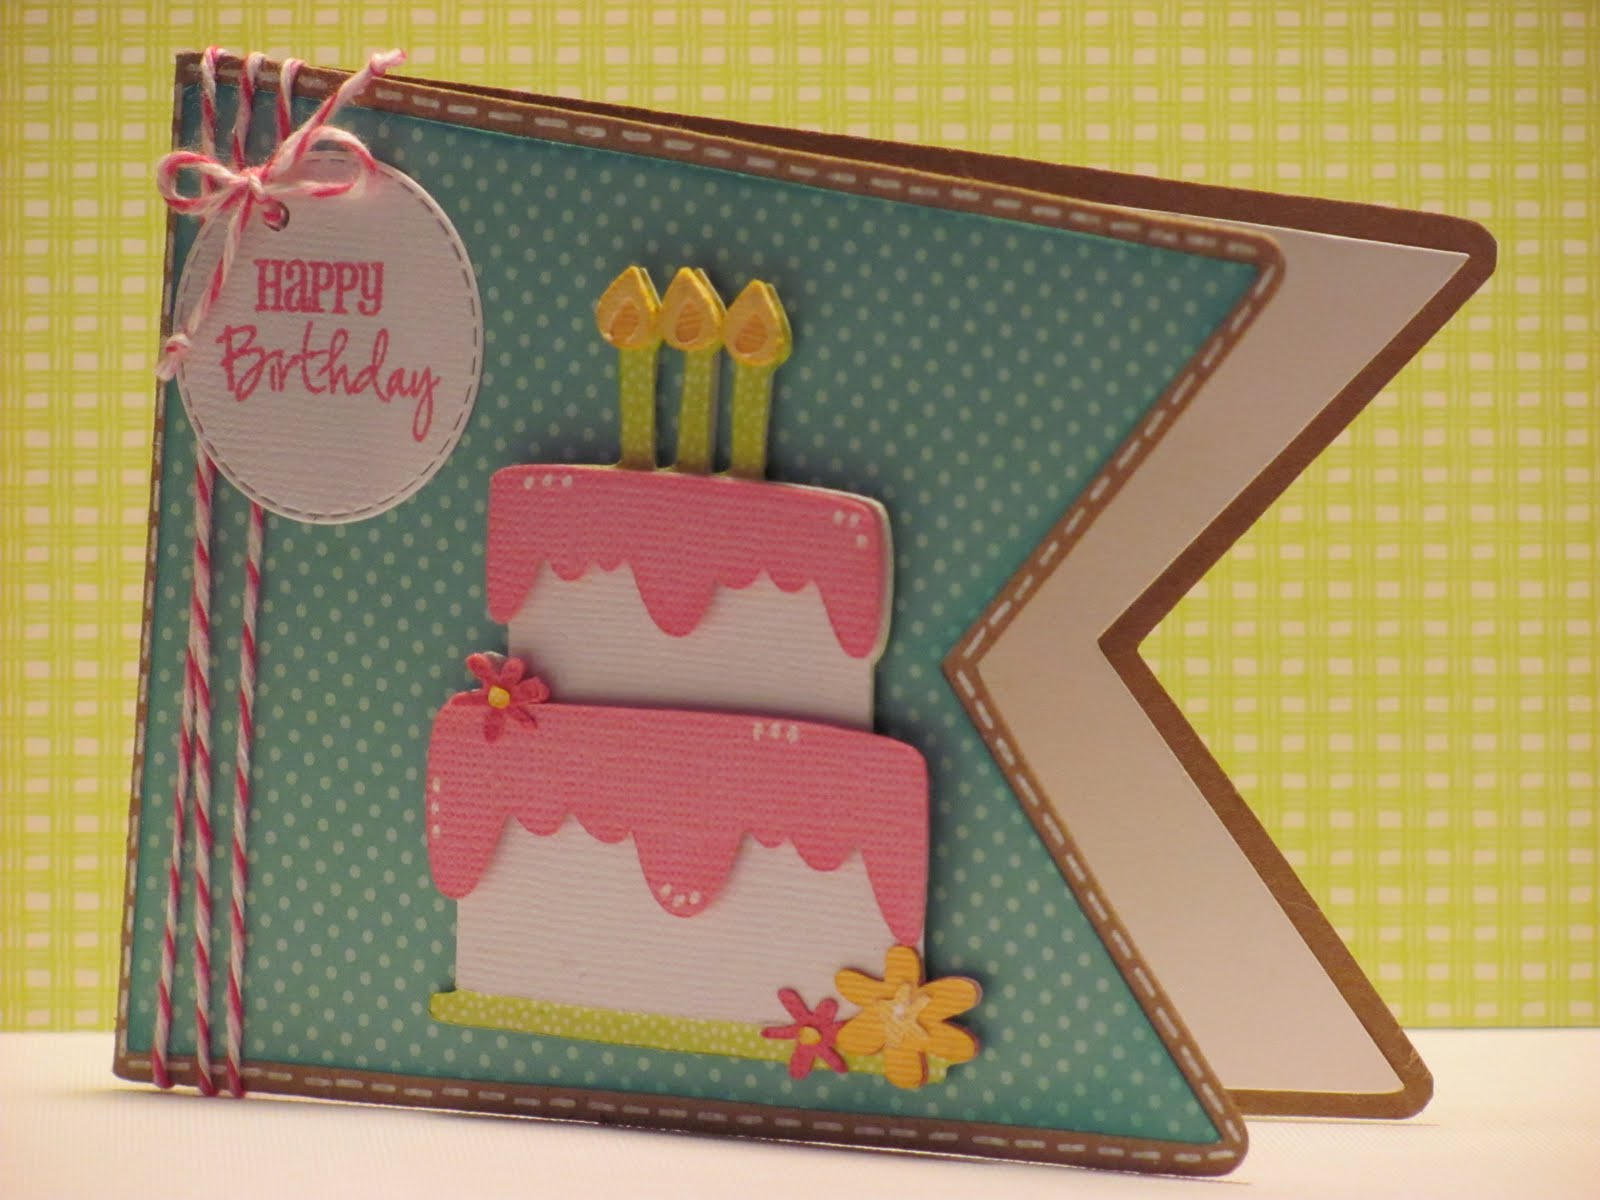
 The card is a "tent" card, it's kind of a mixture of an easel and step card, but all in one! It's also a new set that SVG Attic is about to release! It has 8 different cards and 8 coordinating envelopes!
Here is a side view of the card, so you can see the base of the card. See how it creates a "tent" shape?
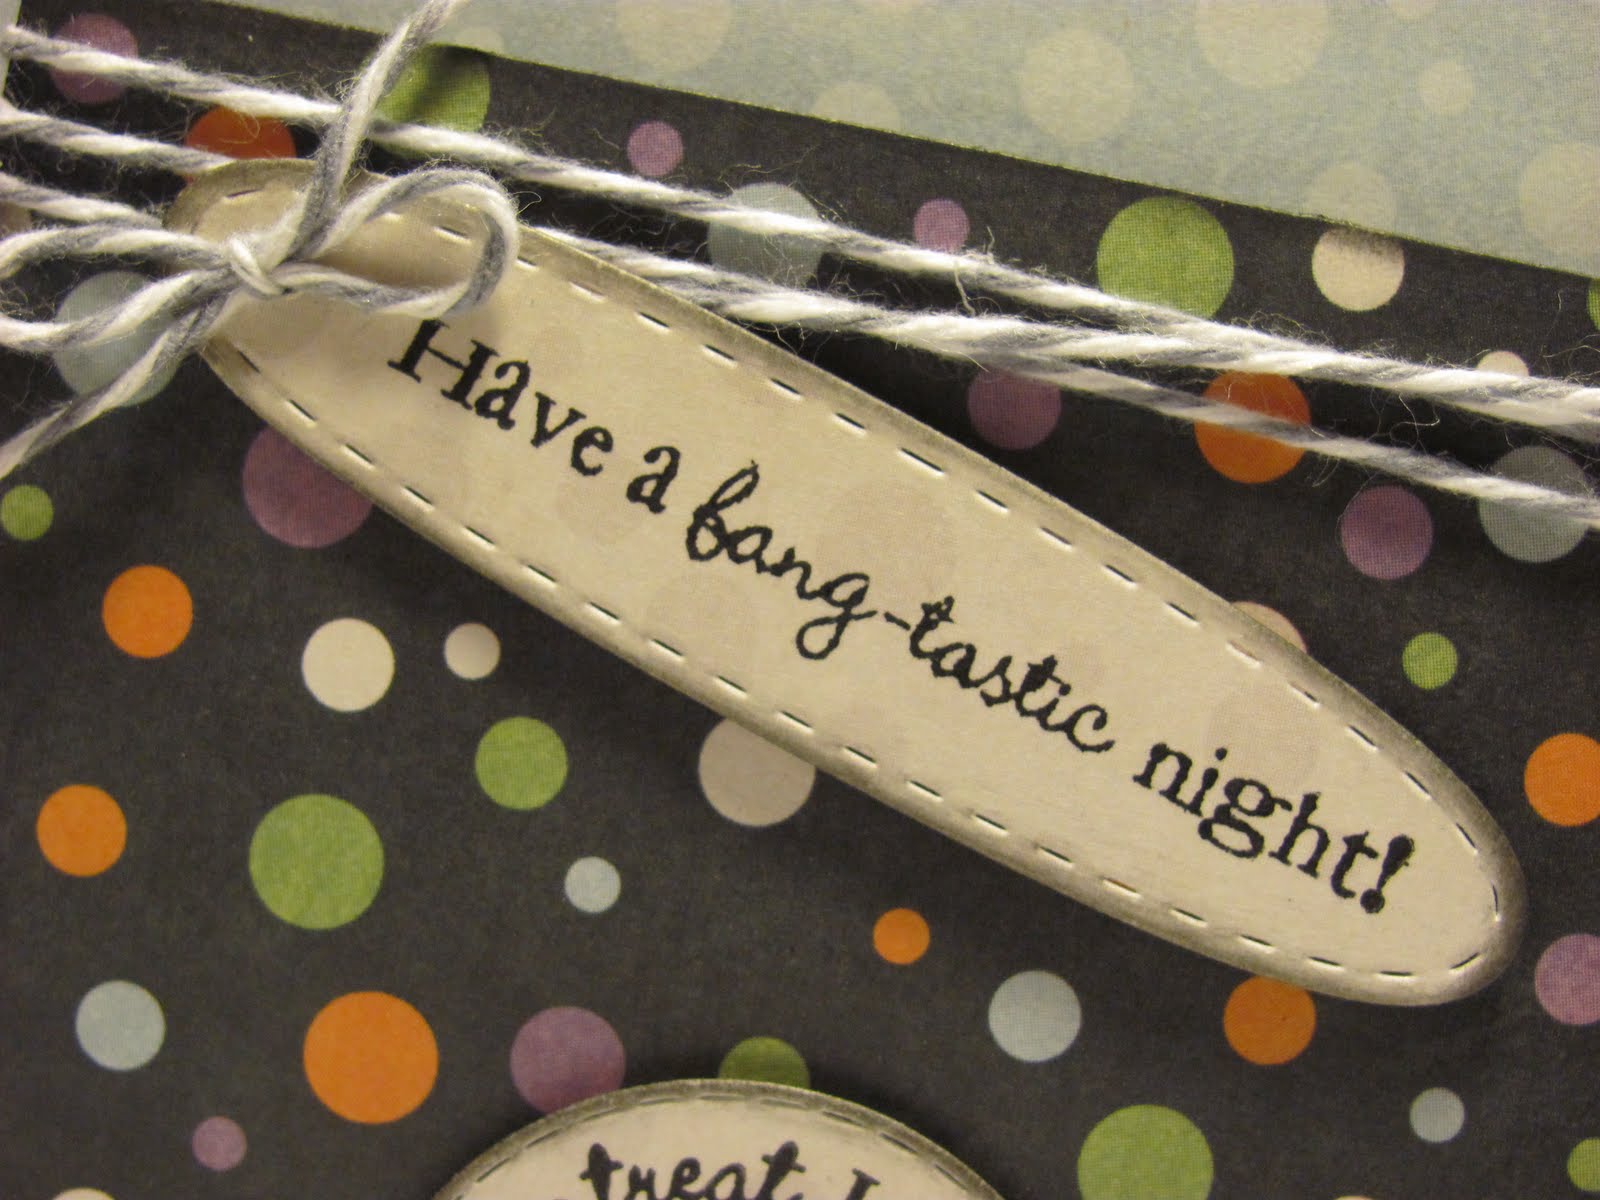
Here's is a more angled view. The papers are from Papertrey Ink and Doddlebug Designs. The sentiment is from My Creative Time's stamp set, All Around Halloween and it is stamped on the Stitched Oval Die.  

Yes, I know.... I did noticed that the face I stamped doesn't have a fang. I ended up drawing one in, but I didn't want anyone to think that is how the stamp comes and so I waited to draw it in after I took the photos.
The monster is from SVG Attic's file called Mommy's Monster. I added a Peachy Keen face stamp from the PK-692 Monster Mash Face Assortment.


The next couple weeks are going to be busy, next week will be the start of a new Tacky Tuesday Challenge, Wednesday is the start of sneak peaks for Peachy Keen Stamps new releases (Kathy has totally outdone herself with this release!), I will also have a sneak for another new set that SVG Attic is releasing, Friday is my Birthday and I have some fun give-aways planned, and last but not least that night at 7pm (CST) is the PKS New Release Blog Hop! The week of the 12th will be sneaks of My Creative Time's new releases! You are not going to believe what Emma has come up with for this next release!

Hopefully, I will be able to keep up!
I hope you have a wonderful day!

September 02, 2011

"Let's Face it Friday" Challenge #23

Happy Friday!

Today is the start of a new Peachy Keen Stamps, Let's Face it Friday Challenge.

THE CHALLENGE:
It's that time! Many of our kiddos are heading back to school this week, so let's create a project that they can bring to their new teacher or that helps them get back into the school spirit. Pencil cup holders, homework charts, etc. are great ideas! Don't forget to use your Peachy Keen Faces! 


Guidelines:
Design must be new
Project must include PKS Faces
Link up by 9/15 - 11:59 pm CDT
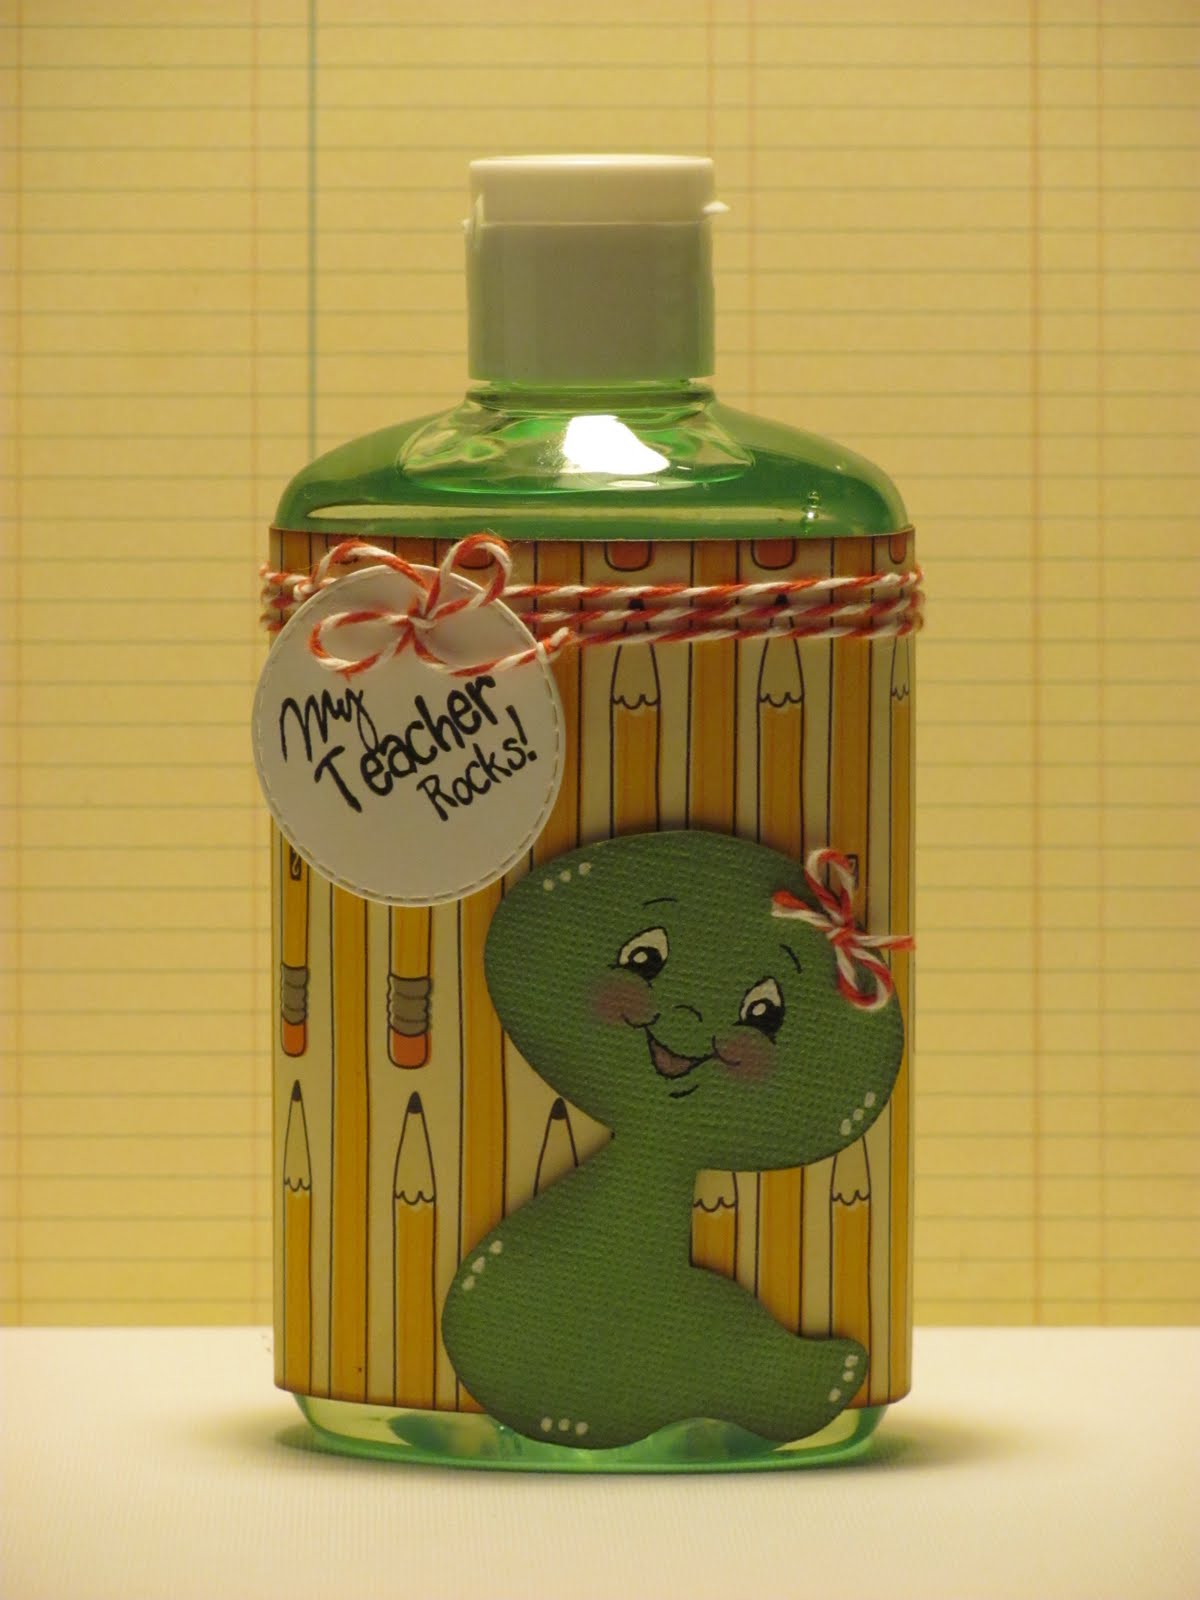
 This is what I came up with!

I found some hand sanitizer at the $1 store and I spruced up the bottle.
The paper is from Cosmo Cricket and Core'dinations.The twine is from Twisted Sugar Twine, Thanks Raven!
I used Emma's, Stitched Circle Die set and her My Teacher Rock's set. The worms sweet face is from Peachy Keen Stamps new set called, PK-482 Winter Wonderland Face Assortment.


The prize will be a
1-1/8" Set of Simple Sallies faces and a 1-1/8" Set of Simple Simon Faces! 
Need some inspiration, just take a peek at what the other designers have made, Click here!

I hope that you will play along with us this challenge! Don't forget to link your photo up on the PKS Challenge blog!

I hope you have a great day!

September 01, 2011

Throwback Thursday Challenge w/My Creative Time

Happy Thursday!

Are you ready for a new Throwback Thursday Challenge? 

This weeks challenge is a "Cricutless Challenge"! You are also required to use the colors: purple, green, orange, and black.

I always give my besties kids a small "gift card" at Halloween.  I know that they get more then enough candy Trick or Treating and who doesn't want a Target gift card? 
Well.... Emma's new Embossed Gift Card Holder die worked perfectly for this challenge!
The stamp is from her All Around Halloween stamp set and it was stamped on the Stitched Circle die. I used some glossy accents to add a little dimension to the little ghostie.
The sentiment is also from the All Around Halloween stamp set and it is stamped on the Stitched Oval die. 

So there you go! I super cute gift card holder and it took me less then 5 minutes to make it! I am telling you... if you don't have it, you NEED the Embossed Gift Card Holder die!

If you want to check out the rest of the Throwback Thursday Challenge projects click here to go to Emma's blog. The deadline for this challenge is Wed, September 8th.

I hope you have a wonderful day!

August 31, 2011

Summer Fun Wednesday "Guest Designer"

Happy Wednesday!

Can you believe summer is coming to an end?!? That means that my summer guest designer series, is coming to a end too.  This week's guest designer is my super talented Peachy sister, Erin! Erin's fabulous blog is called Erin Lee Creative.
 
Helloooooooo Ruthians!
  I just totally made that one up. I am so excited to be a guest designer for Miss Ruthie aka my Peachy Sister today! I'm Erin from Erin Lee Creative and I've got something super summery for you today. Ruthie asked me to design something with a summer theme and I got inspired jamming to the song Knee Deep by Zac Brown Band... "Only worry in the world is the tide gonna reach my chair".  Love it! Here is my summer easel card:
Recipe:
Stampin Up card stock
DCWV patterned papers
Life's a Beach + Pack Your Bags Cricut cartridges
The Twinery twine (and lots of it!)
Martha Stewart Edge Punch
Market Street Stamps Chillaxin stamp set - sentiment 

My favorite is the itsy bitsy teenie weenie yellow polka dot bikini! ;) Here's a quick tutorial on how I made my twine pom pom. 
Start with a plastic fork and some twine. (easy enough)
Wrap twine around fork about 30 times, depending on how "poofy" you want your pom pom.
Cut off twine. Cut another piece of twine about 4 inches long and weave through the middle of the fork with the ends at the back. Knot twice.
Cut off loops on both sides. 
Smash down the center from the other way and poof until you get it to look like you want and voila!

Thanks Ruthie for letting me crash your blog, and I hope y'all enjoyed my summer easel card today. Feel free to stop by my blog anytime! 

-Erin

What a great song and fun card Erin! Makes me want to take one last trip to the beach. Eh... who am I kidding, I live in paradise and can go to the beach whenever I want. (Yes, I know I am very blessed!) Anyhow, I want to thank Erin for being a guest designer! Don't forget to head on over to her blog and leave her some blog love!

See you back here tomorrow, it is the start of an all new Throwback Thursday Challenge!
I hope you have a wonderful day!

August 28, 2011

MCT Shipping Department Celebration Hop!

Happy Sunday!

Today is the My Creative Time Shipping Department Celebration Hop! We are helping Emma's mom, who's name is also Emma, celebrate her birthday!

If you have arrived from Kate's blog  then you are on the right track. If you would like to start at the beginning click here to go to Emma's blog. 

Happy Birthday Emma!!!! I hope you like your card!
The base of my card and the cake is from the Lettering Delights set, called  Birthday Harajuku Girl.
The papers are from Papertrey Ink, K and Company, and Core'dinations. The twine is from Trendy Twine.
The stitched circle is MCT's stitched circle die and the sentiment is from the Many Greeting's set.

Happy Birthday Emma!!! I hope you have a wonderful day!!!


If you would like to send Emma  a card for her birthday, here is the addy:

    Emma Villar  

(yes, they have the same name)
P.O. Box 910
French Camp, CA  95231

Here is today's hop line up!

Your next stop is Shar!

Thanks for hopping along with us today!
I hope you have wonderful day!

August 27, 2011

Fun Fall Project!

Happy Saturday!

I have been busy the last couple of days and haven't had a chance to make anything to post. I thought that I would re-post a fun kid friendly project, that I posted about a year ago.

I am going to show you how to make the most adorable pumpkins! They are inexpensive, kid friendly, super quick, and easy to make!  Oh yeah... and fun too!
So here is what you are going to need to make these pumpkins! 
You'll never believe what's inside! 
 1. Raffia - Purchased at Joanns for $1
2. Fat Quarters - purchased at Joanns for $2 eac.
3. Fall leaves - purchased at Joanns for $1
4. Lunch size paper bags 
5. Toilet paper - purchased at the $1 store
6. Light weight batting - purchased at Joanns

You are also going to need:
Scissors
Hot glue gun and glue sticks
Step #1 ~Take the batting and cut it into a square, it needs to be big enough so that you will be able to tuck the batting into the top of the toilet paper roll.  Like this...
Step #2 ~ Take the fat quarter and lay it underneath the batting & toilet paper,
just like in step #1. Then tuck the fabric into the center of the roll, just like the batting.
 This is what it should look like when you are finished.
WooHoo! Almost looks like a pumpkin!
Step #3 ~Now take a paper bag and start to roll it, like this...
Step #4 ~ when you get it rolled all the way, grab the hot glue and glue the end.
 
Step #5 ~ Once it is finished drying, grab 4-5 strands of raffia.
Step #6 ~Then glue the end of the raffia to the end of the rolled up paper bag.
Like this...
 Step #7 ~ When that is dry, wrap the raffia around the rolled up paper bag.
Like this...
It's always good to have a friend standing by... just in case you need some help!
In this case we had a few friends willing to help! :)
  You will continue to wrap the raffia all the way down, until you get to the end. Then glue the end of the raffia, so that it doesn't unwind.
Step #8 ~ Put glue on the end of the stem, front and back on one end of the stem,
just like above.
Step #9 ~ Then insert the stem into the center of the pumpkin. Hold it in place for a minute or so, until the glue dries. Then you  and tweak it until it is the shape you want.
Step #10 ~Open your bag of leaves and pick out 2 or 3. Then use the glue gun to secure them to the top of the pumpkin, close to the stem.
Step #11 ~ Now take 2 more pieces of raffia, folded in half,
and tie them around the base of the stem
Guess What???? Your finished!
Pretty cute...huh??? 
(The best part... is that if you run out of toilet paper, you can recycle the pumpkin! Ha!)


Here is a video tutorial... just in case you want to see it live! :)

I hope you have a wonderful Saturday!

August 24, 2011

Summer Fun "Guest Designer" Wednesday

 Happy Wednesday!

Today is the twelfth week of my summer guest designer series. This week's guest designer is my super talented friend, Cristi! Her blog is called Scrappin 5 Little Cupcakes.


Hi Everyone, this is Cristi from Scrappin 5 Little Cupcakes. I am beyond thrilled and honored that Ruthie has asked me to be her guest designer today. I have been following Ruthie's blog for quite awhile and I am always inspired by everything she creates! I had the pleasure of meeting Ruthie in person a few months ago and she is so adorable and sweet, I loved hanging out with her!!  

For my Summer themed project I created a beach 12x12 Scrapbook layout. That is what summer is all about to me sun, sand and the breeze of the ocean!!! I really LOVE the ocean and sitting on the beach relaxing.


Details & Materials Used:
Paper - More Fish In The Sea by Cosmo Cricket, Recollections Card Stock & Neutral Card Stock by DCWV
Sand Castle cut at 3" - Create A Critter Cartridge
Crab cut at 1.75" - Create A Critter Cartridge
Star cut at 2.50" - Create A Critter Cartridge
Shell cut at 1.5" - Create A Critter Cartridge
Sand Dollar cut at 3.25" - Life's A Beach Cartridge
Buttons - Walmart
Gems - Joanns
My Pink Stamper Stamp Set "Punny-licious"
Peachy Keen Medium Critter Faces
Ink - Early Espresso By Stampin Up
Diamond Stickles
Sukura White Gel Pen
Adhesive - ATG, Pop Dots & Zig 2-Way
Thank you so much Ruthie for letting me share my craftiness!!
Big HUGS,
Cristi


Thanks so much Cristi! Isnt' her layout adorable!?!
Don't forget to leave Cristi some blog love!

I hope you have a wonderful day!

August 23, 2011

Spooky Tea!

Happy Tuesday!

A couple weeks ago Cloud9 released the an svg set called, Mad Tea Party.  I fell in love with it right away... I mean who doesn't love Alice in Wonderland and the mad hatter tea parties, or any type of tea party for that matter? You can see my original post here.

I used the same set for today's project, but I also added a sneak peak of an new Halloween SVG set that is being released in the next week or so.
The papers are from the DCWV Midnight Spell Stack and card stock stack.
  The 3-d spider web is 4" in diameter. I attached it with hot glue and then added 6" black tulle around the base of the hat.
Here are the sizes that I used, for the hats:
Brim: 9.0405 Wide x 7.7820 High
Side 1: 8.0818 Wide x 5.1407 High
Side 2: 8.0284 Wide x5.4105 High
Top: 6.4467 Wide x 5.5546 High

Here are the sizes for the spider web and spider:
Web: 4.4094 Wide x 5.250 High
Spider: 1.8576 Wide x 1.4157 High

I hope you have great day!