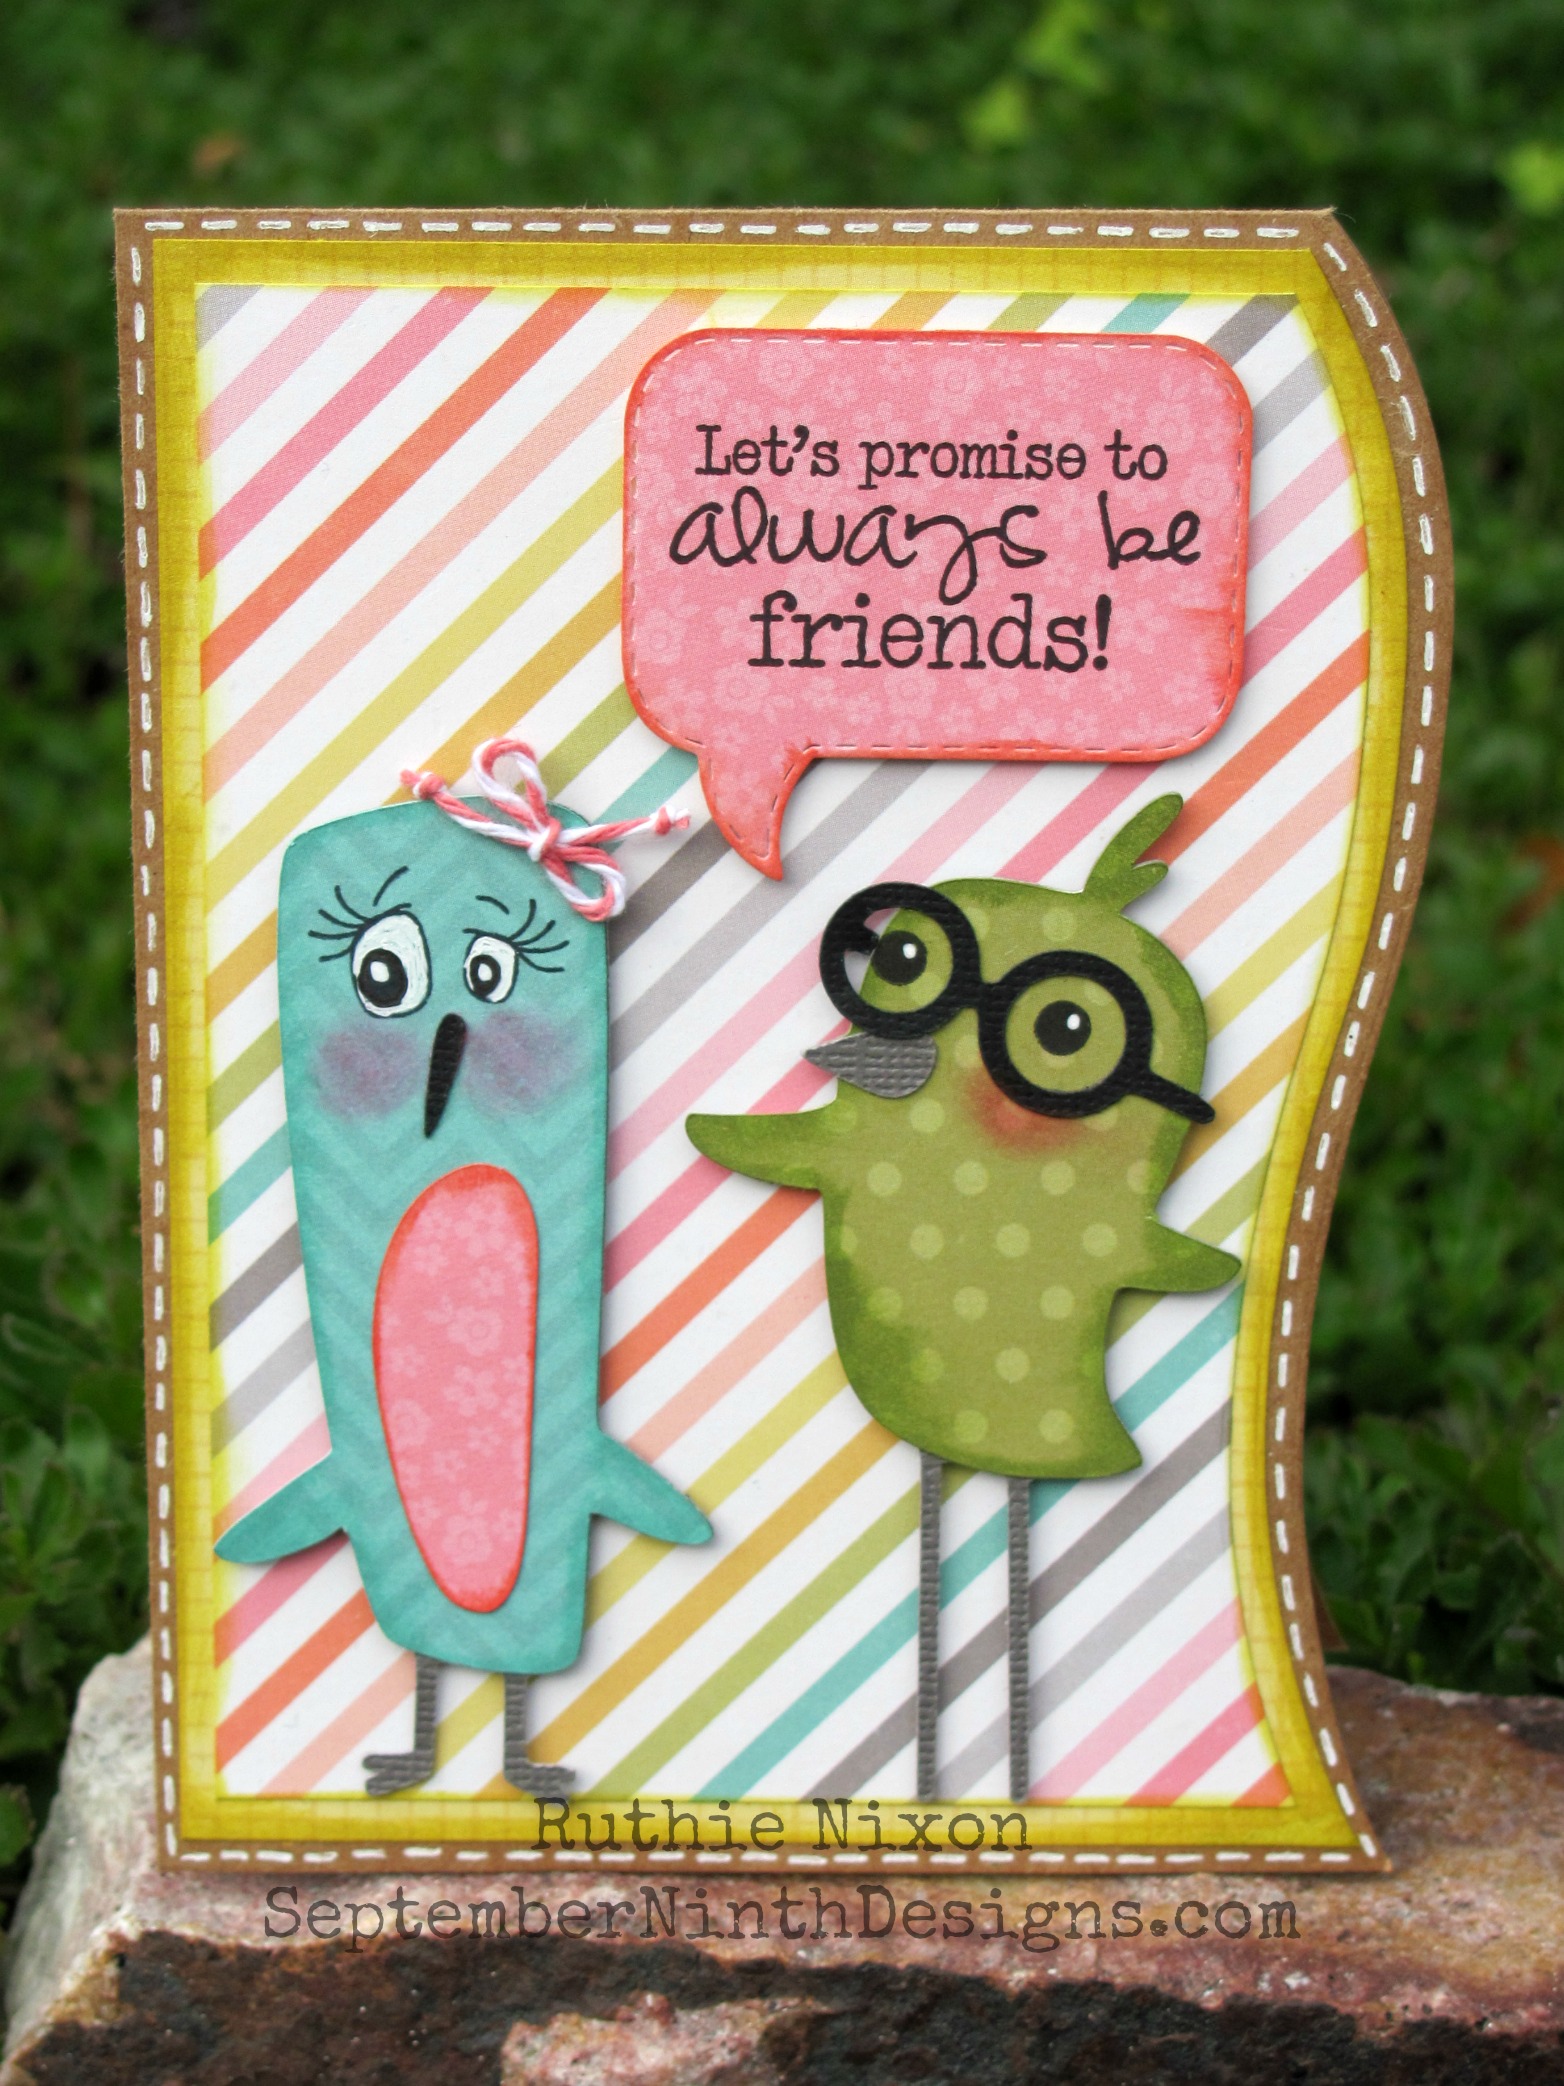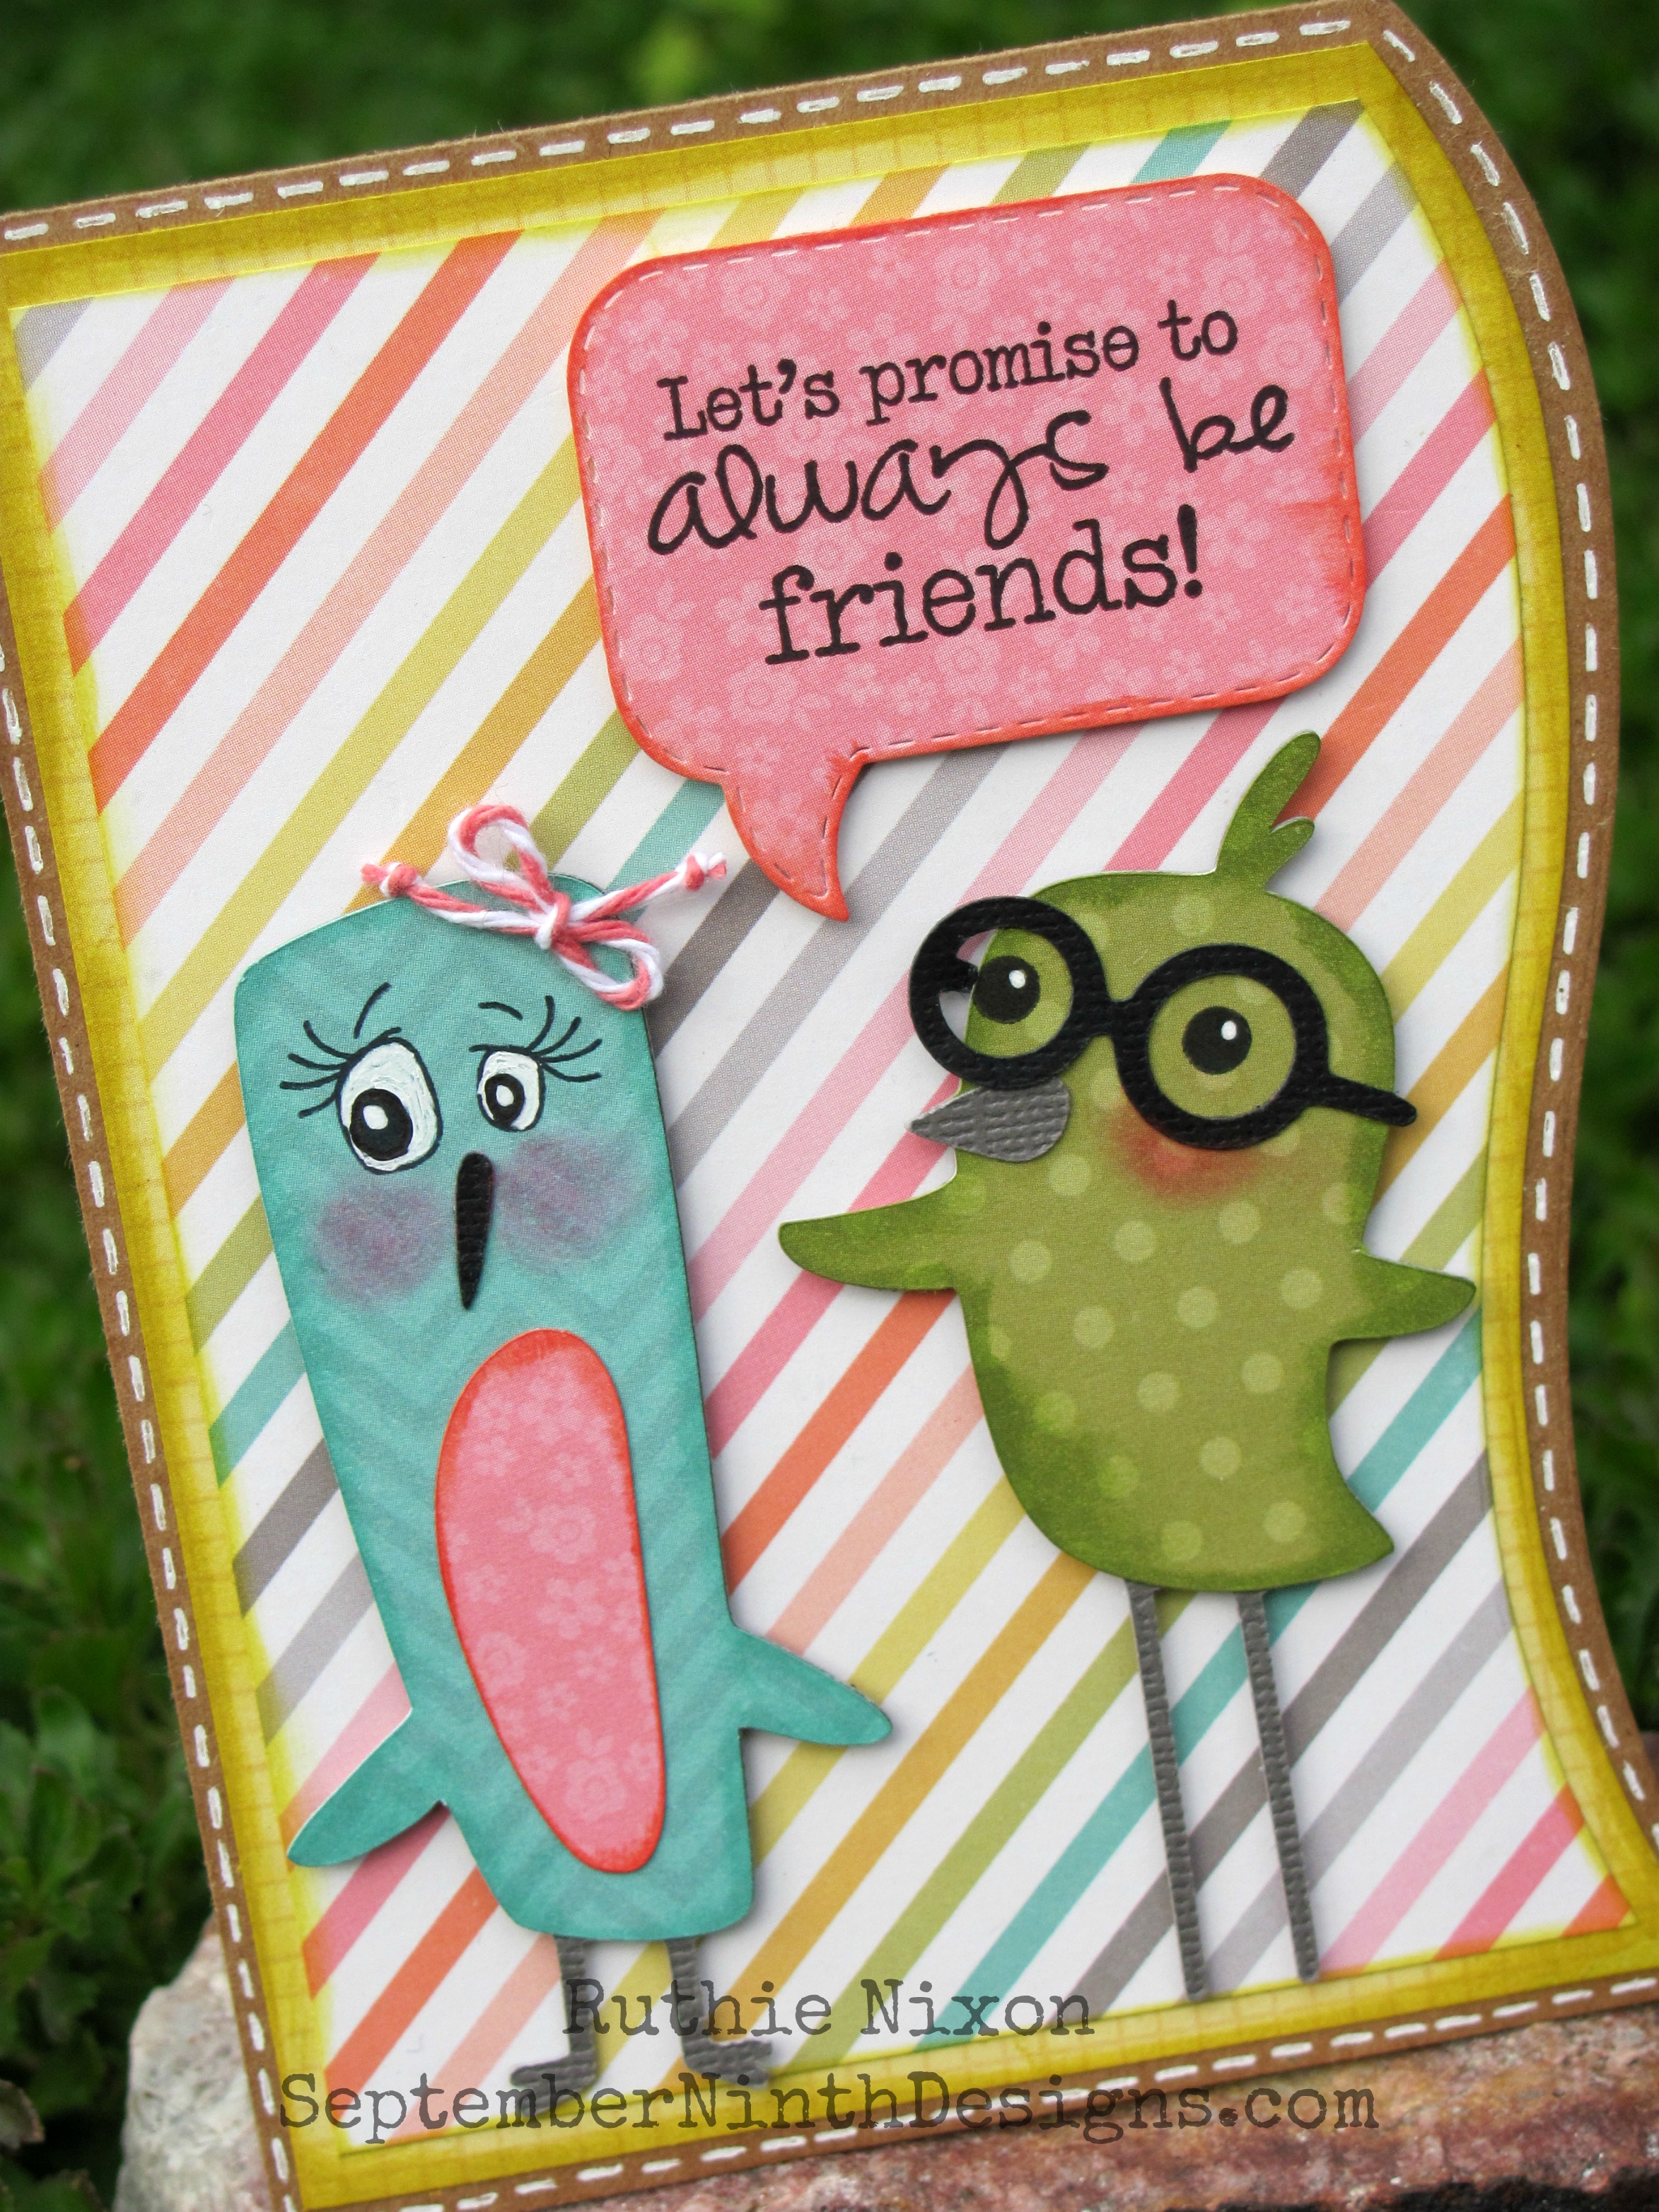


Happy Monday!!!
I know! I know! I know... you're saying, "not another ornament". Just one more, I promise this is my last ornament for 2013. Well... maybe I shouldn't promise that! Ha!
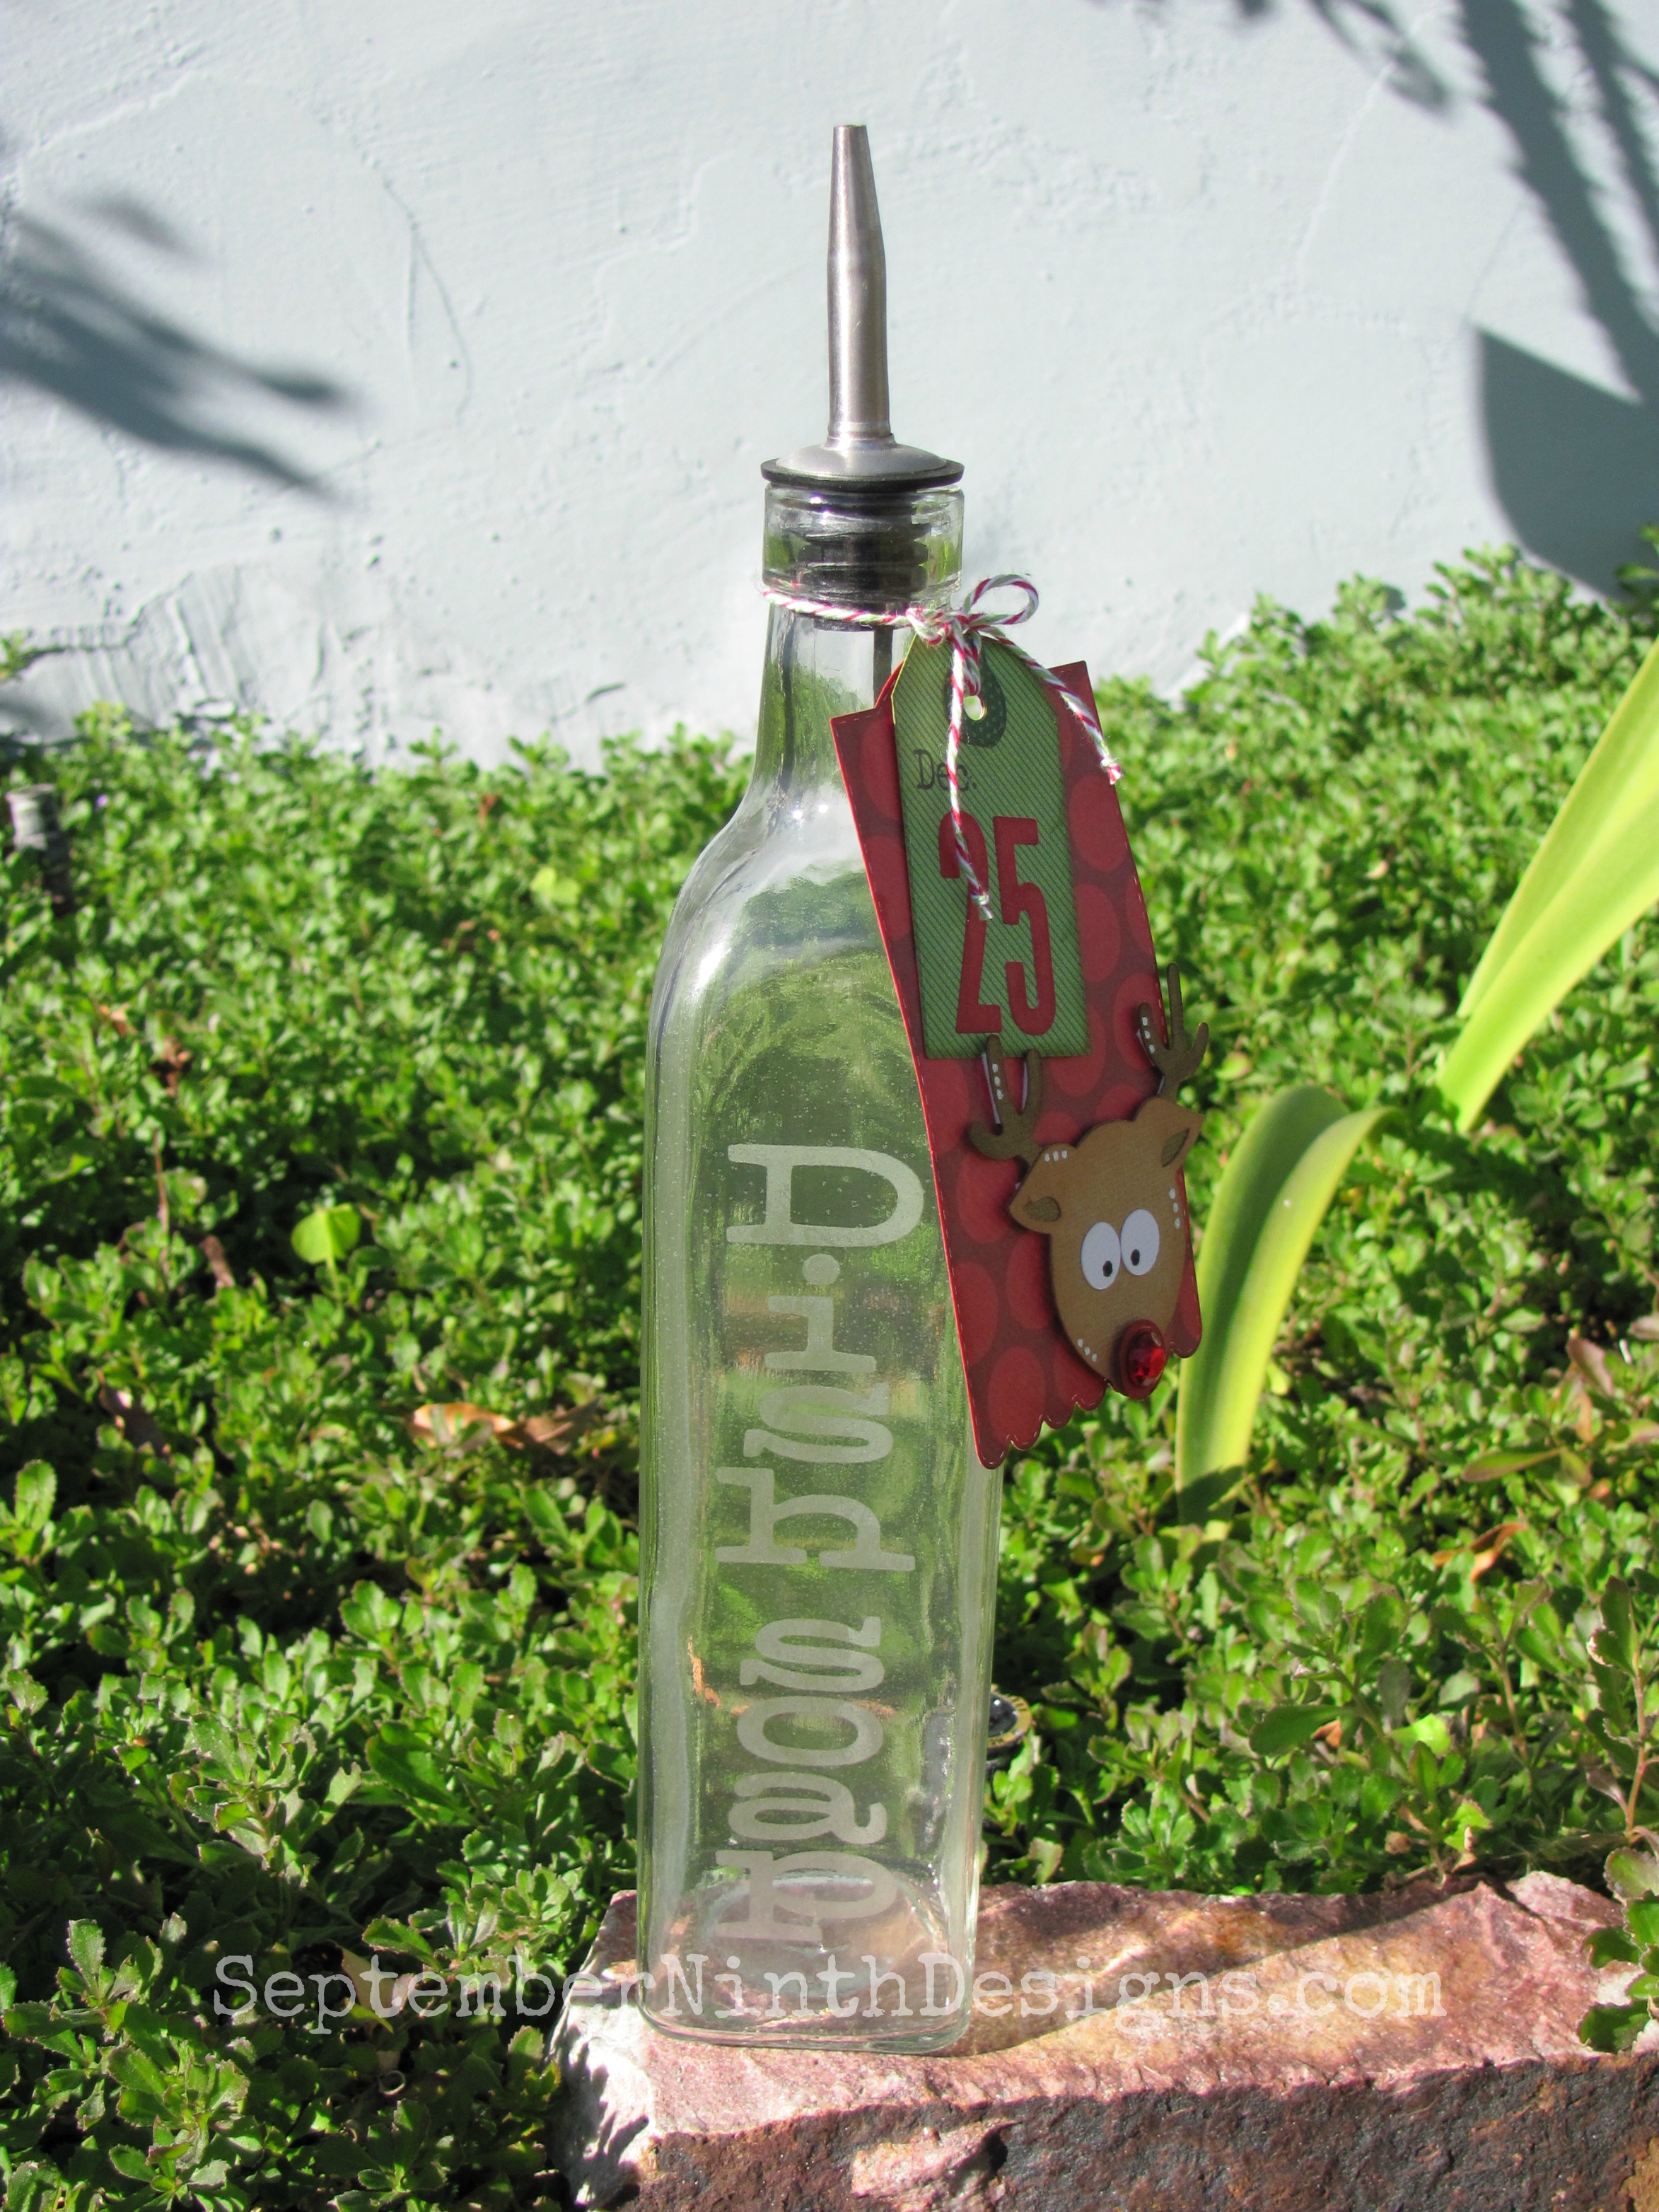
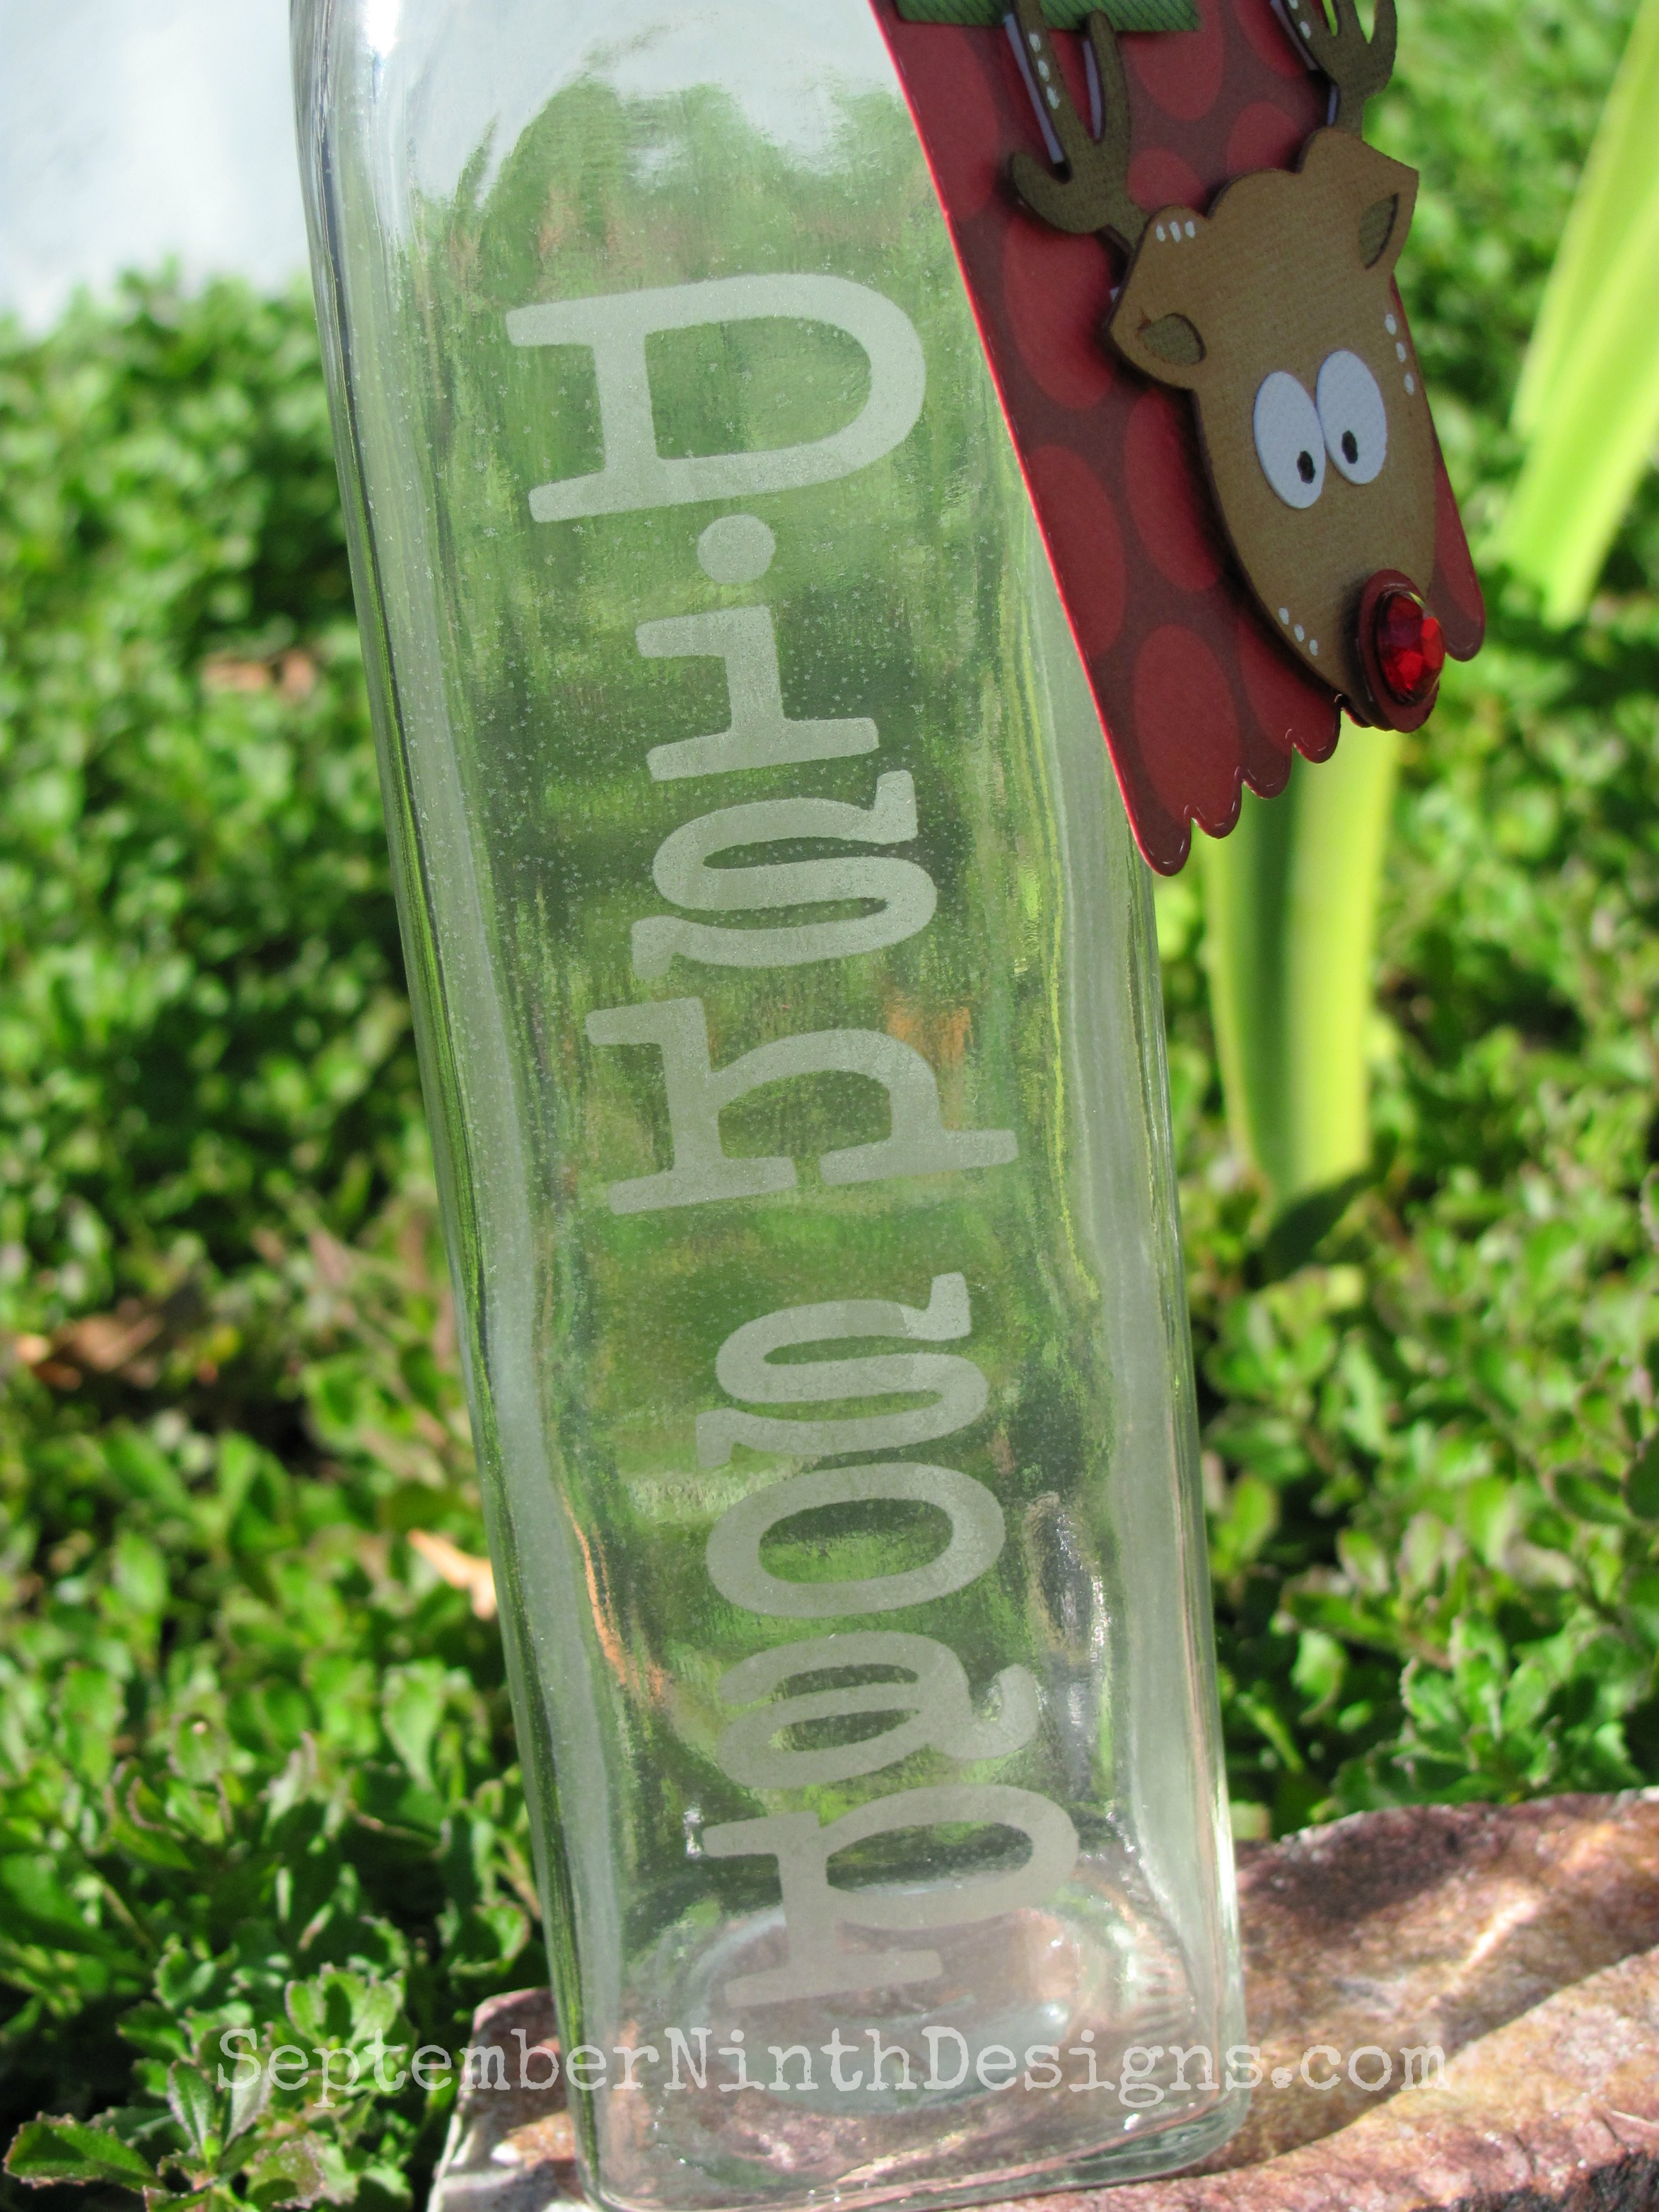
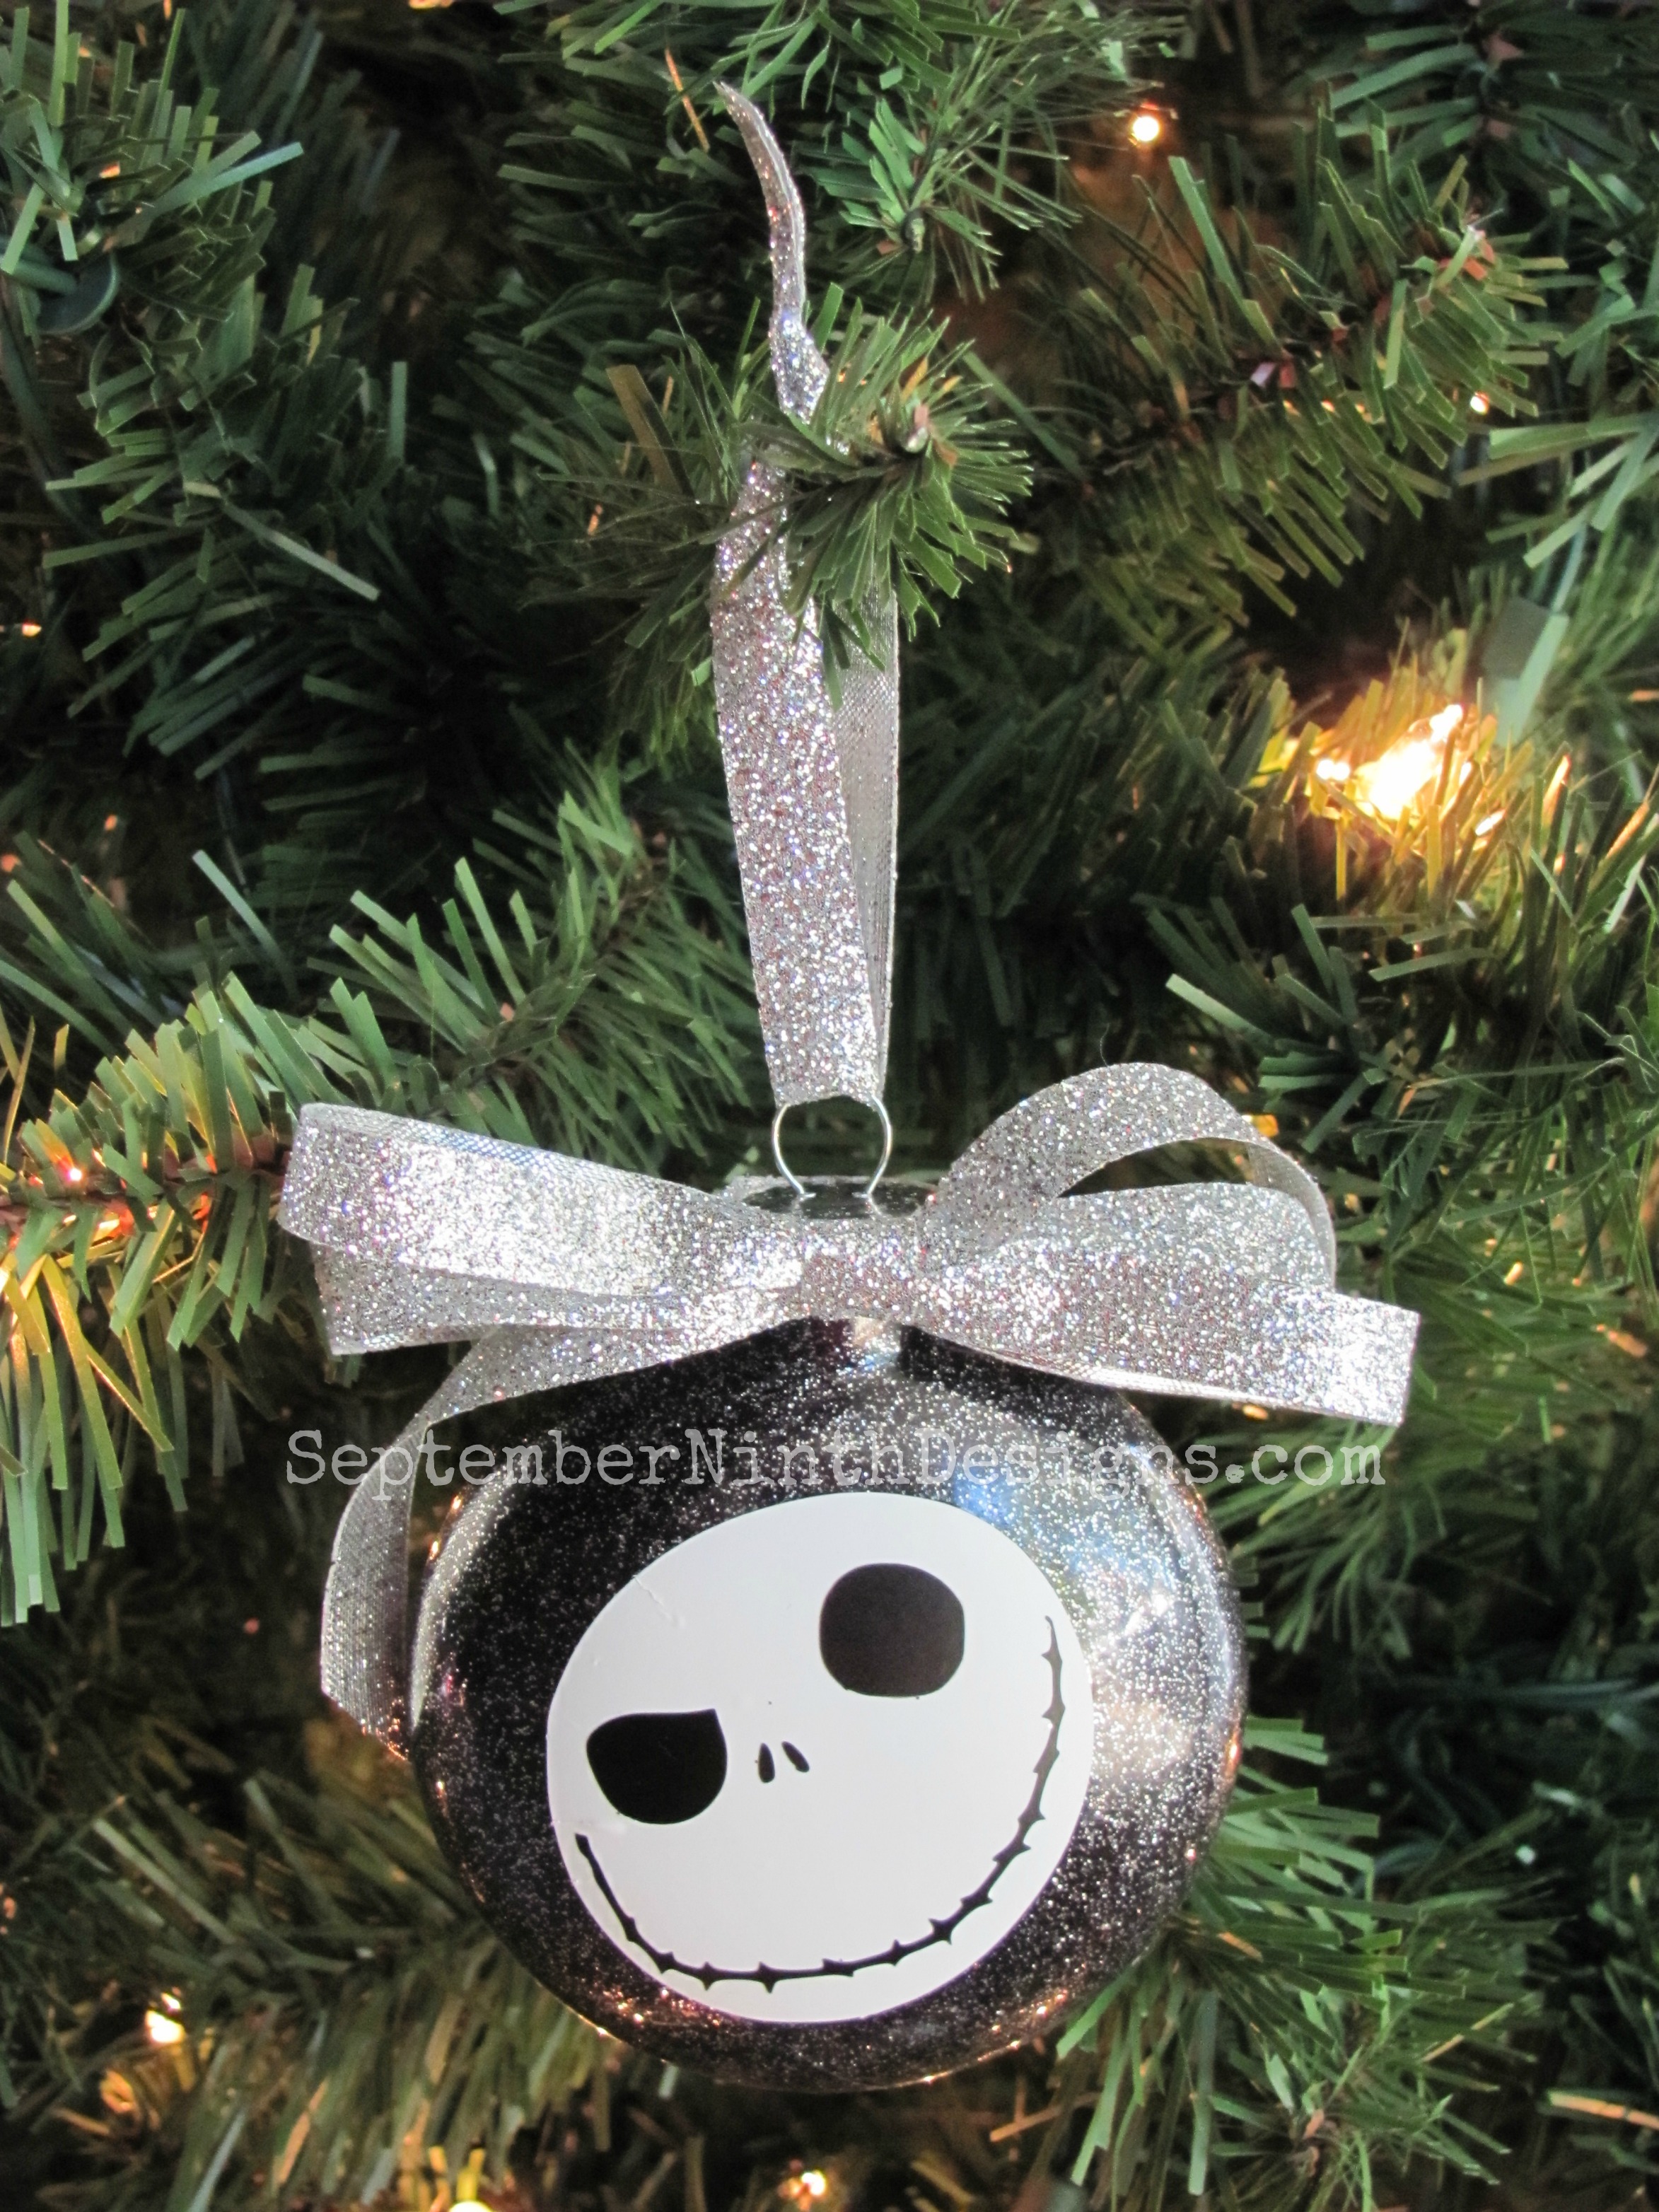
So... I have this friend who is a serious Trekkie.
I know! I know! I know... you're saying, "not another ornament". Just one more, I promise this is my last ornament for 2013. Well... maybe I shouldn't promise that! Ha!
So... I have this friend who is a serious Trekkie.
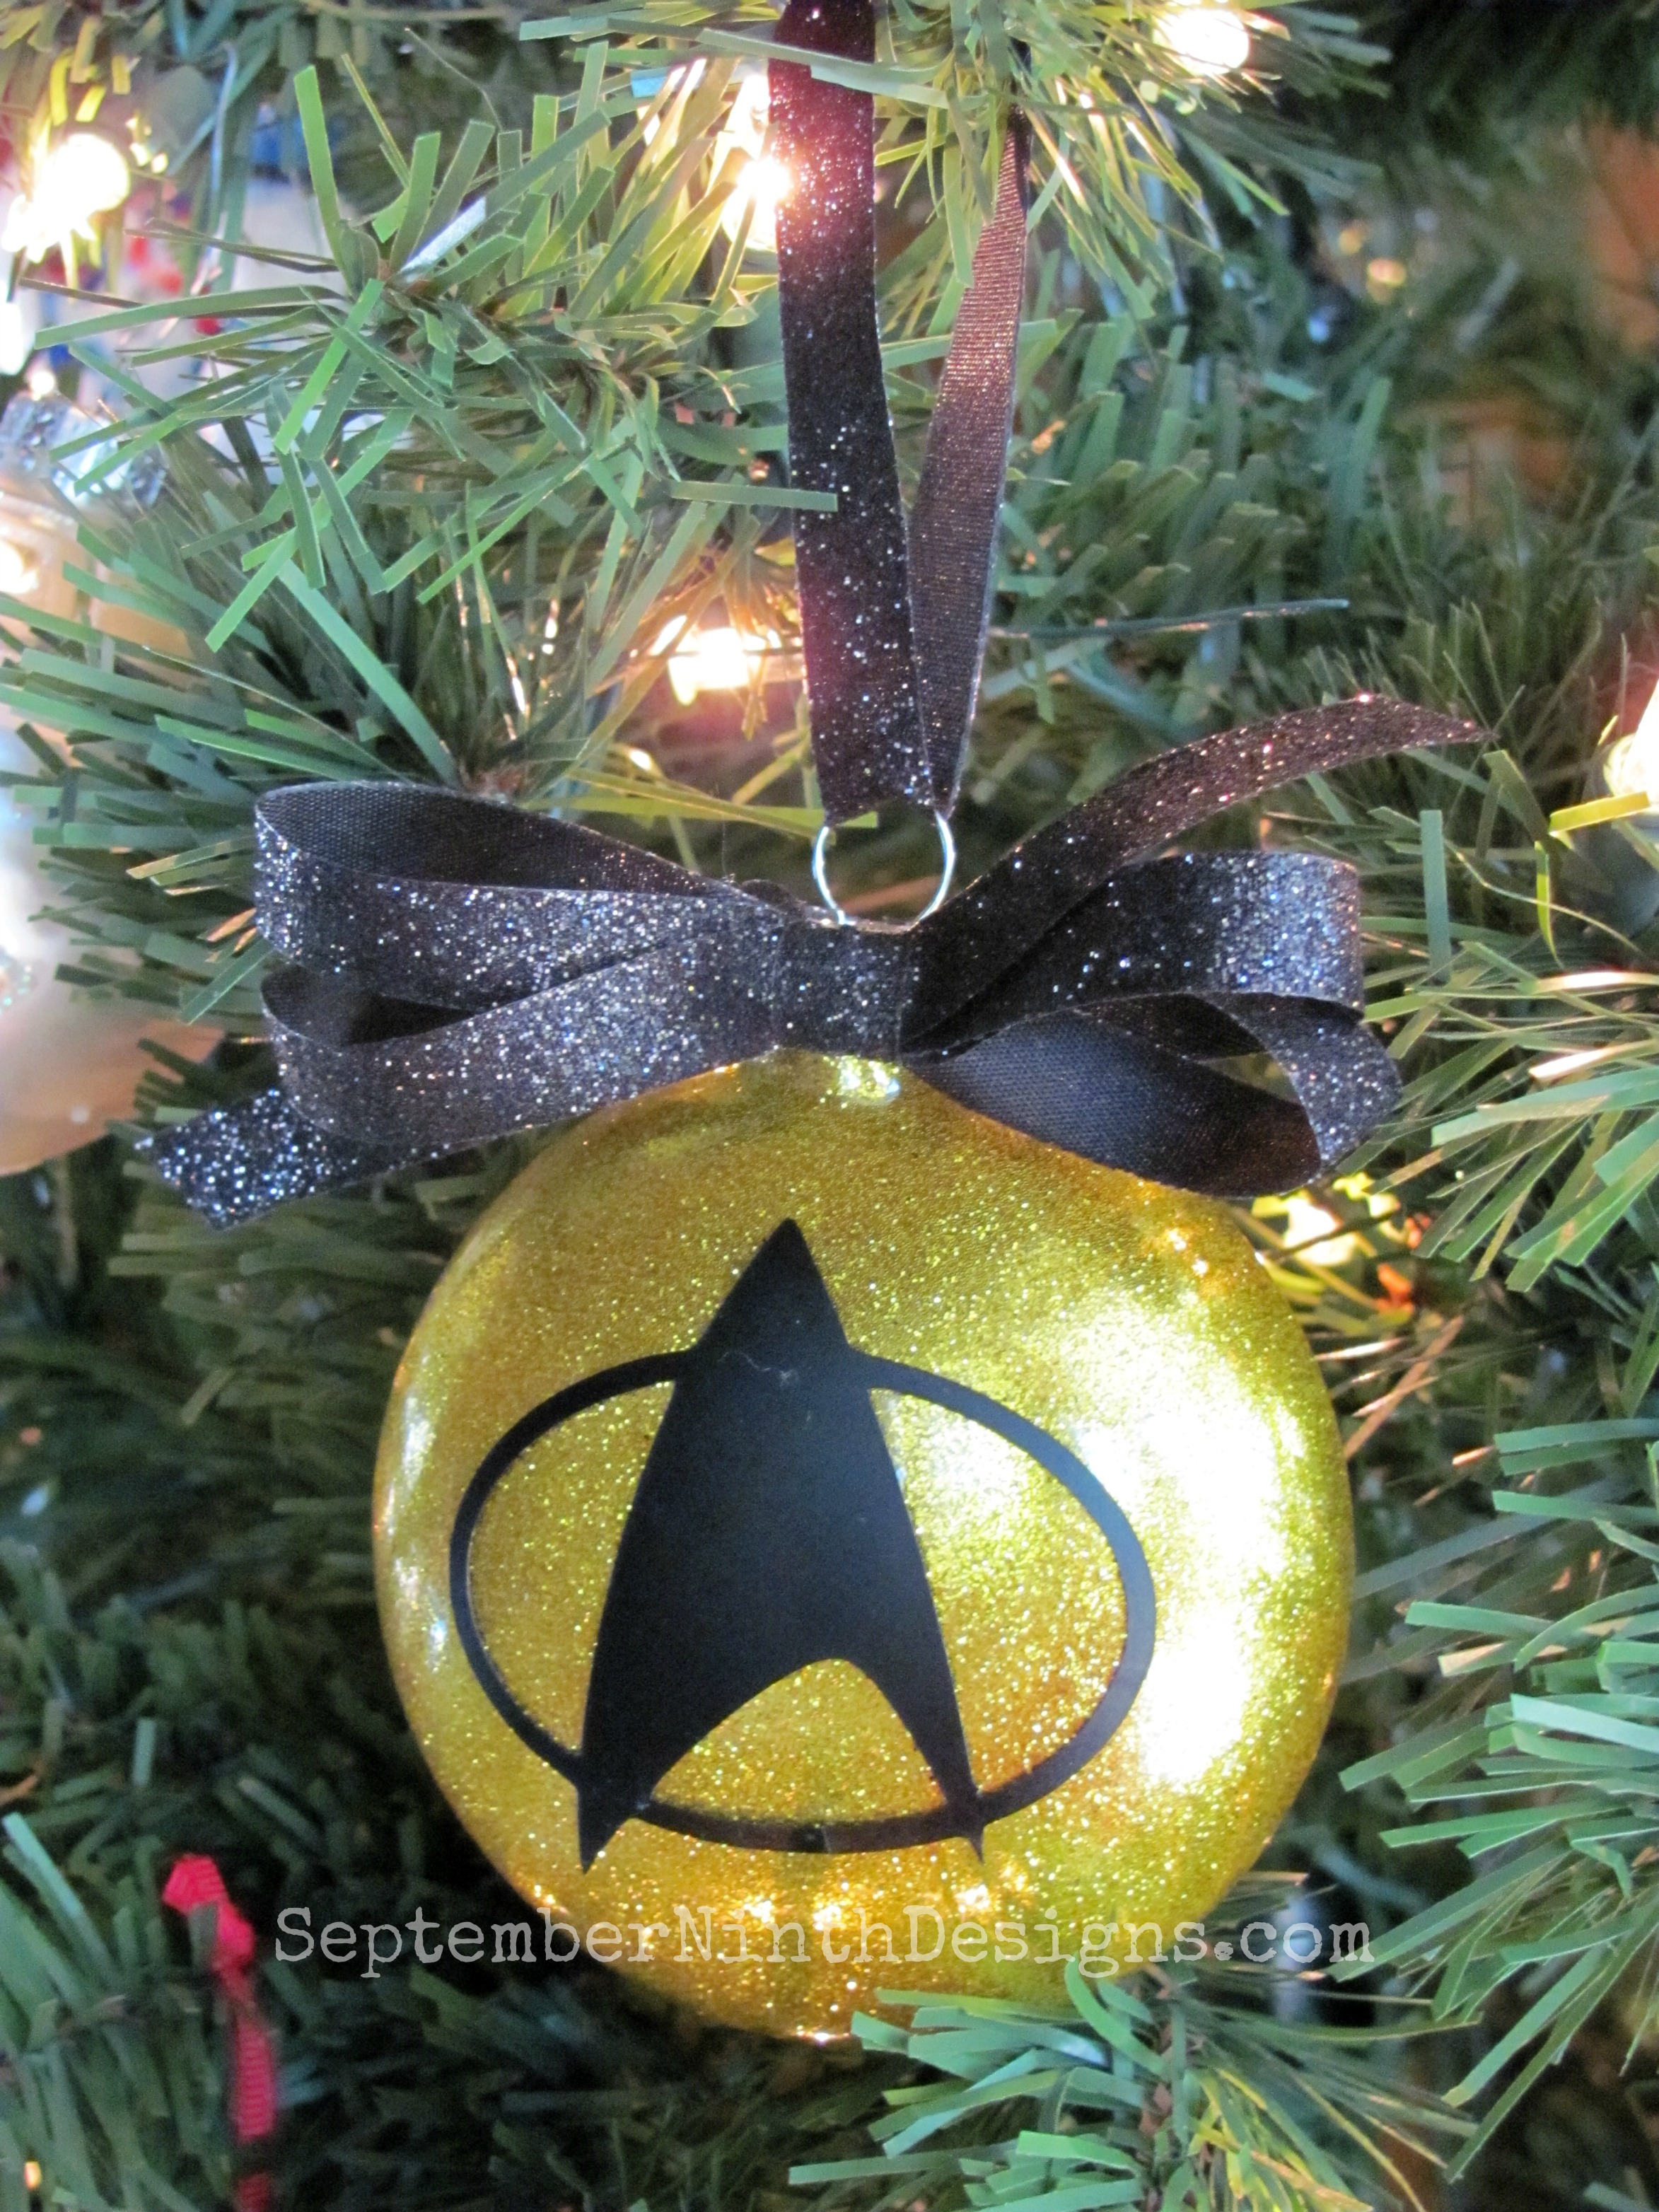
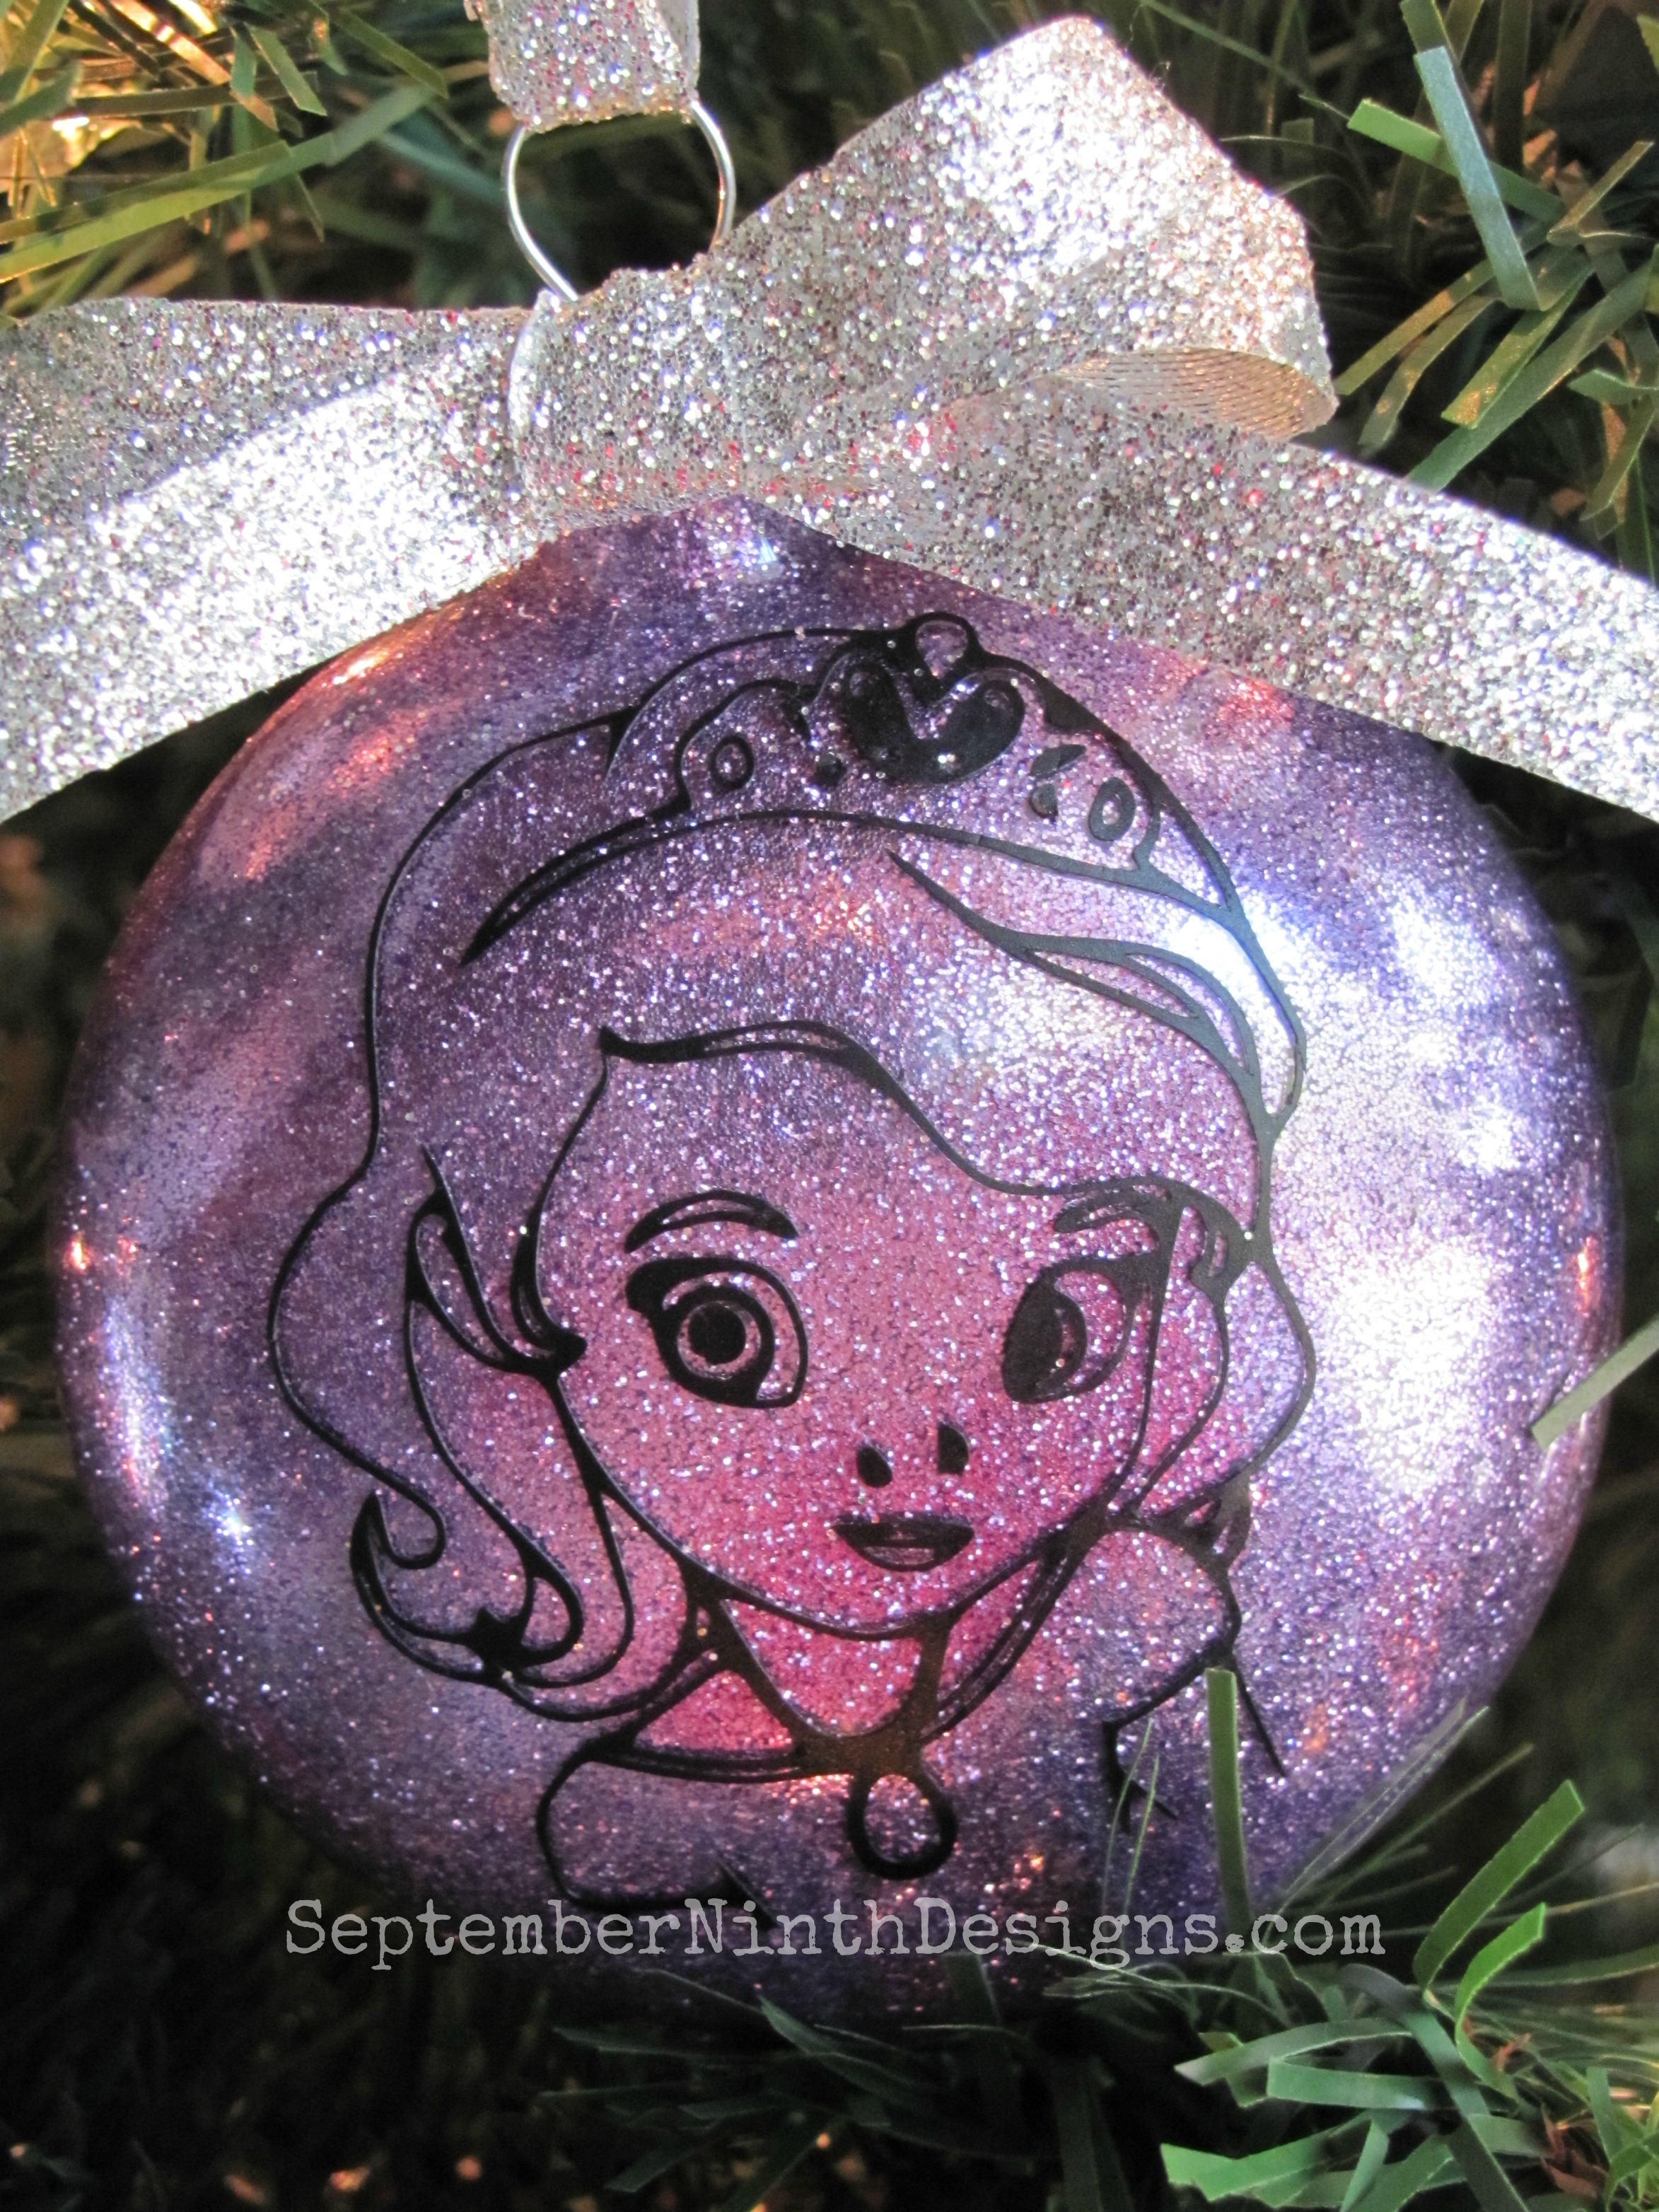
I found the Star Trek logo online and traced it, sized it to 2.5" wide, and cut it out out of black vinyl. The font/lettering on the back was sized at 2.5" wide x 1.15" tall.
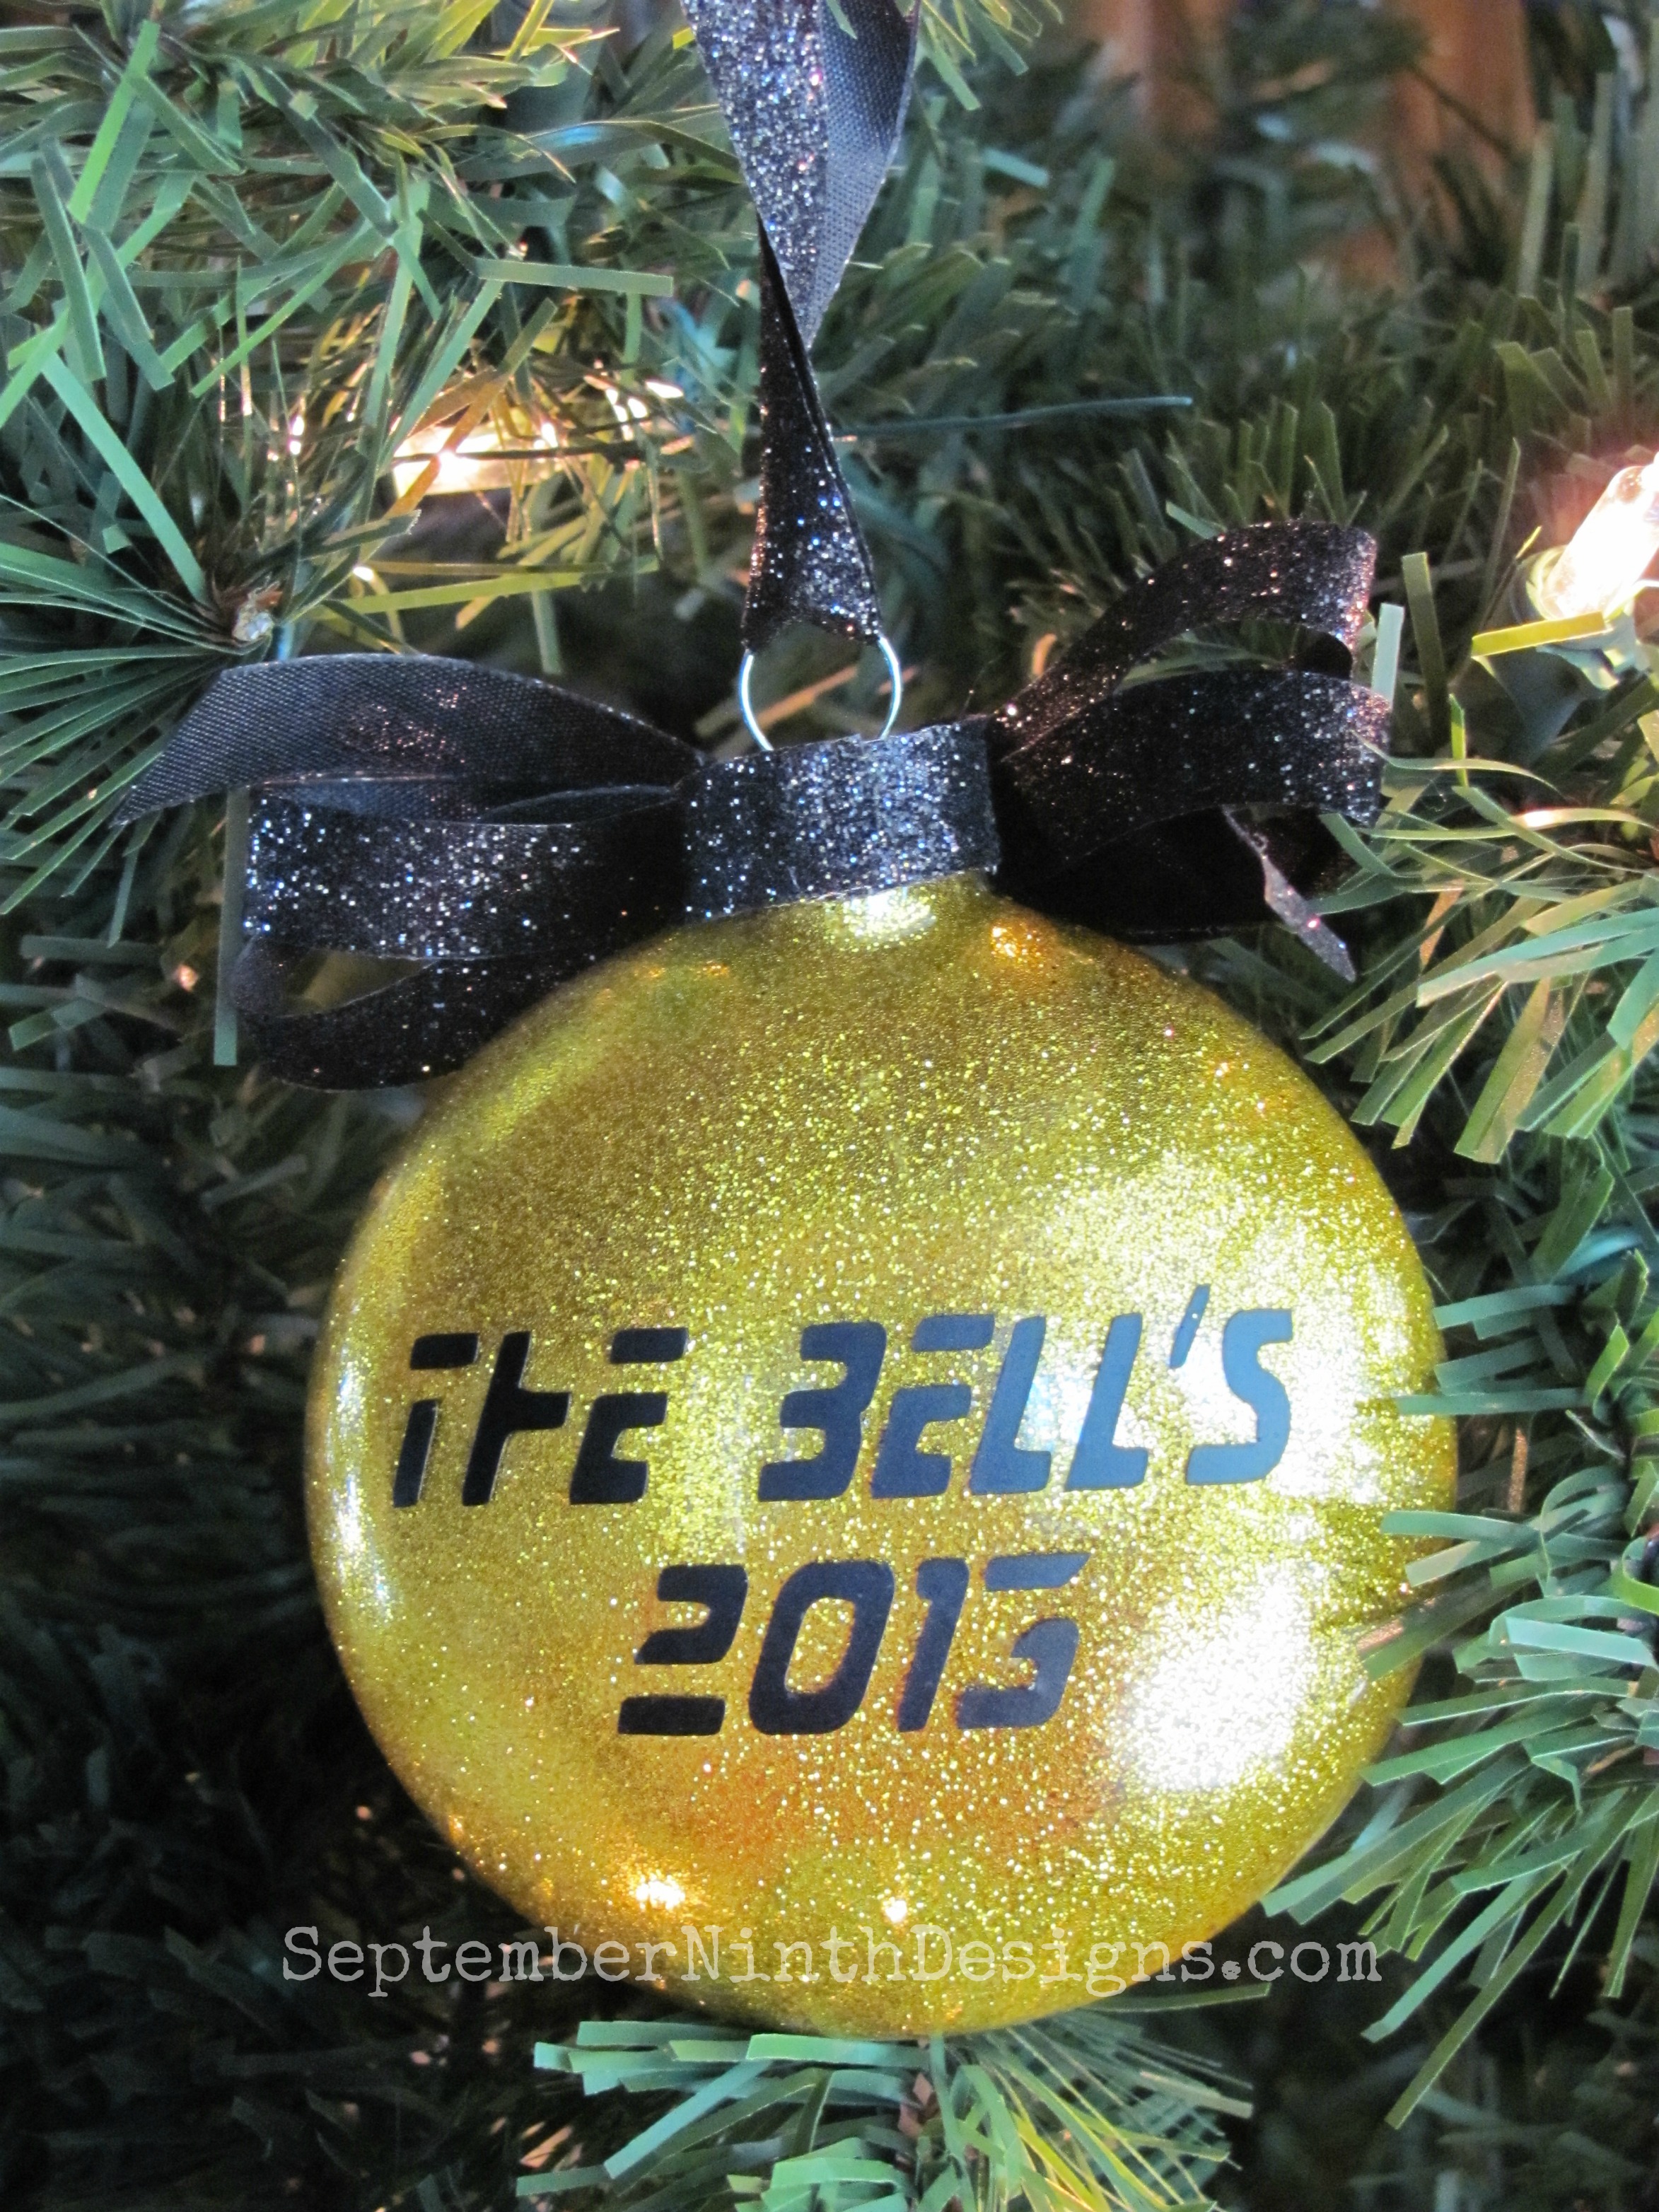
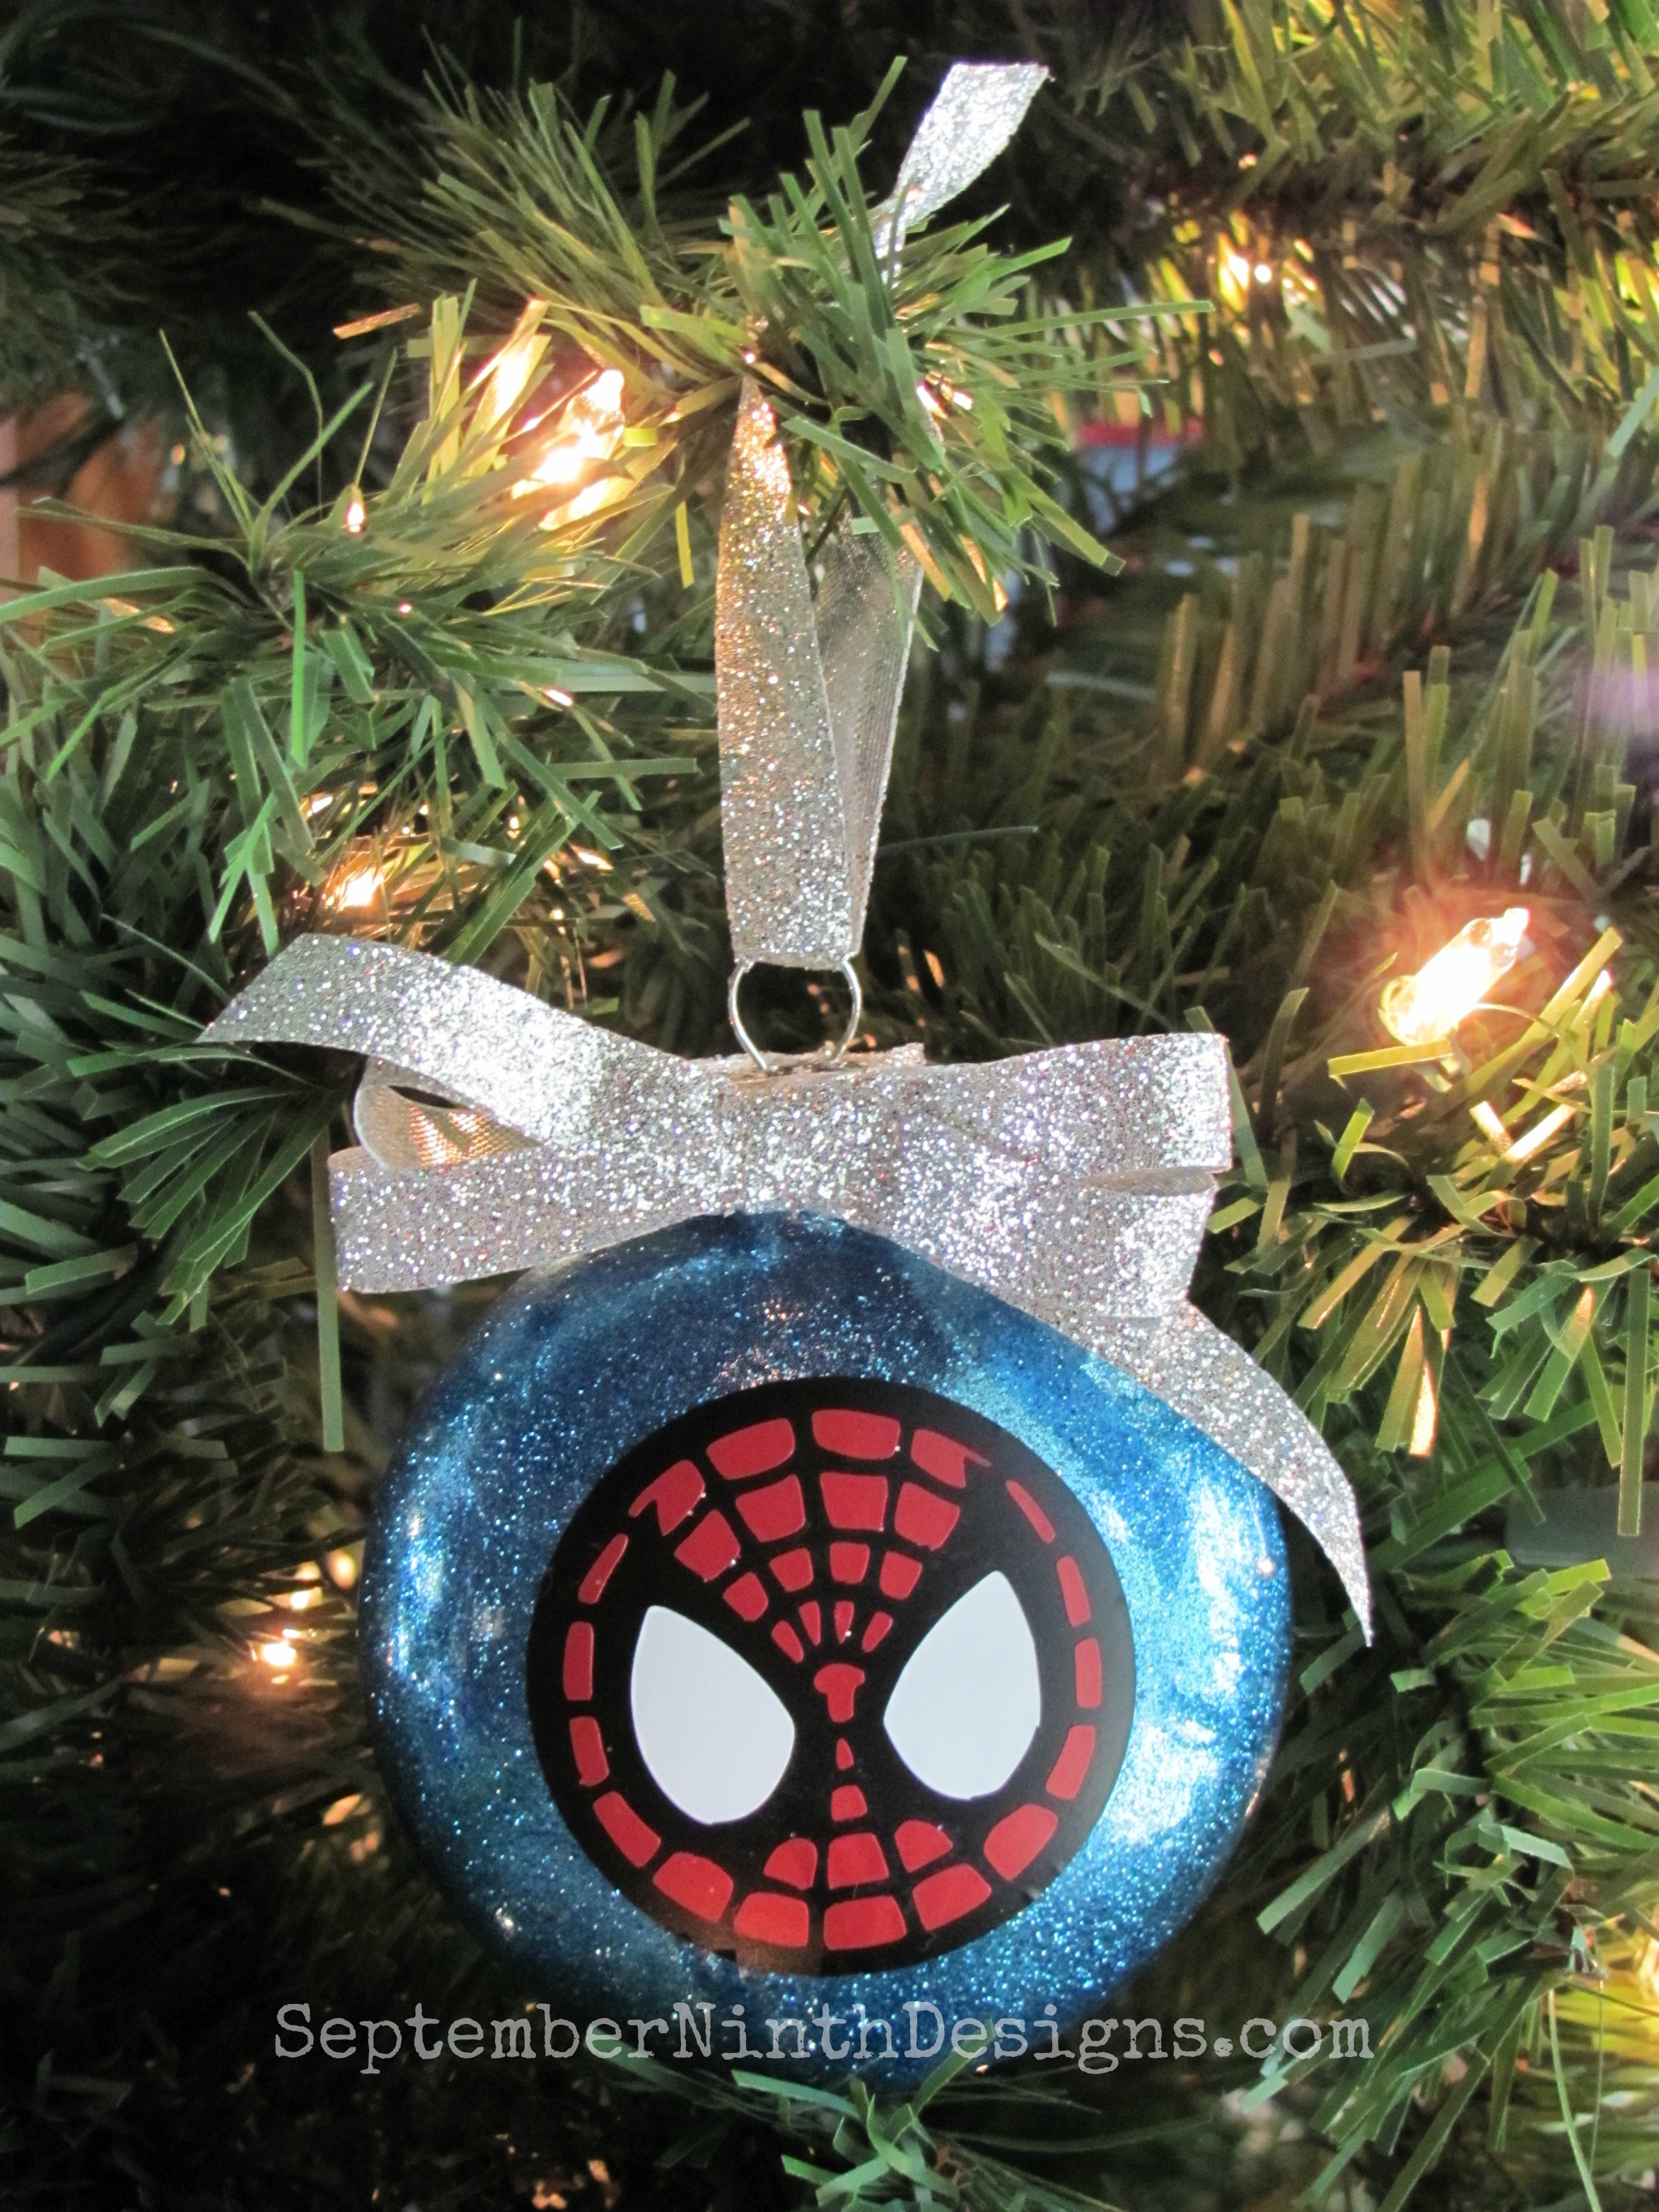
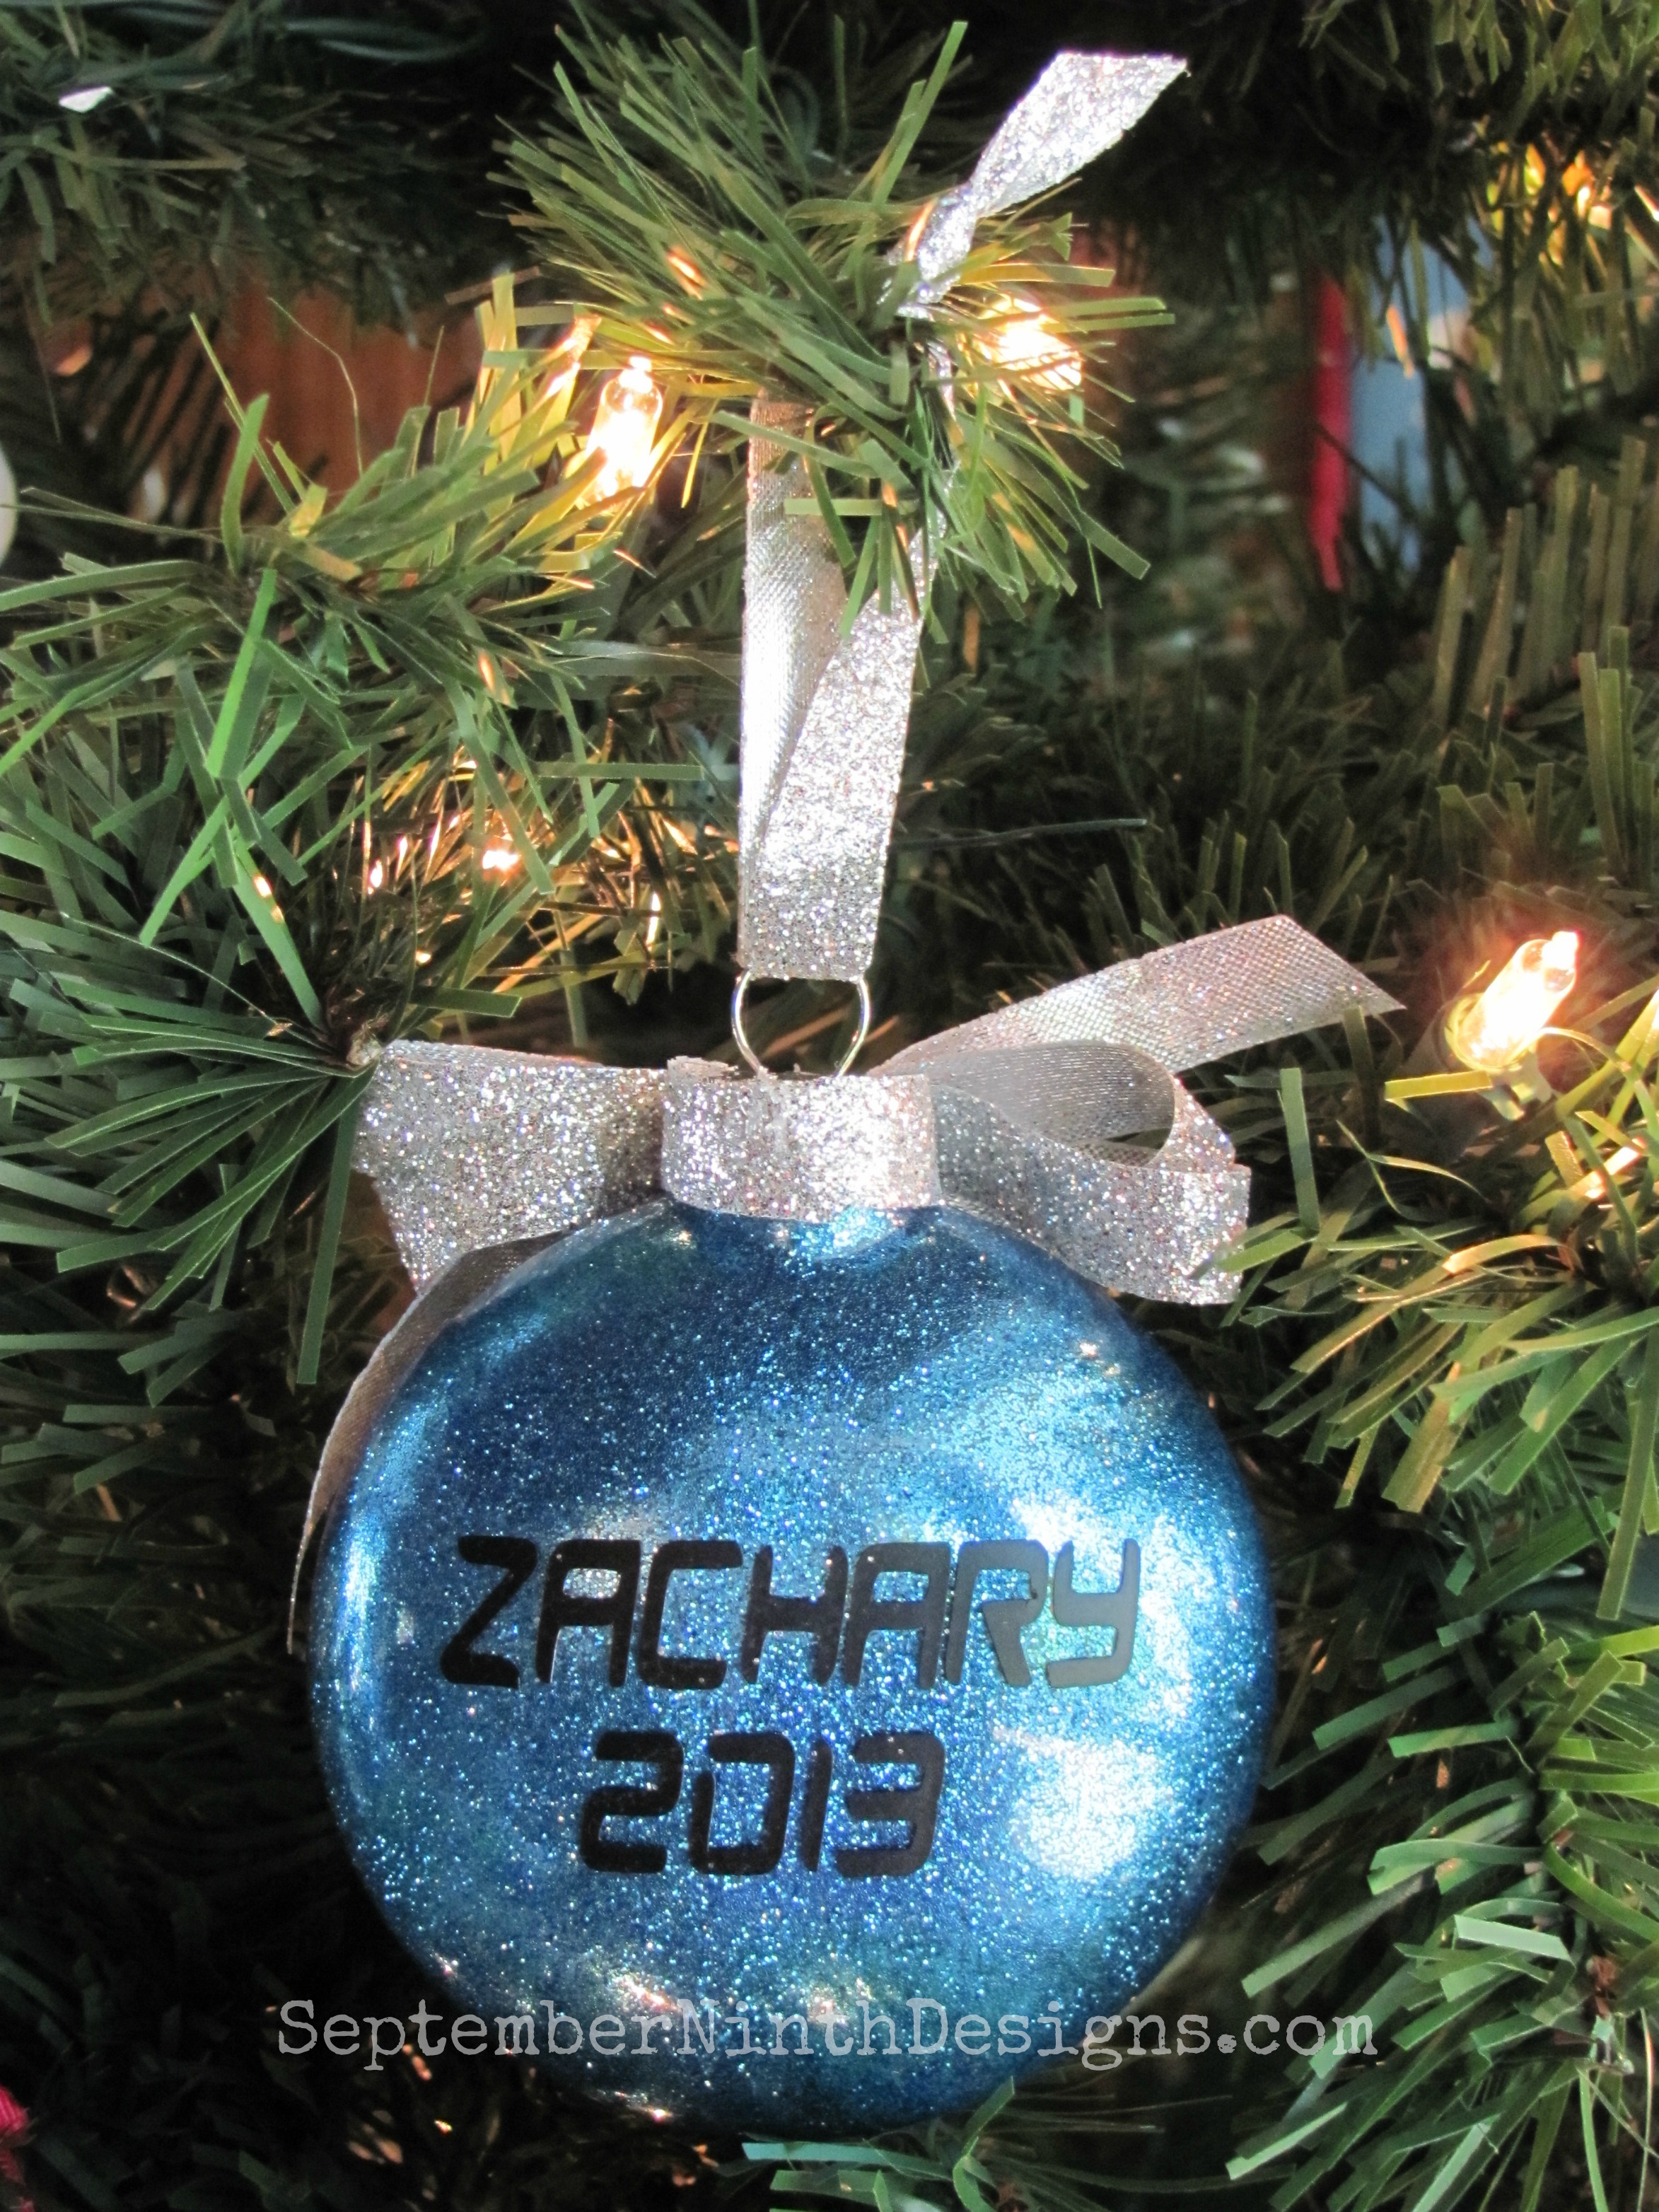
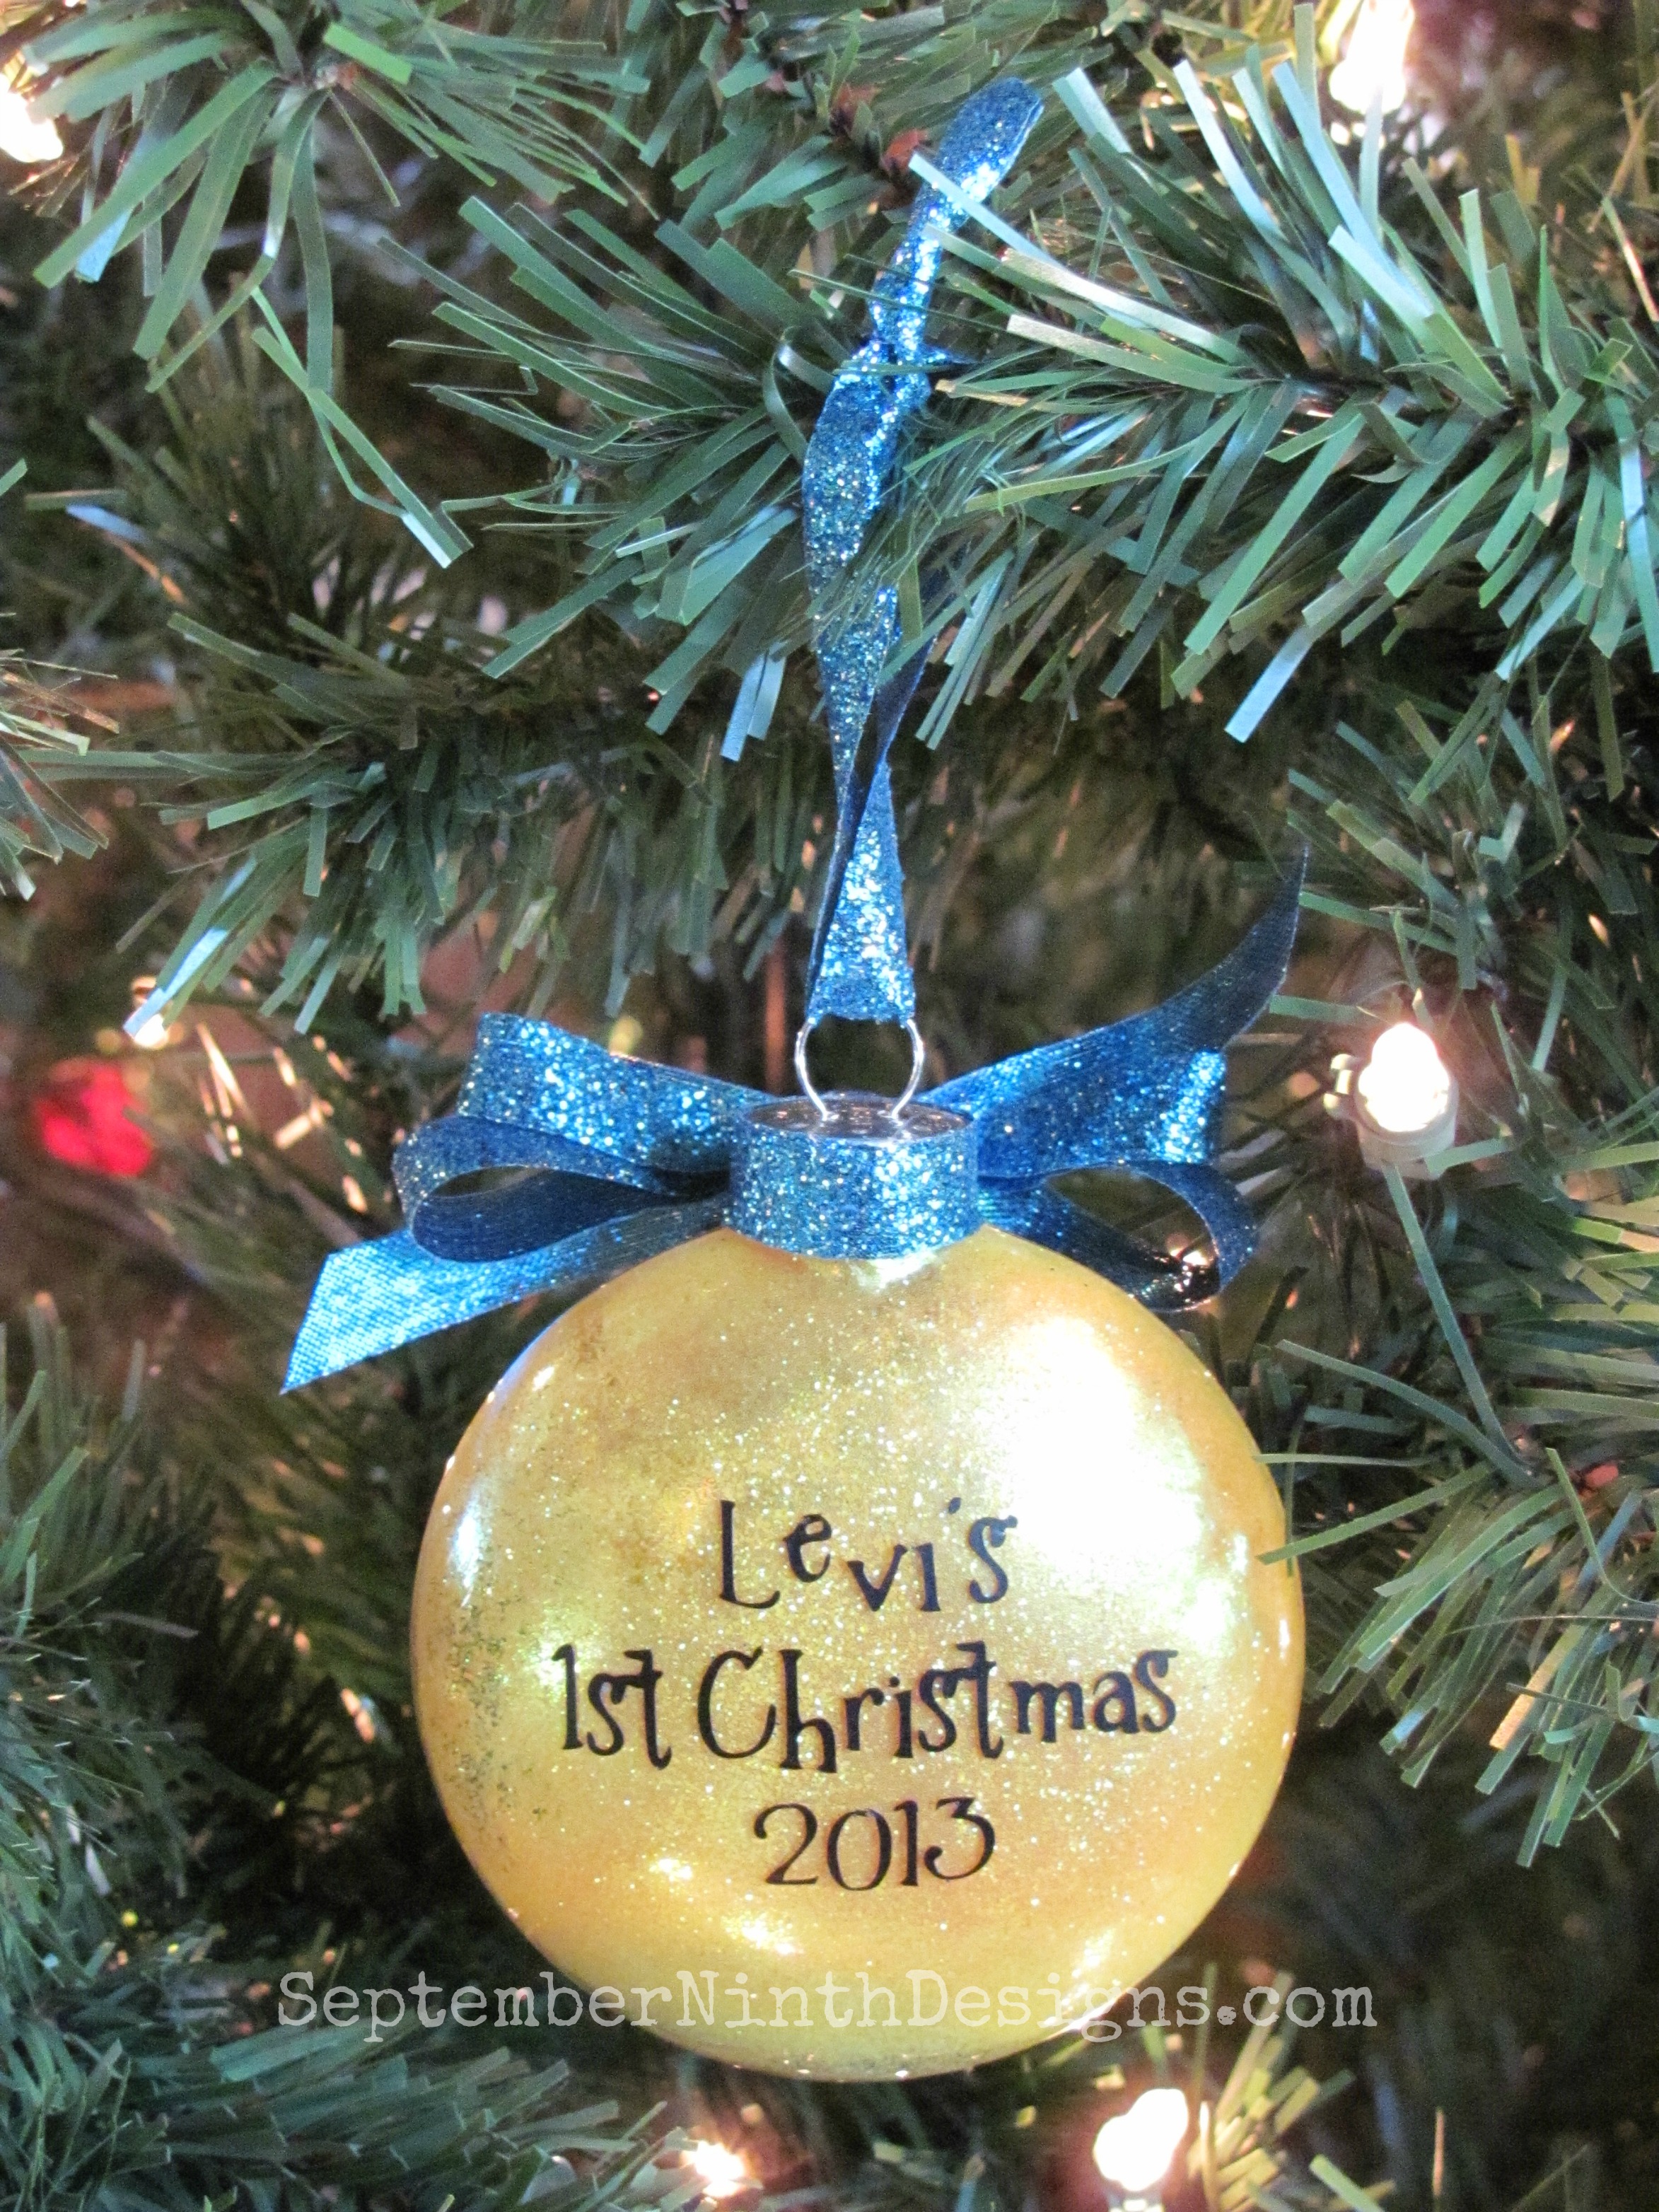
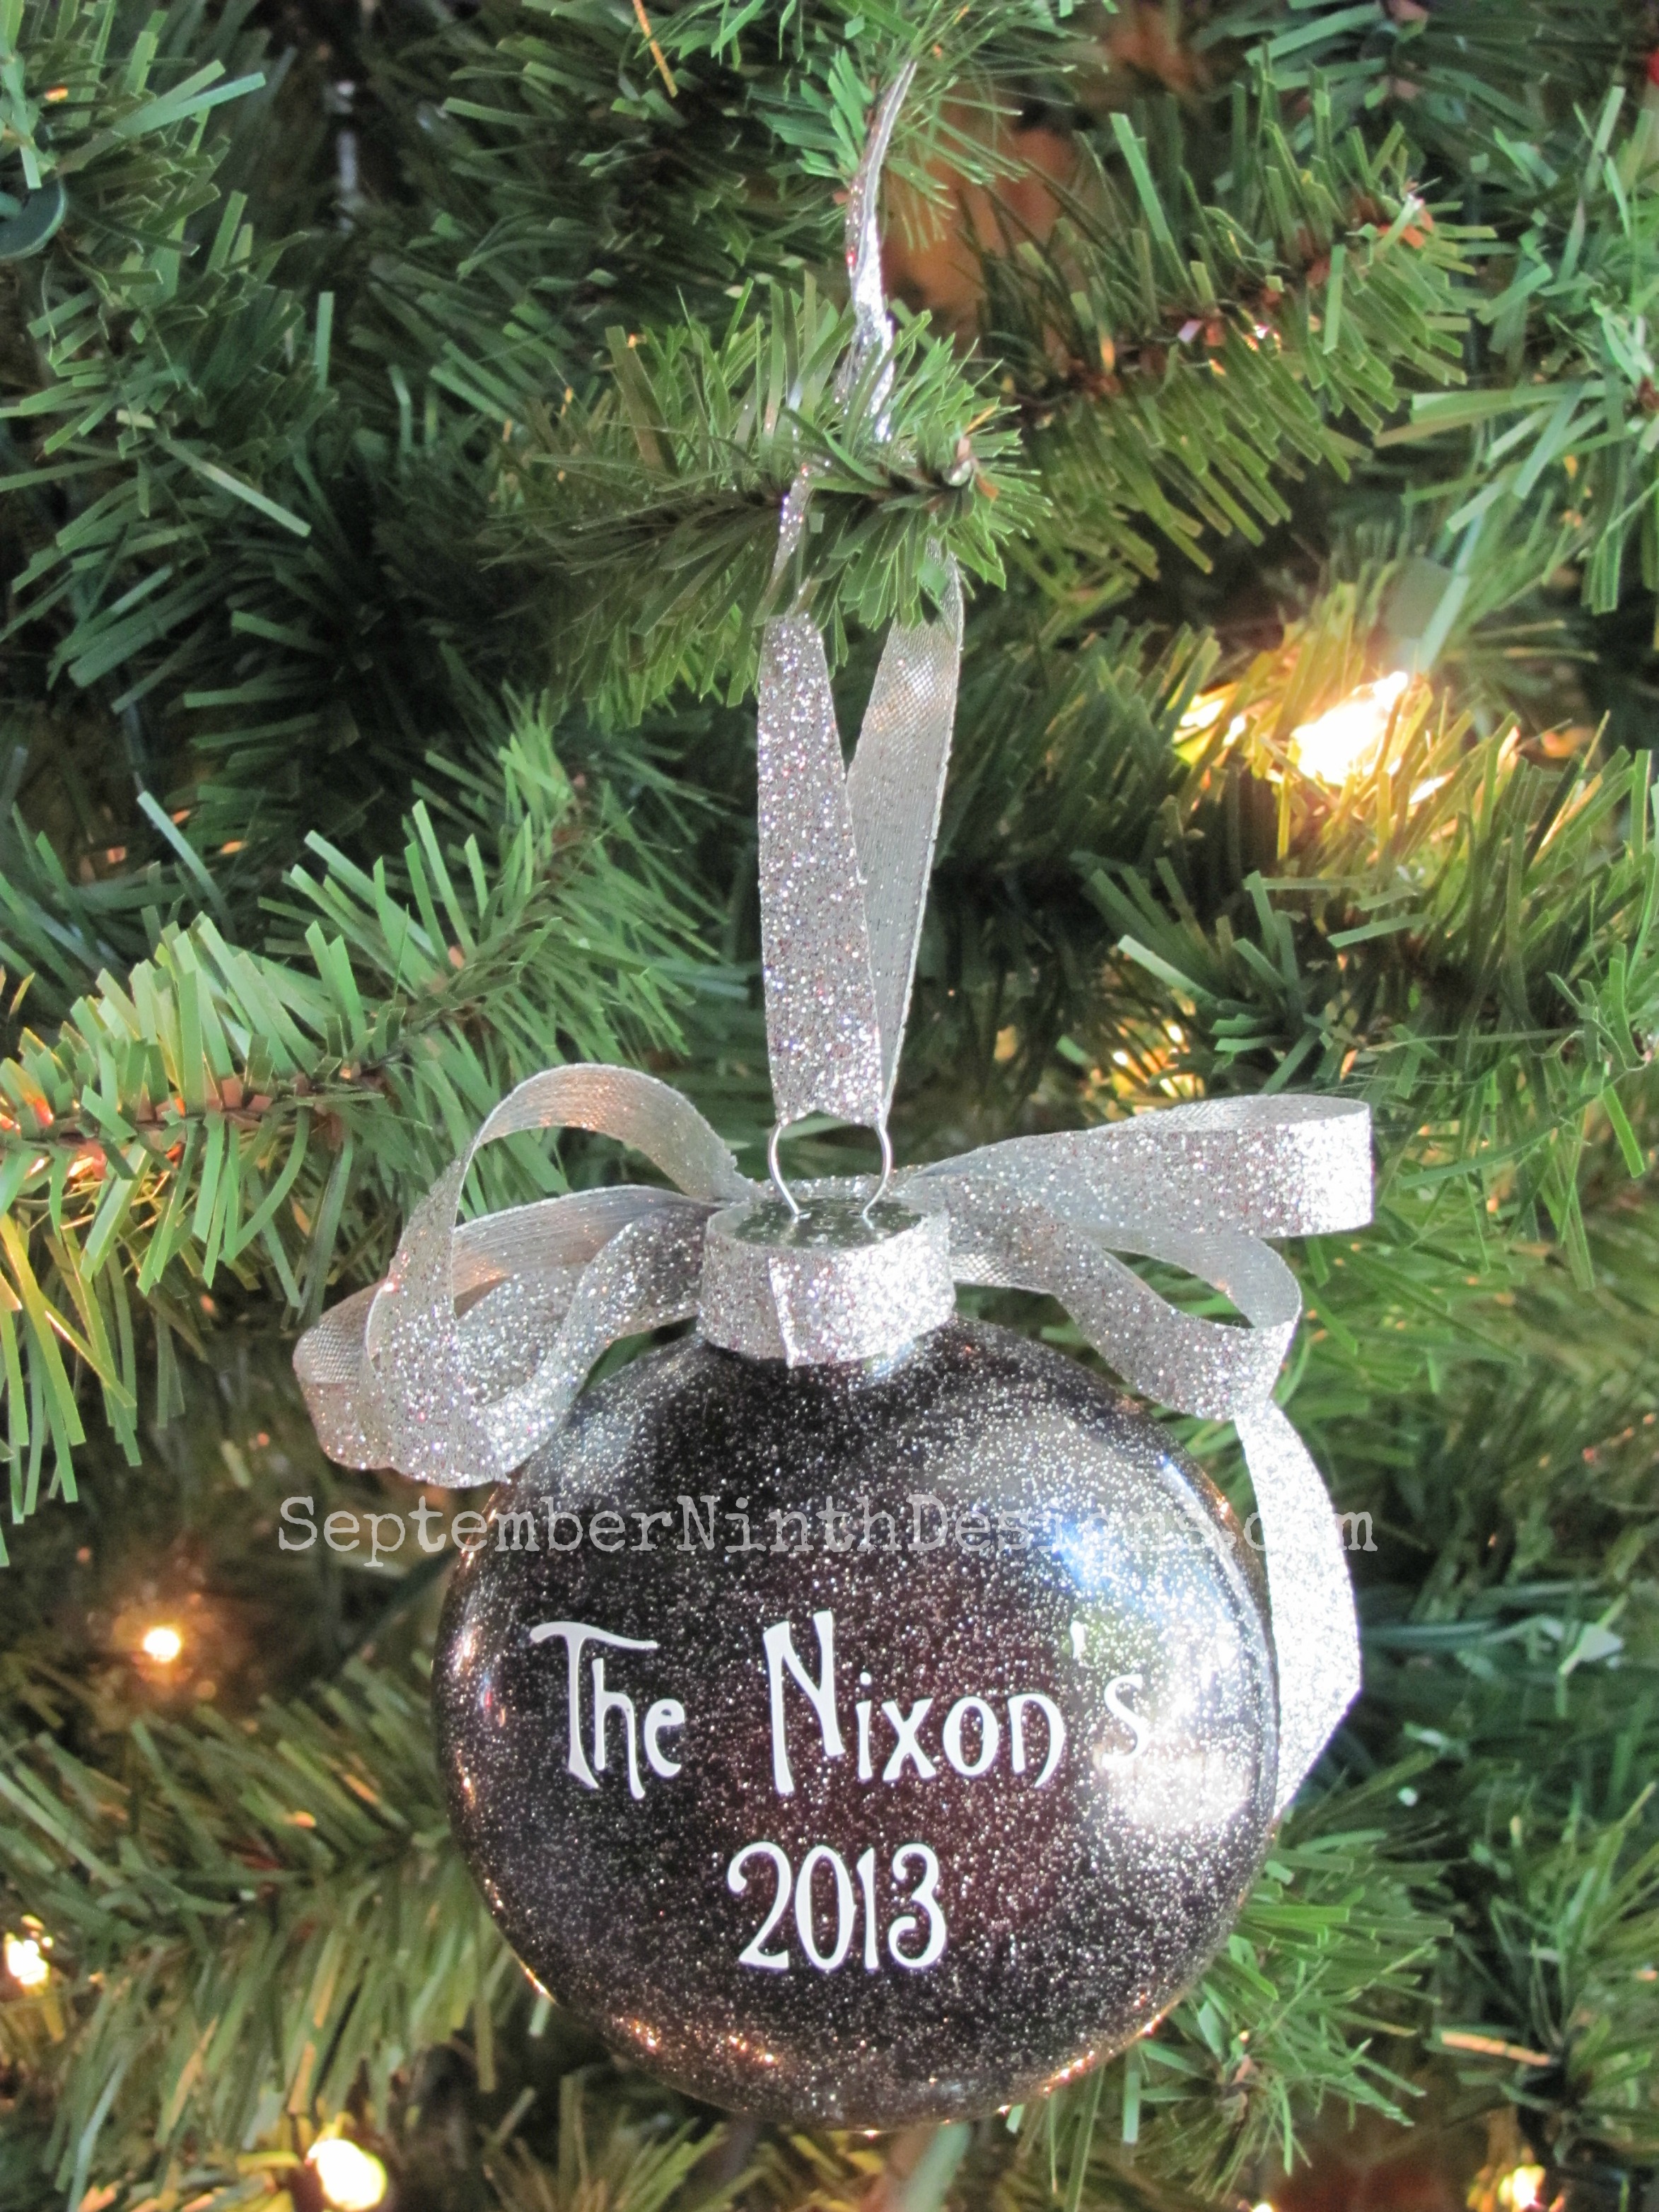
Ornament: Michael's
Glitter: Martha Stewart, Michael's
Glitter Ribbon: Michael's
Mop and Glo: Target
Black Vinyl: My Vinyl Direct
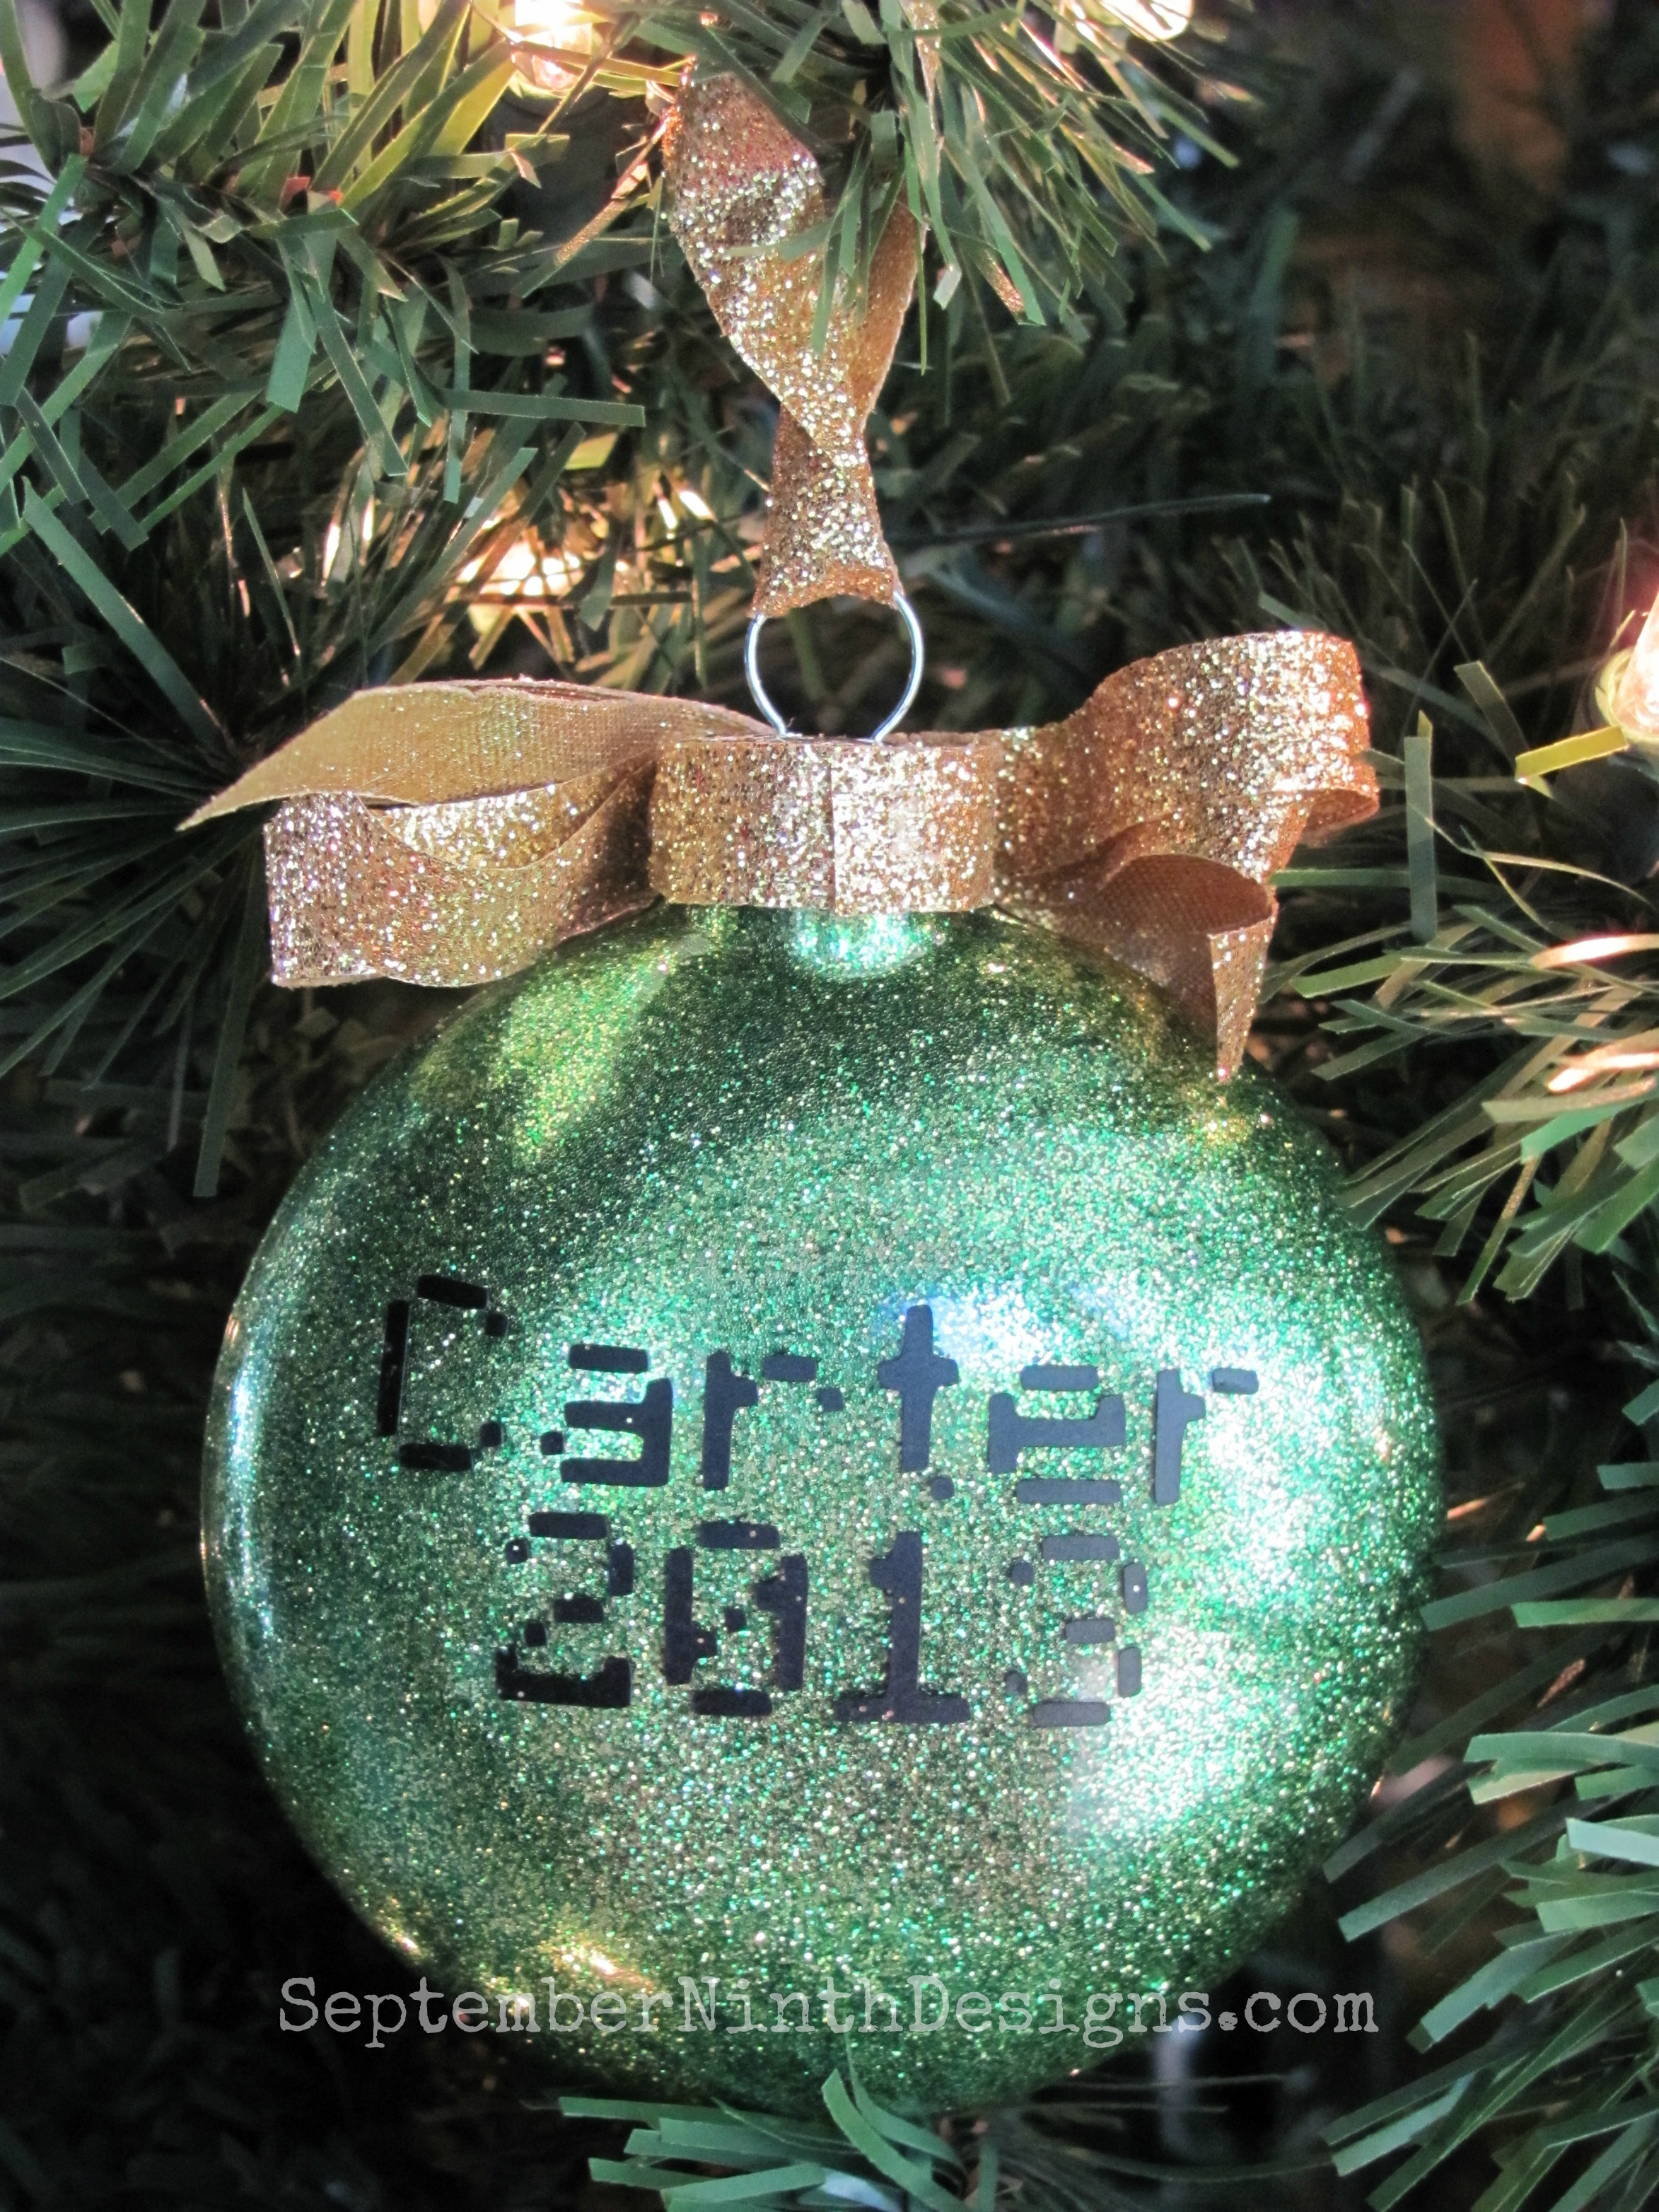
Glitter: Martha Stewart, Michael's
Glitter Ribbon: Michael's
Mop and Glo: Target
Black Vinyl: My Vinyl Direct
See? That was pretty painless right? Tomorrow is Christmas Eve... are you ready? I still have a few things to finish up, but I am happy to say that I will not be loosing any sleep tomorrow night. :)
Also... my winner from the MCt Farewell blog hop is...
Brenda Porter!!!
Congrats Brenda! Emma will be contacting you for your info!
I hope you have a wonderful day!