

Showing posts with label Vinyl. Show all posts

December 17, 2013

Glitter Ornaments - Take Two

Happy Tuesday!!!

I have a few more ornaments to share with you today. I had a lot of fun making these. Although, vinyl can be a bit tricky... I think the more I use/work with it the easier it will be. I hope so anyway. :)
1-1
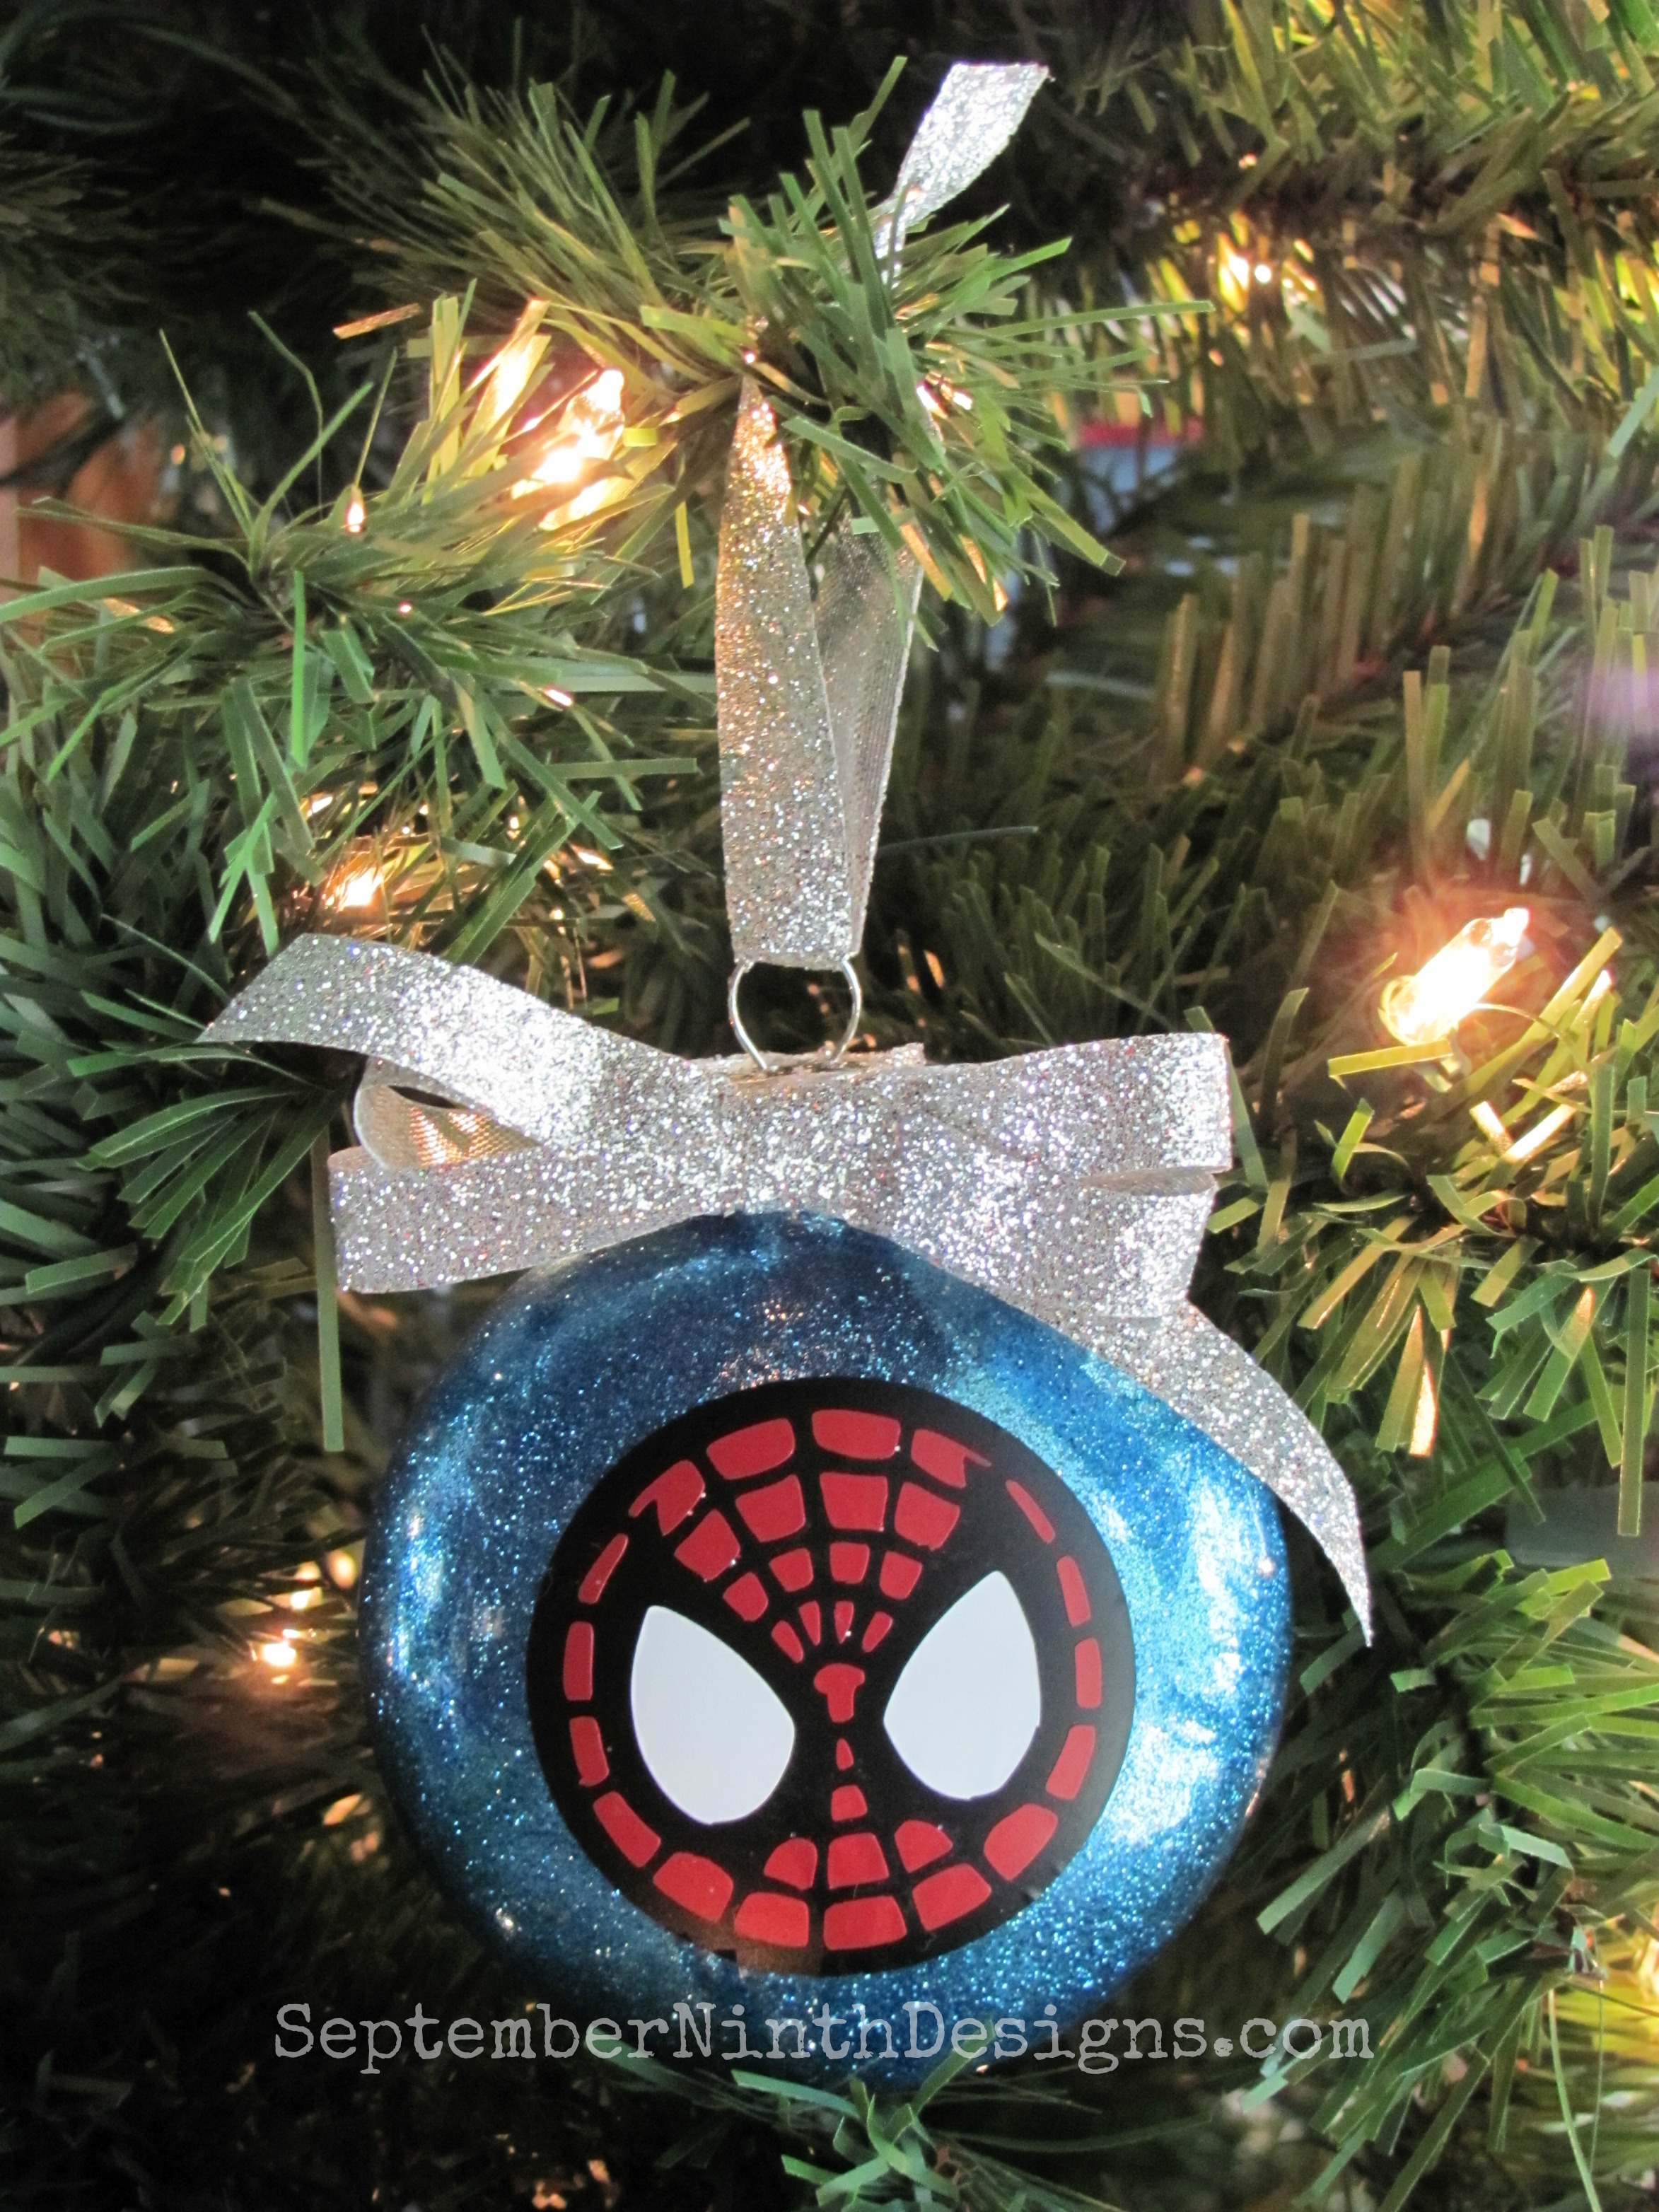
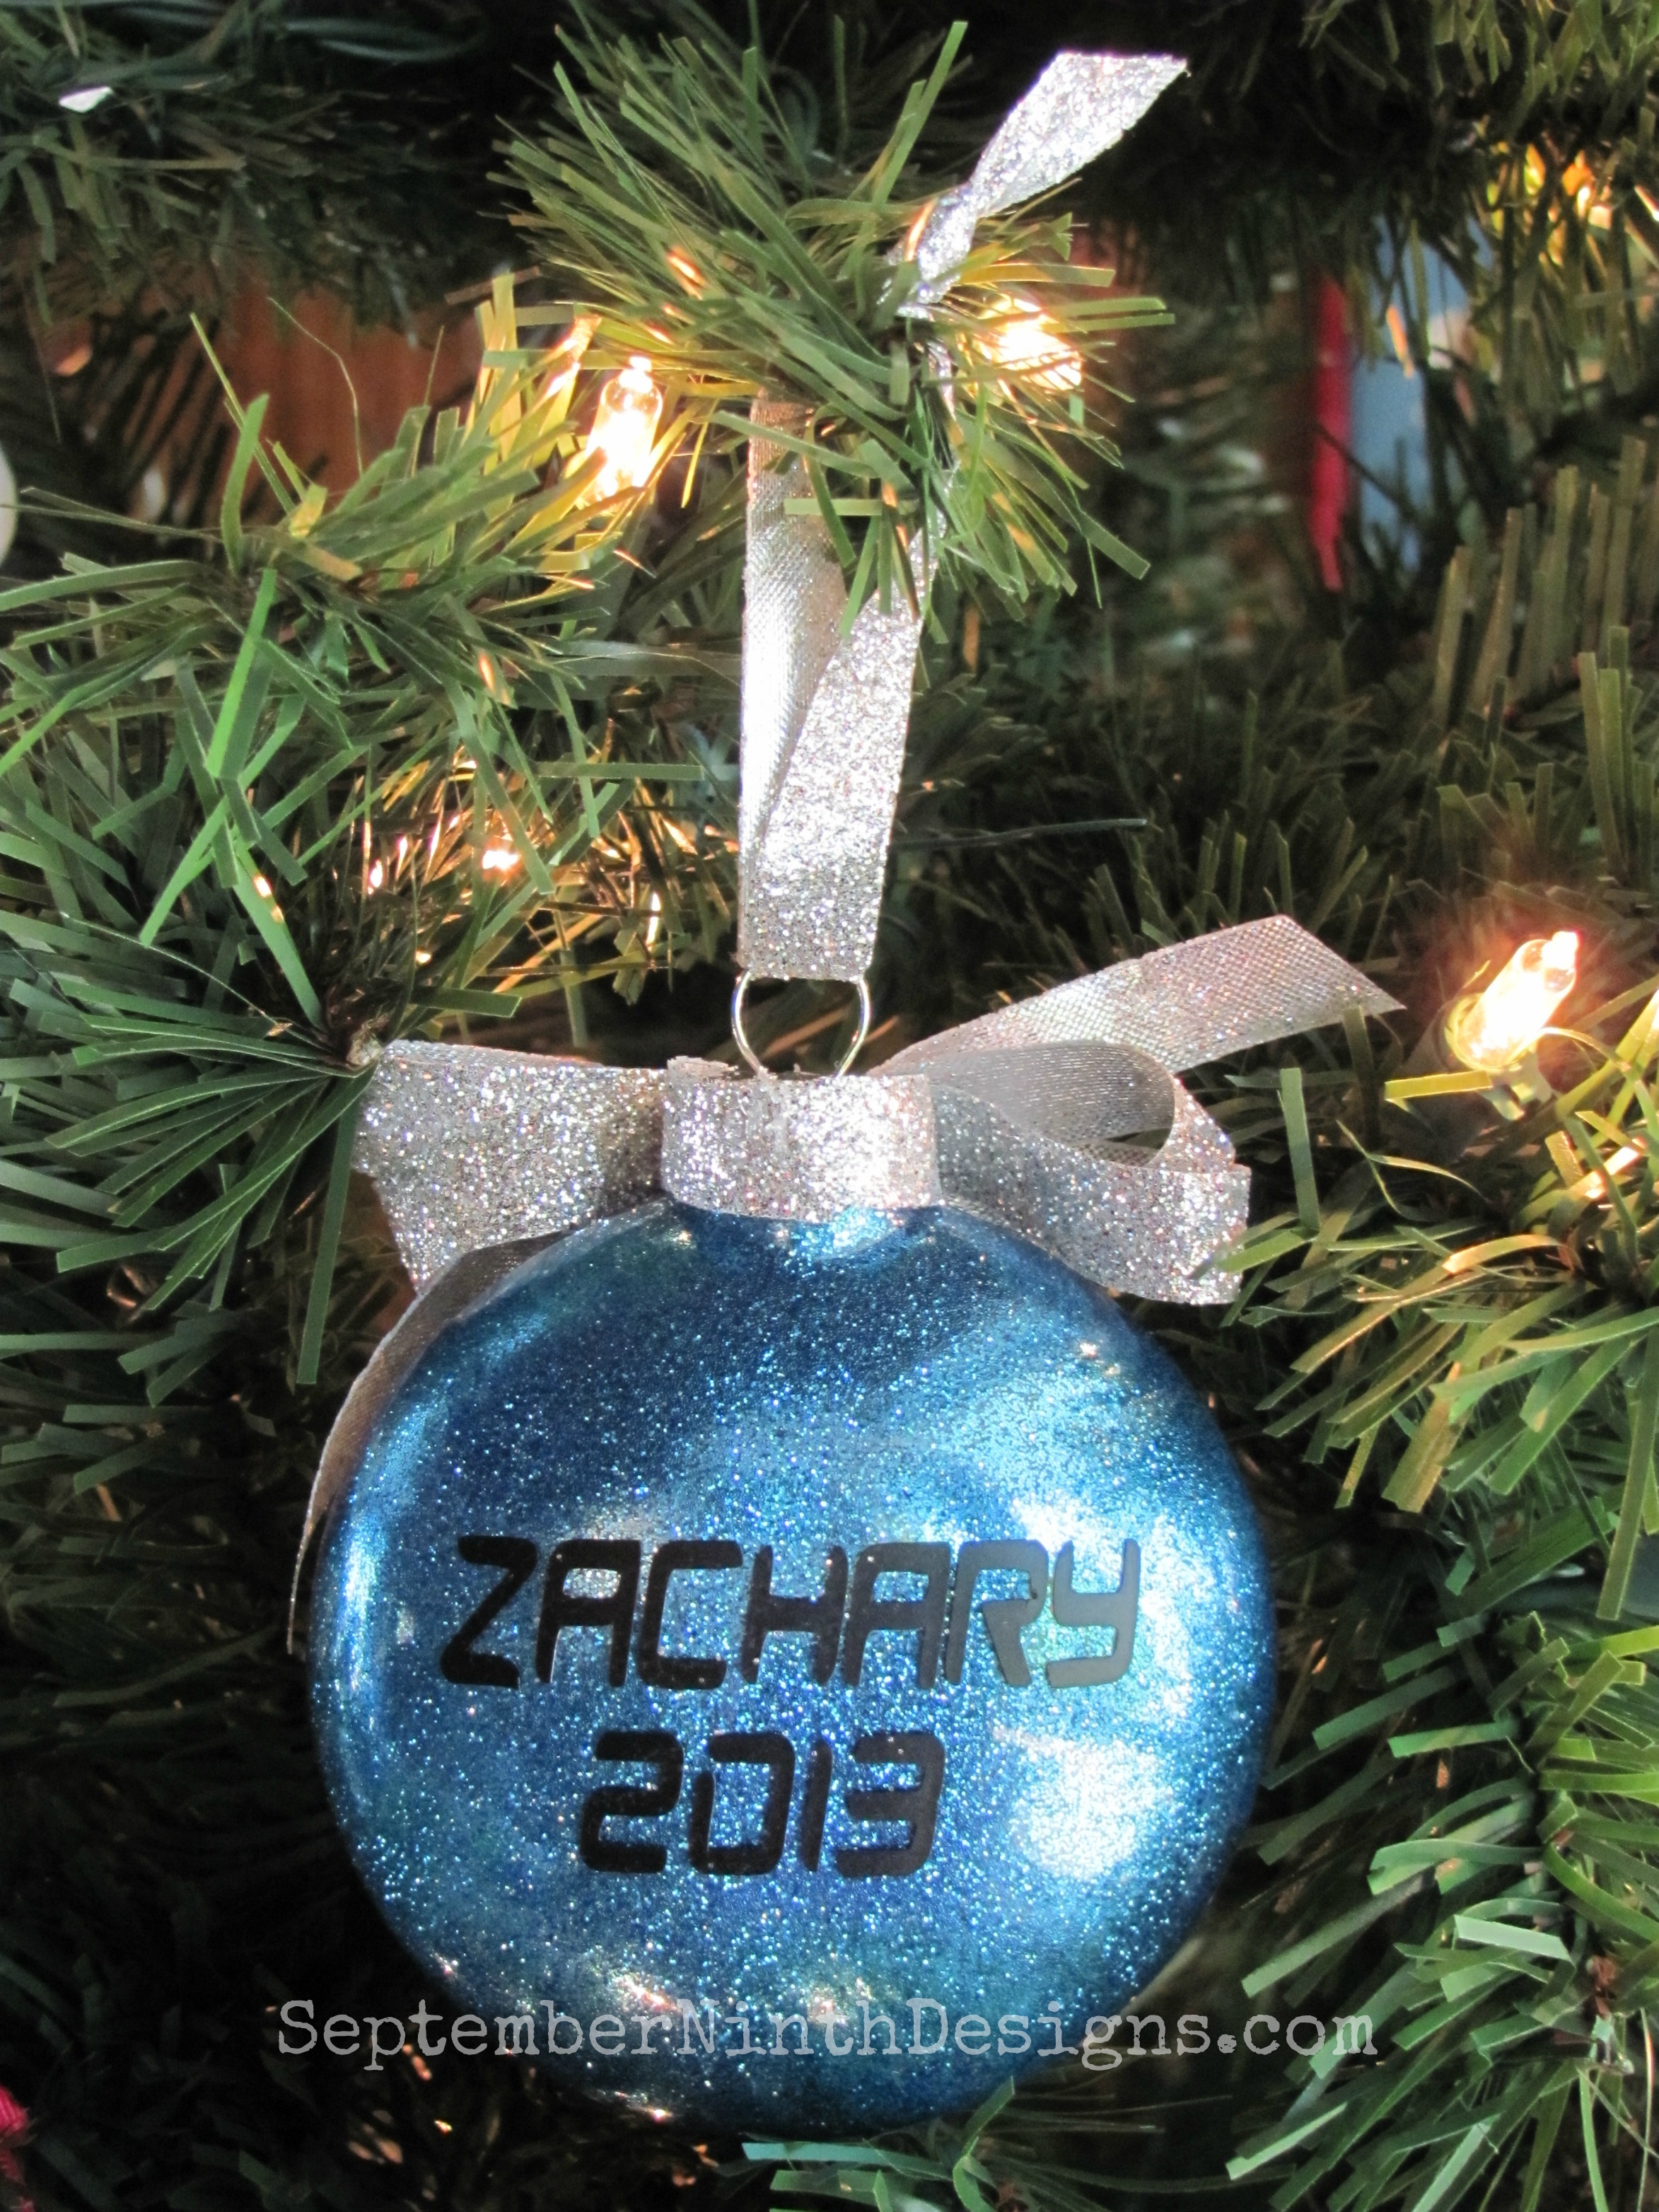
Z is all about Spiderman these days, so I had to make him an ornament. I found the cut file in the Happy SIL group on FB. The link to the file is below.
2-2
I found a free Spiderman type font online. The link to that is below as well. 
1-1
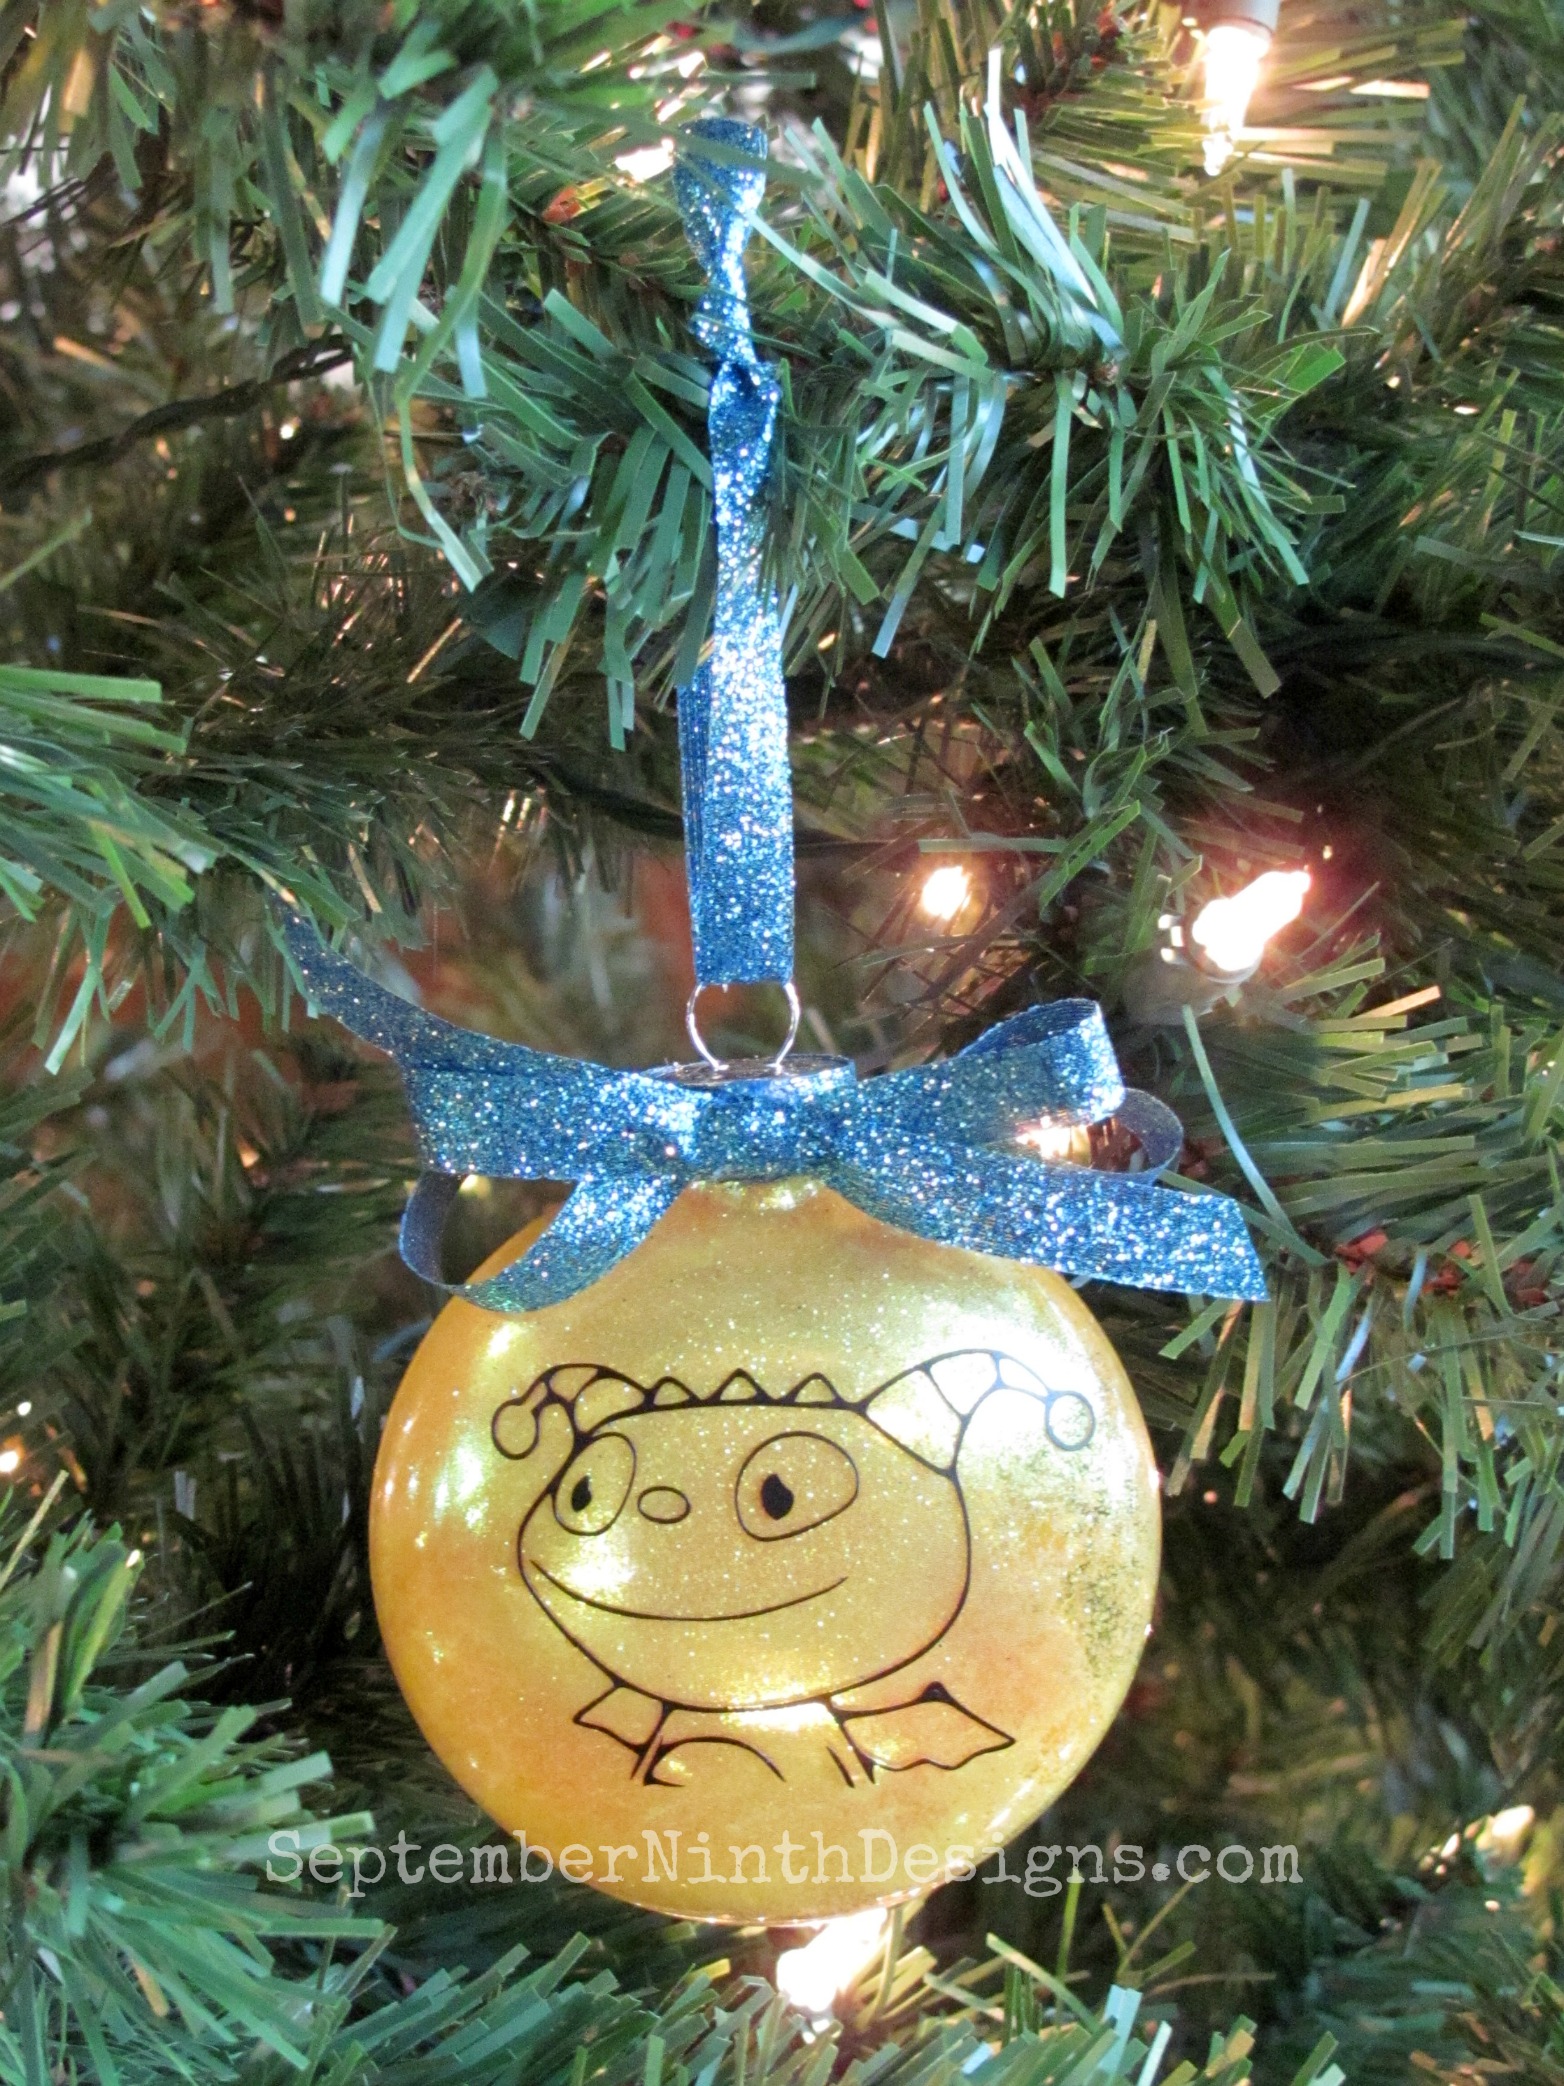
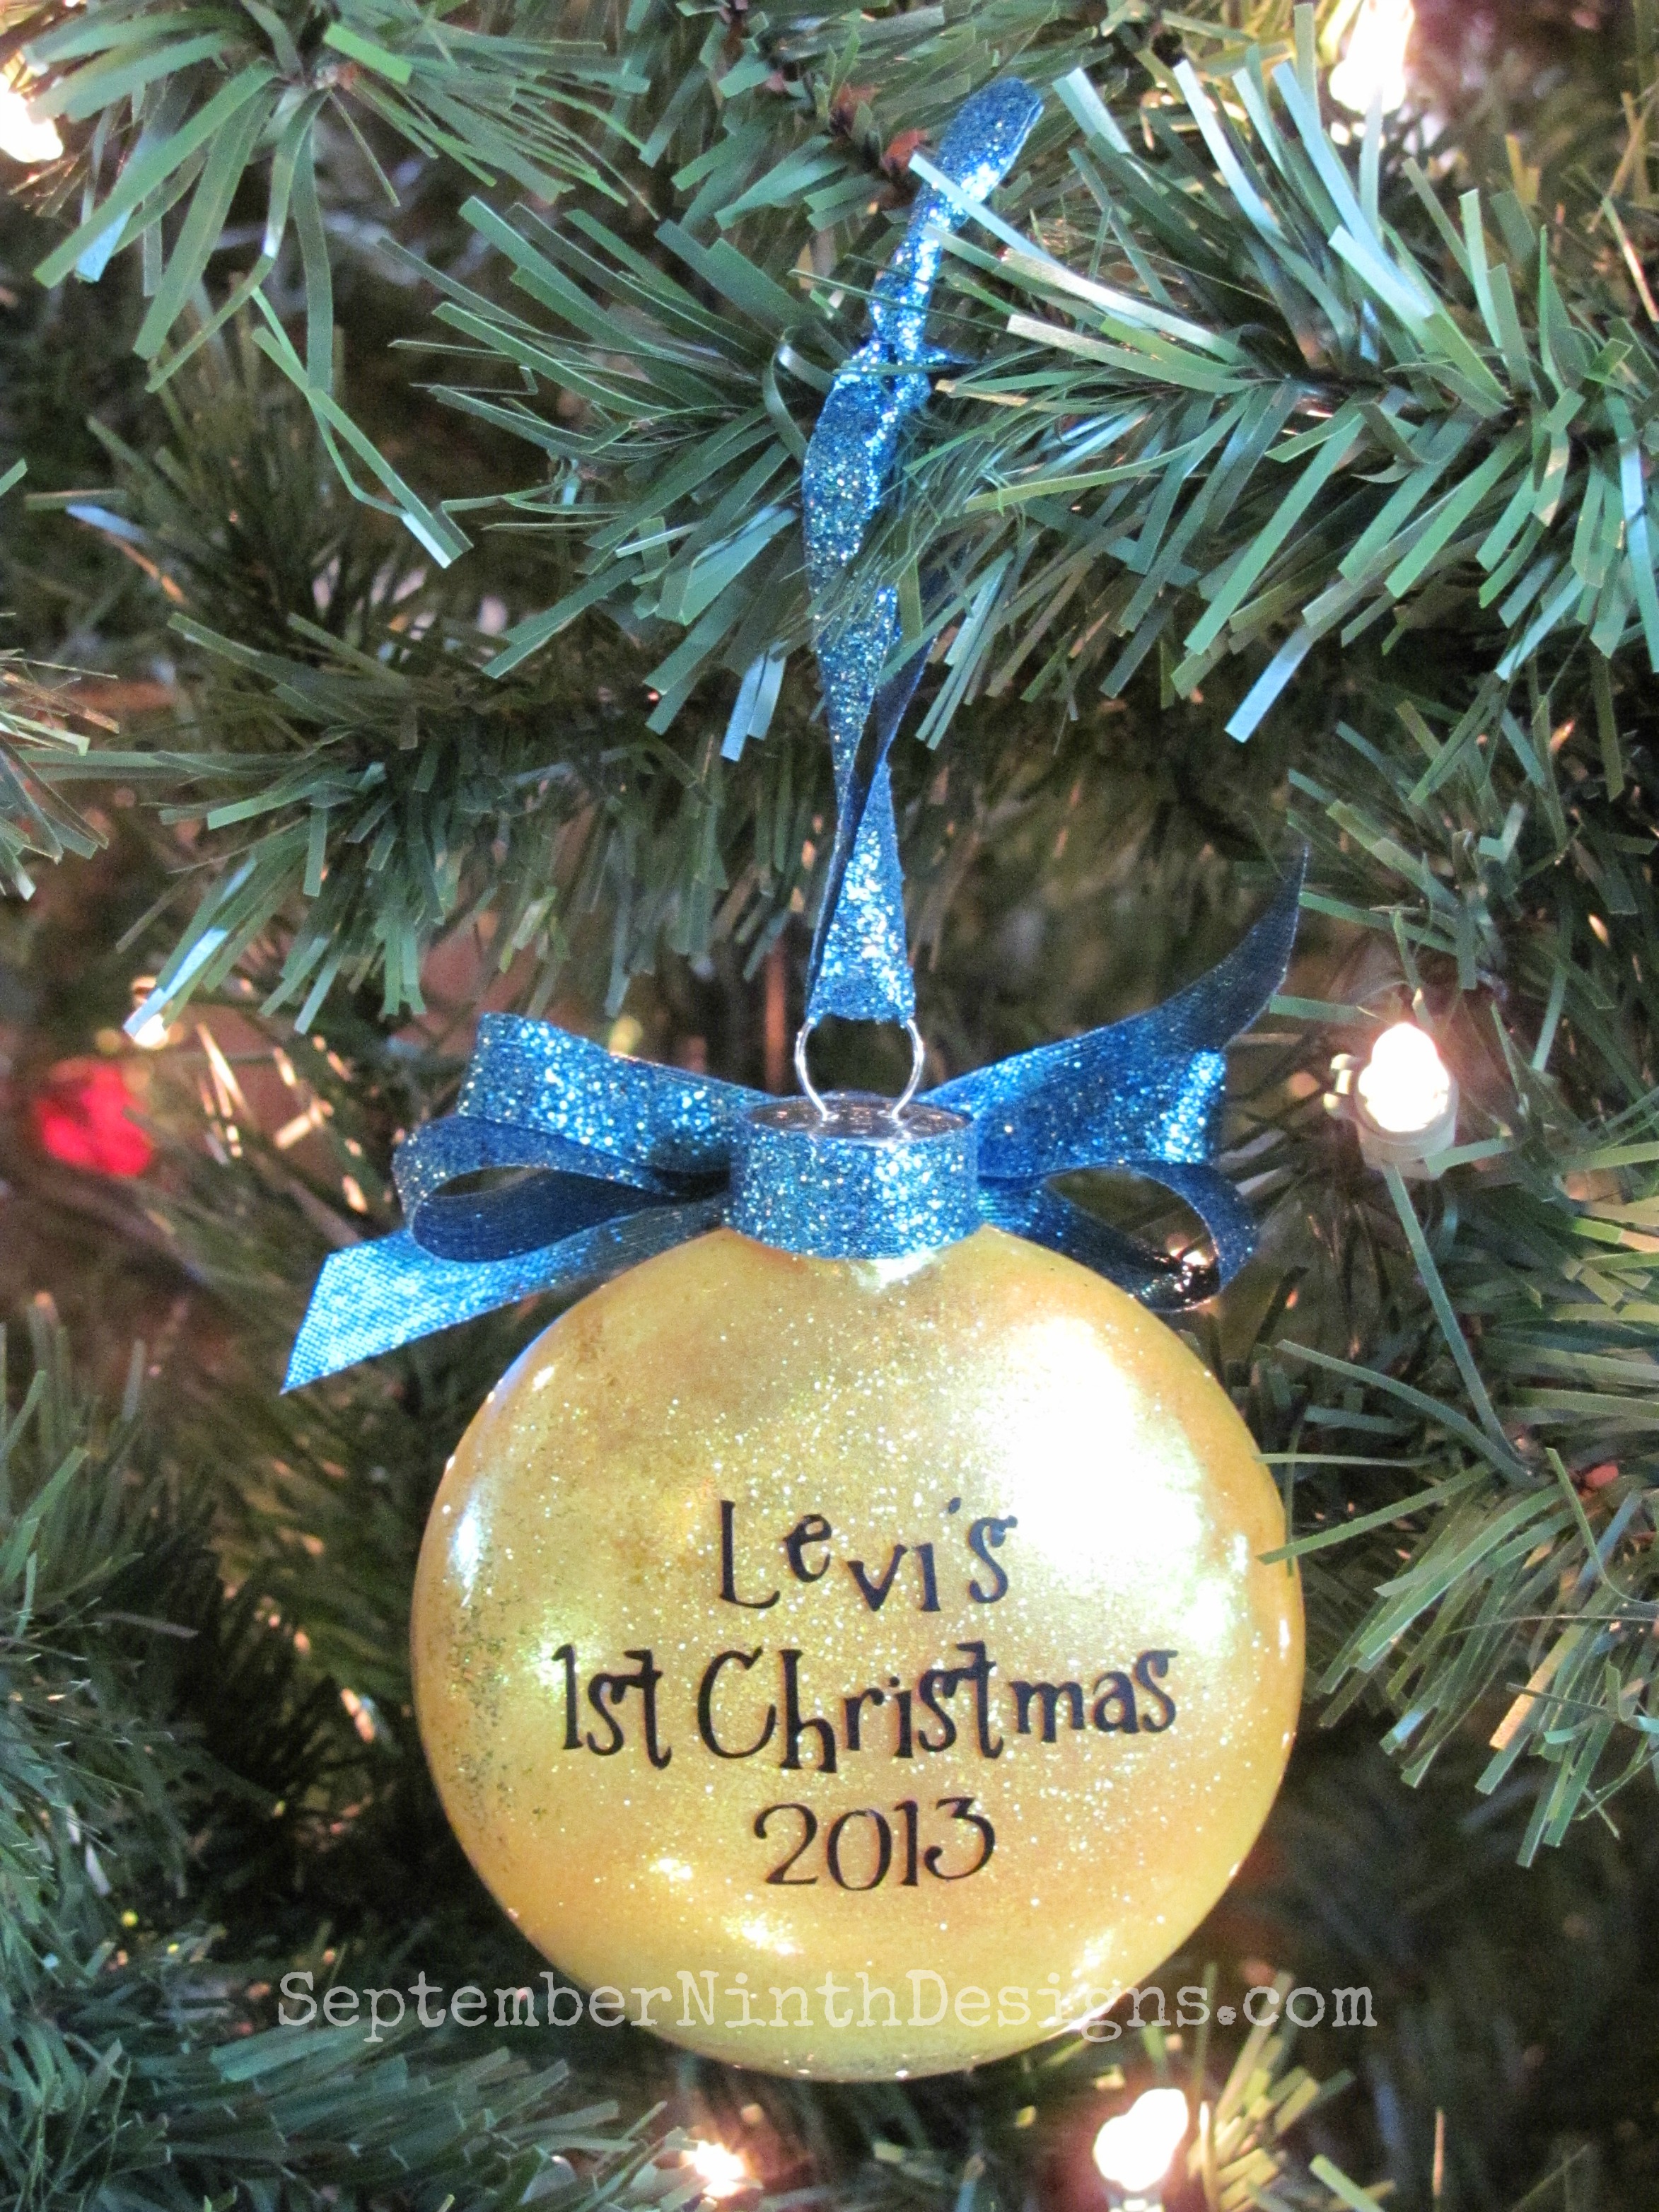
I made this one for L. He is our little monster and so I figured Henry Hugglemoster fit him well. I found a free coloring page online and traced it in MTC. I have the file as a freebie below.
2-2
This font is called Mister Giggles and I thought it fit Henry well. It's a free font from 2Peas. The link is below.
5-5
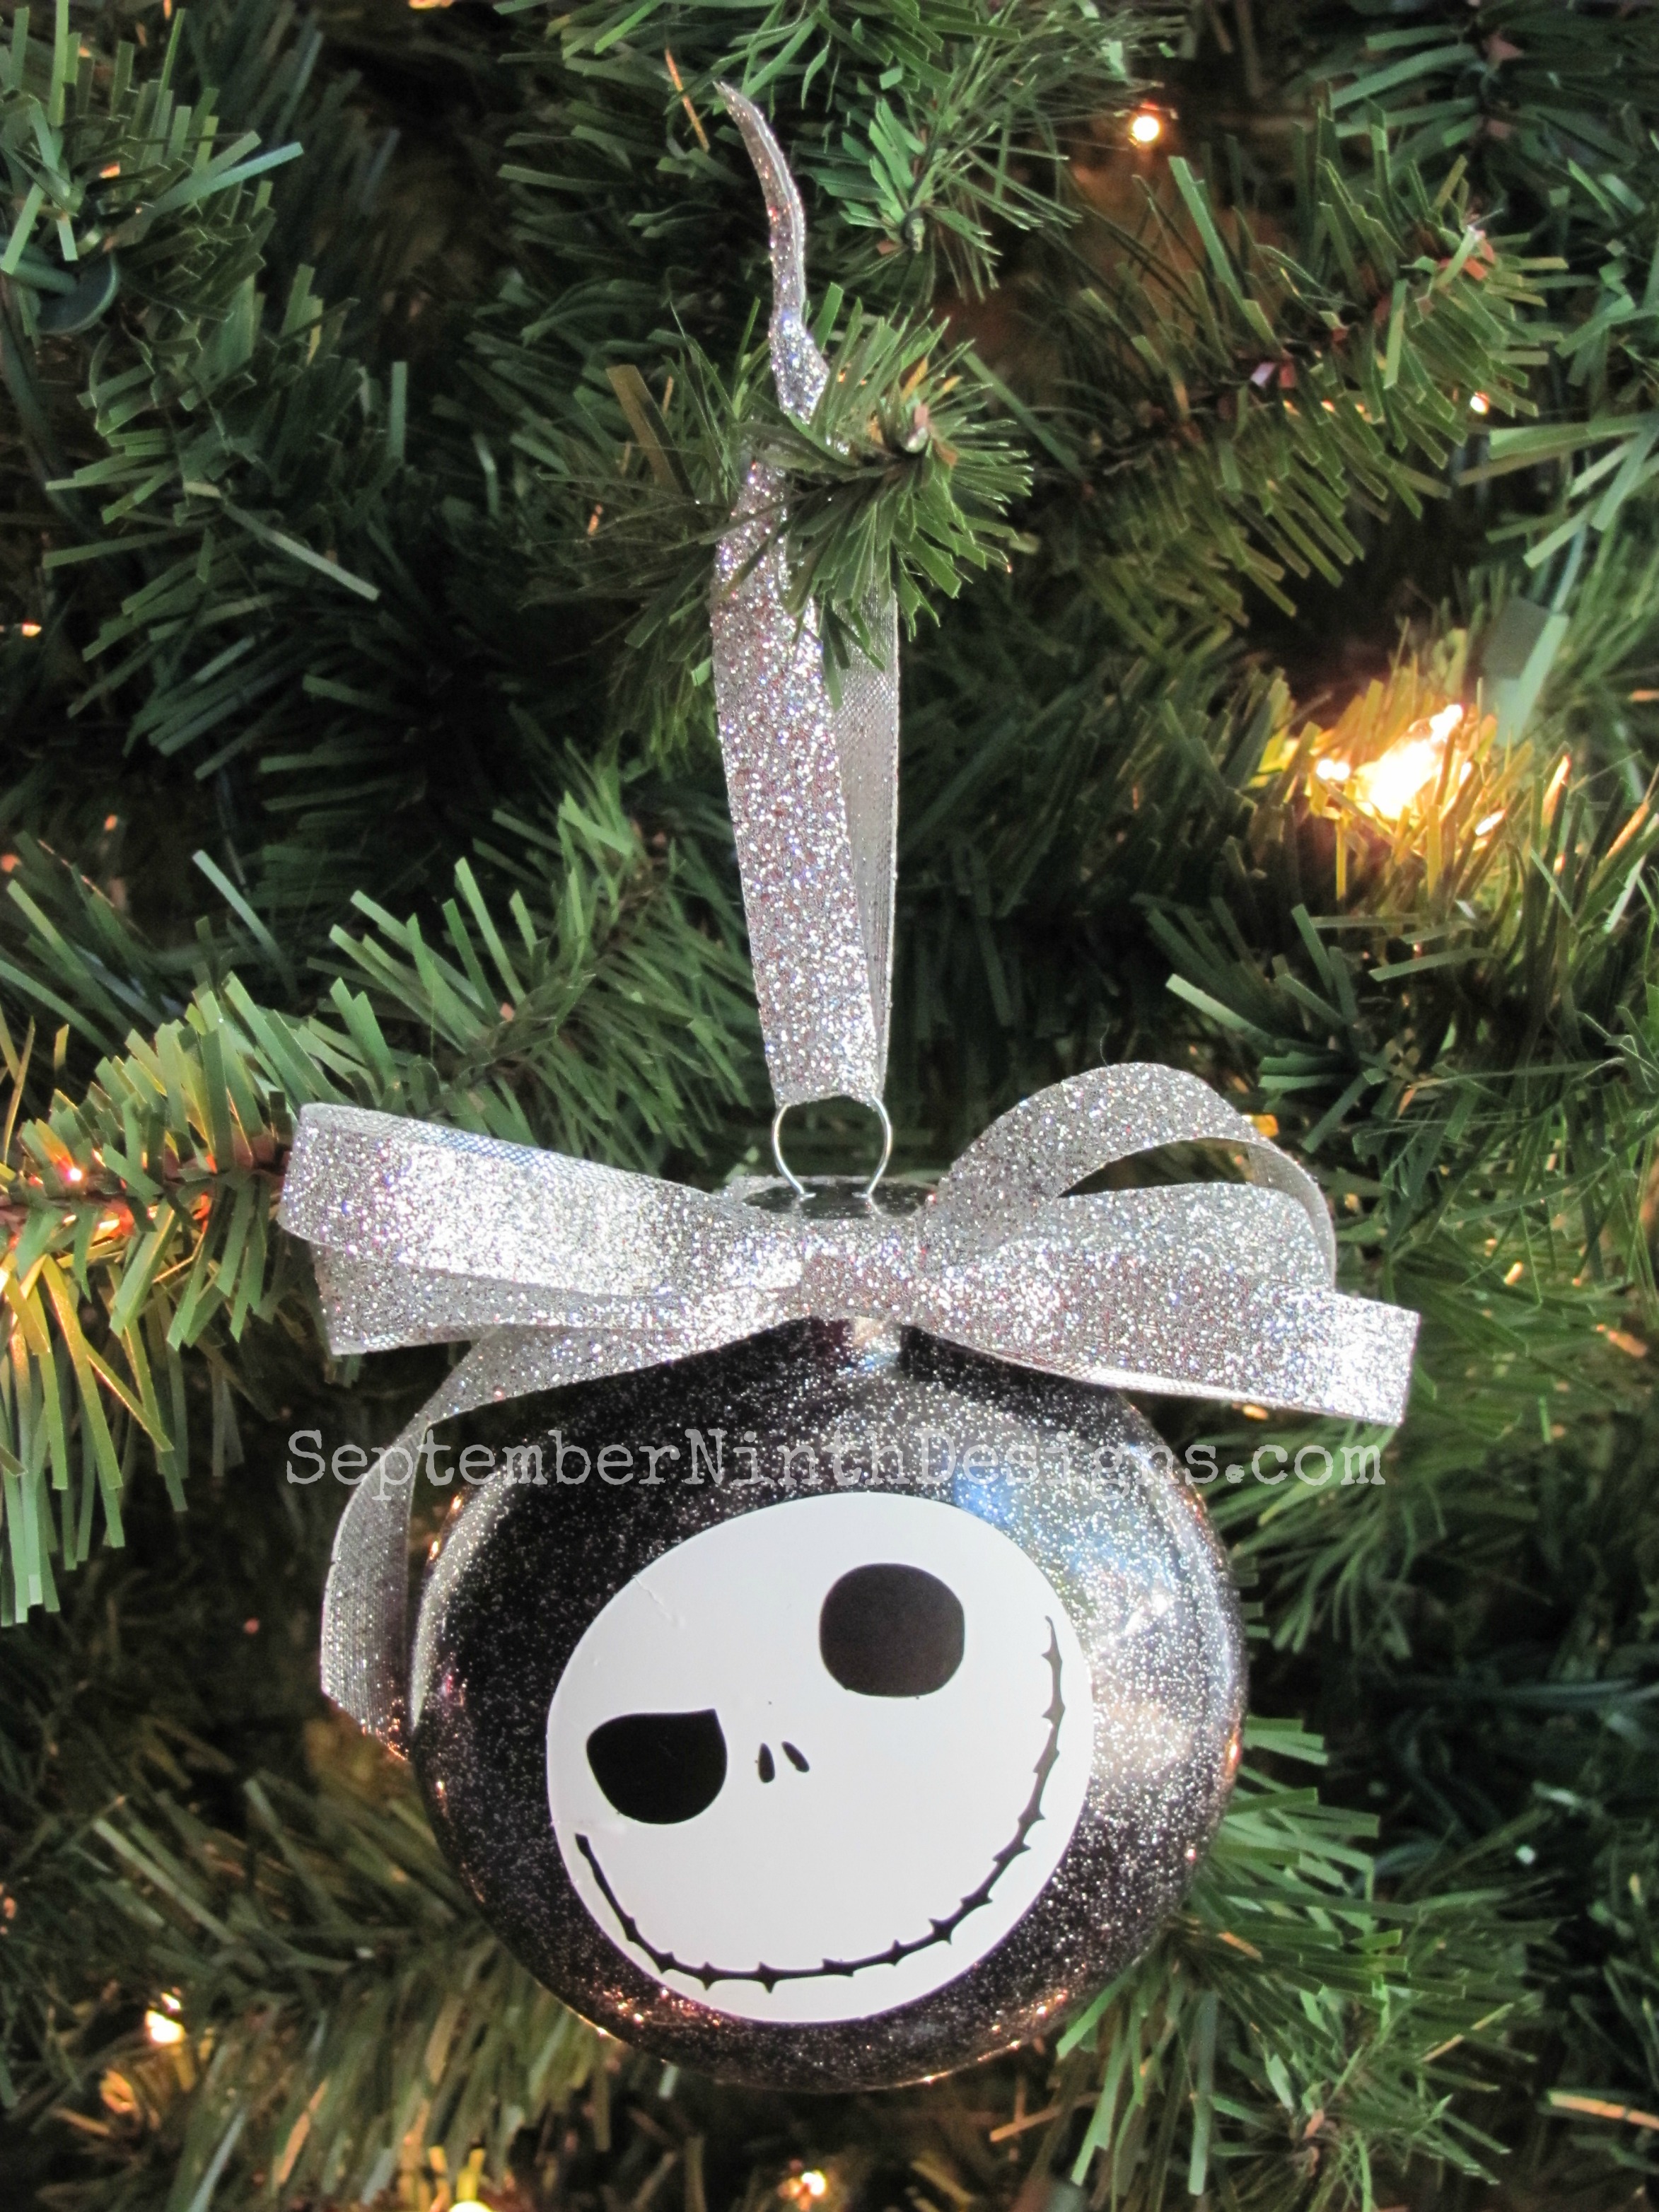
My brother is a Nightmare fan, so looked online and found a drawing of this Jack. I traced it in MTC, and have the link to the freebie file below.  
6-6
I found this Nightmare font online as well, it is also a free file and is listed/linked below.

~Product List~
Glass Ornaments: Michael's
Glitter: Martha Stewart, Michael's
Glitter Ribbon: Michael's
Mop and Glo: Target
Black Vinyl: My Vinyl Direct
Spiderman SVG:  Found Here (Happy SIL Group on FB)
Spiderman Font:  Amazing Spider Man
Henry SVG: Freebie
Jack Skellington SVG: Freebie
Nightmare Font: Burton's Nightmare Font

Have I told you that pretty much every surface in my craft room/studio is covered in glitter?

I hope you have a wonderful day!

December 11, 2013

Glitter Ornaments

Happy Wednesday!!!

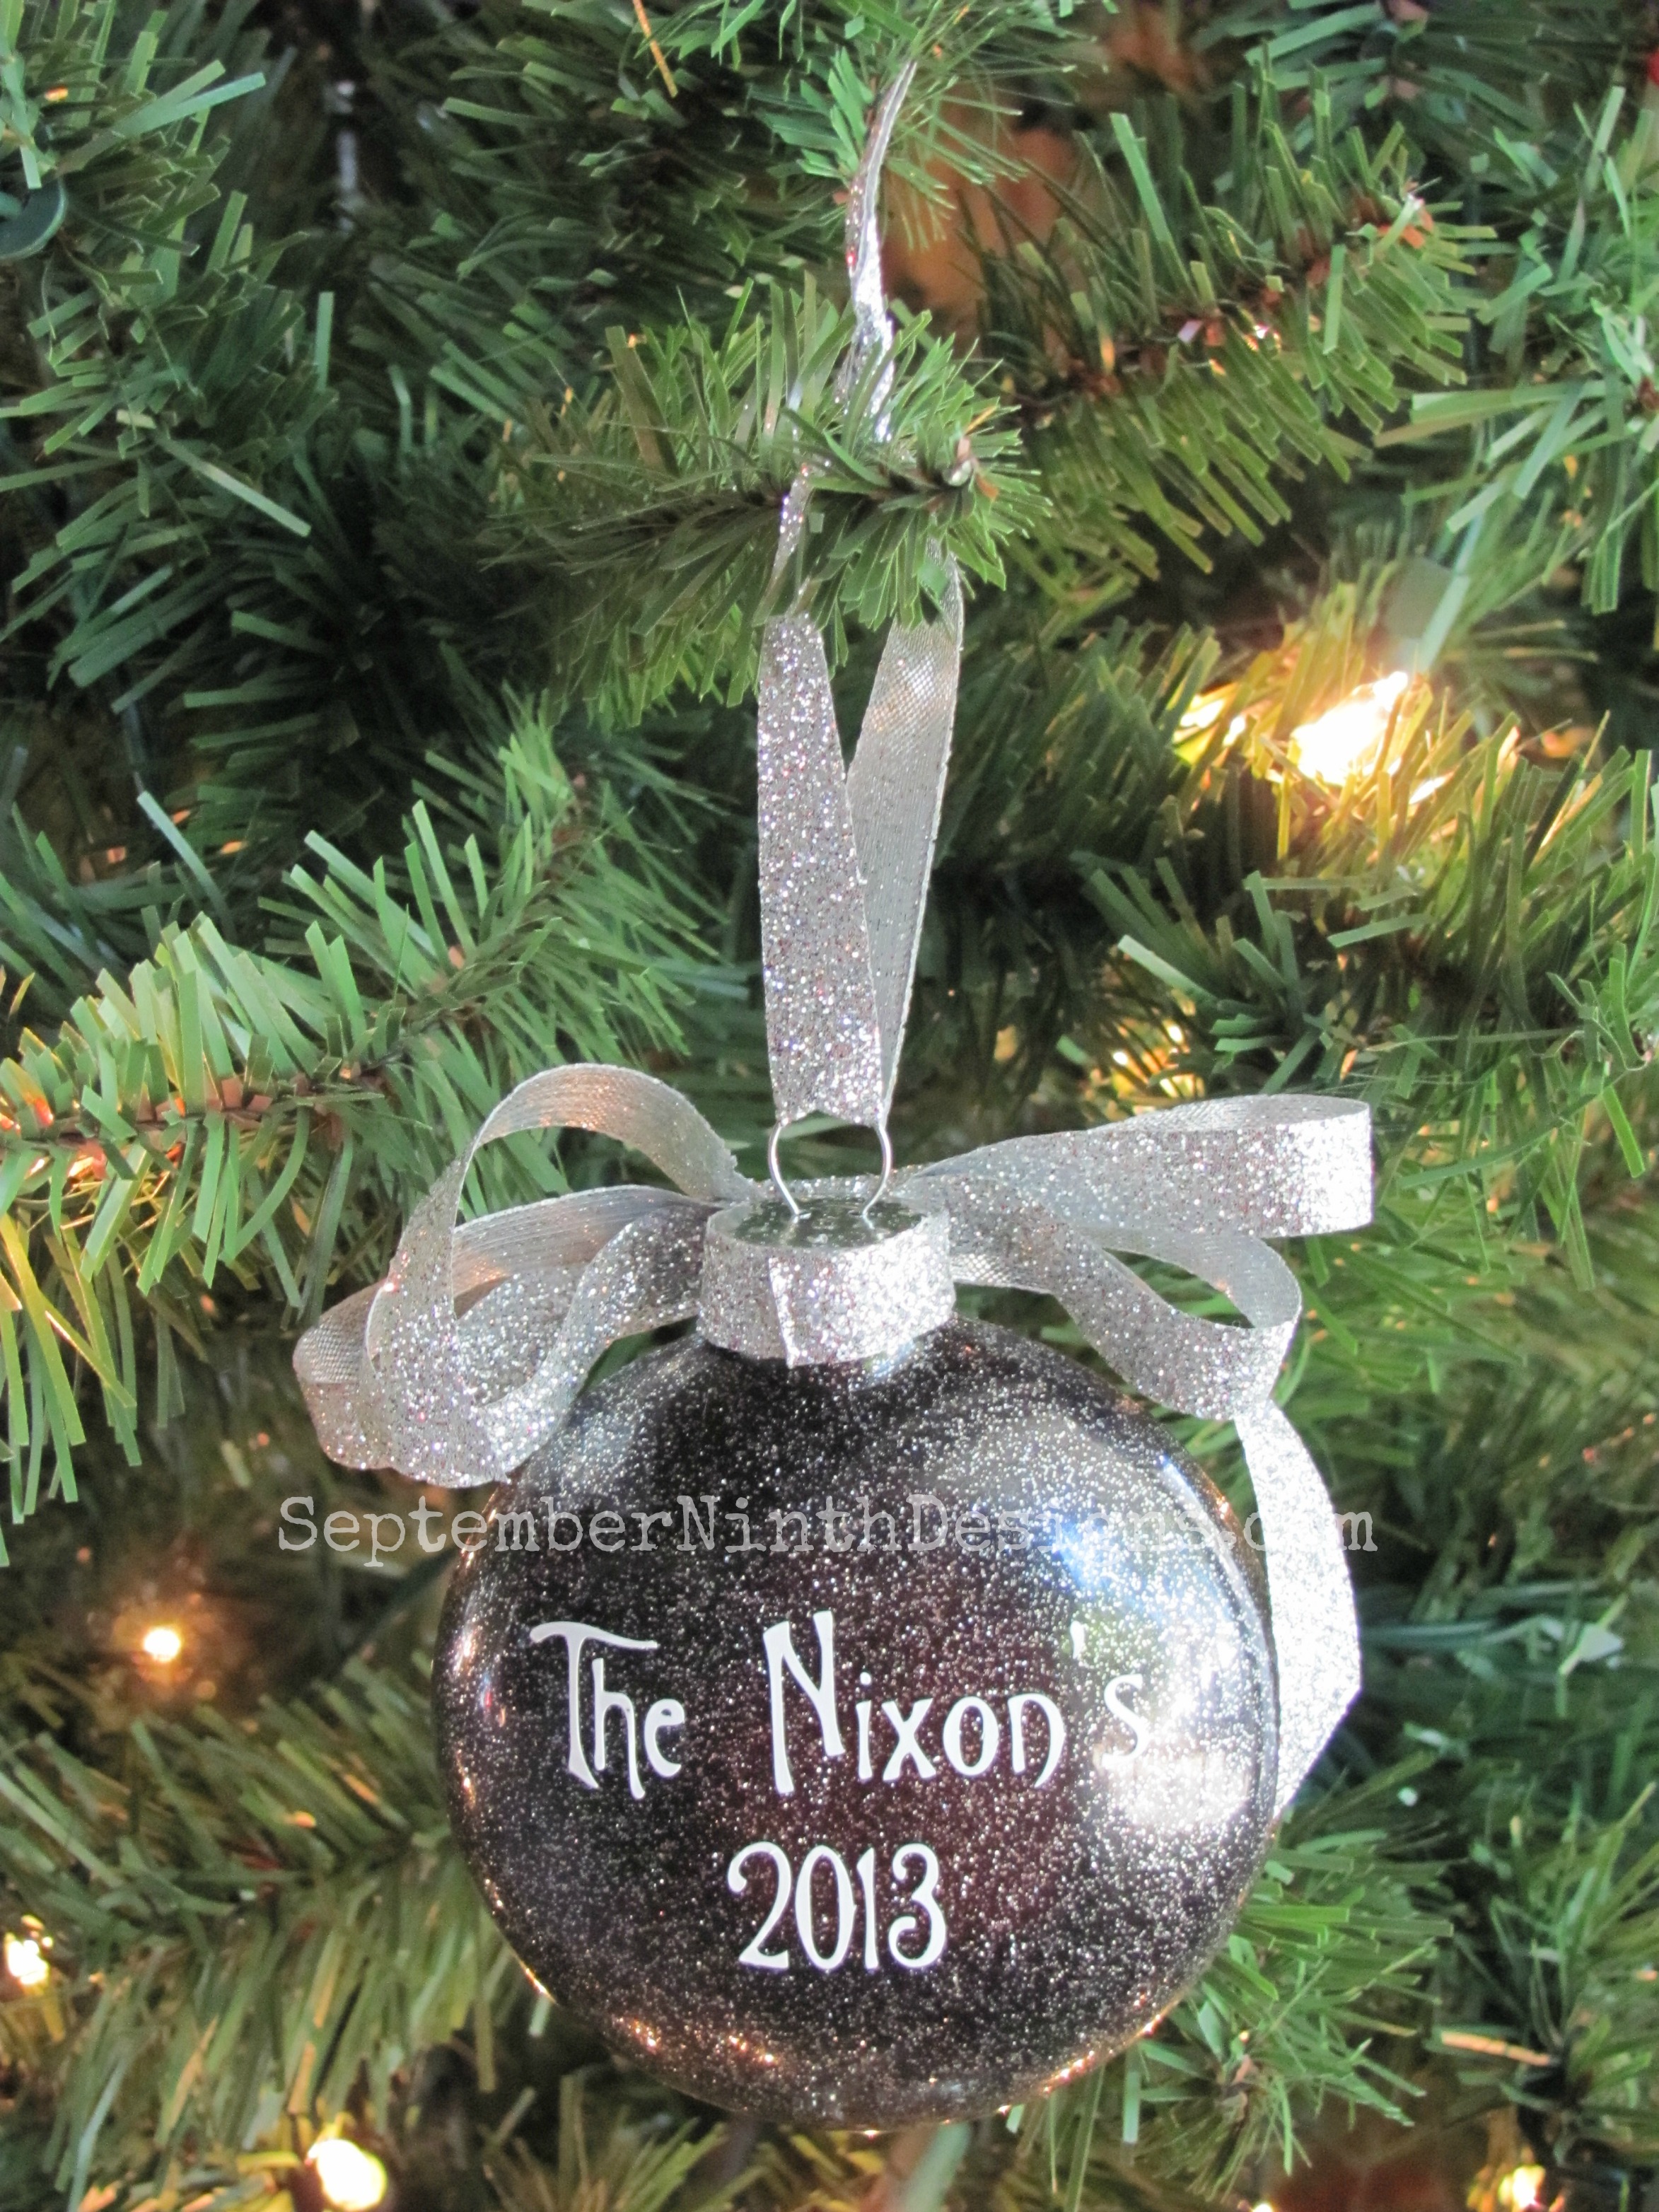
I have been working on making Christmas presents the last couple weeks. I try to always make something handmade each year. At the last minute, on Sunday, I decided to make customized glitter ornaments because what's 30 more custom ornaments added to my list, right?
1-1
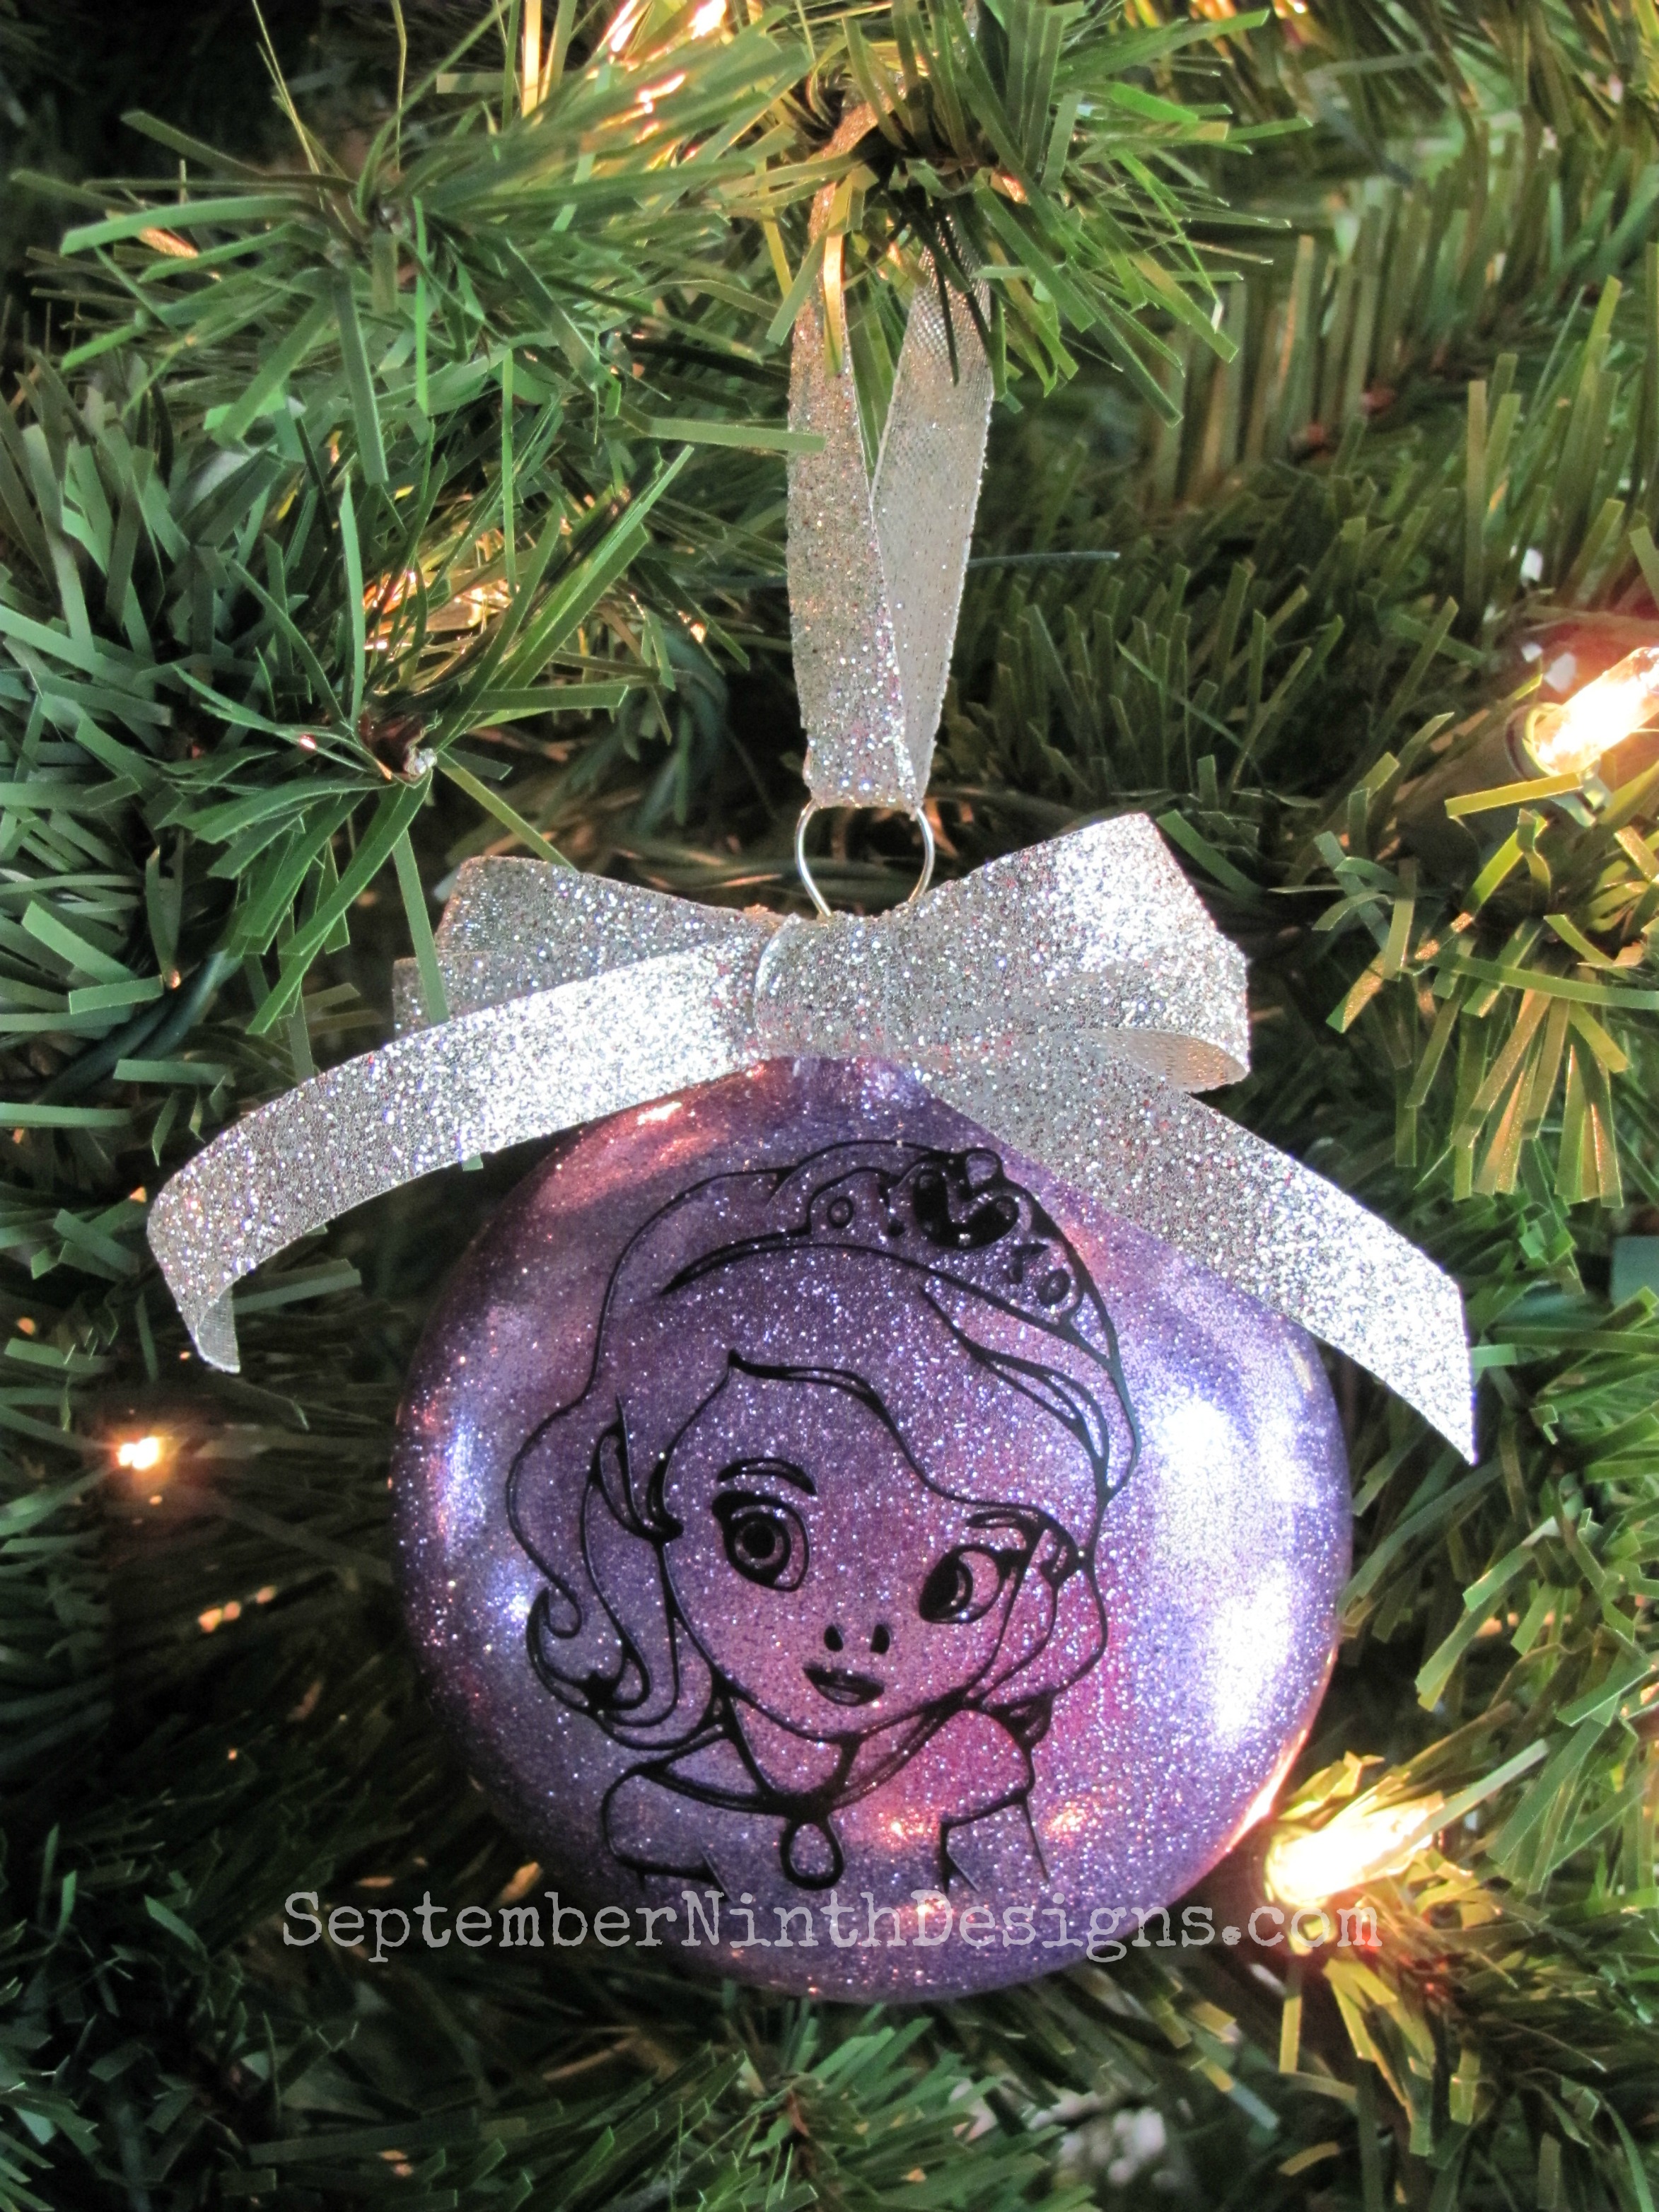
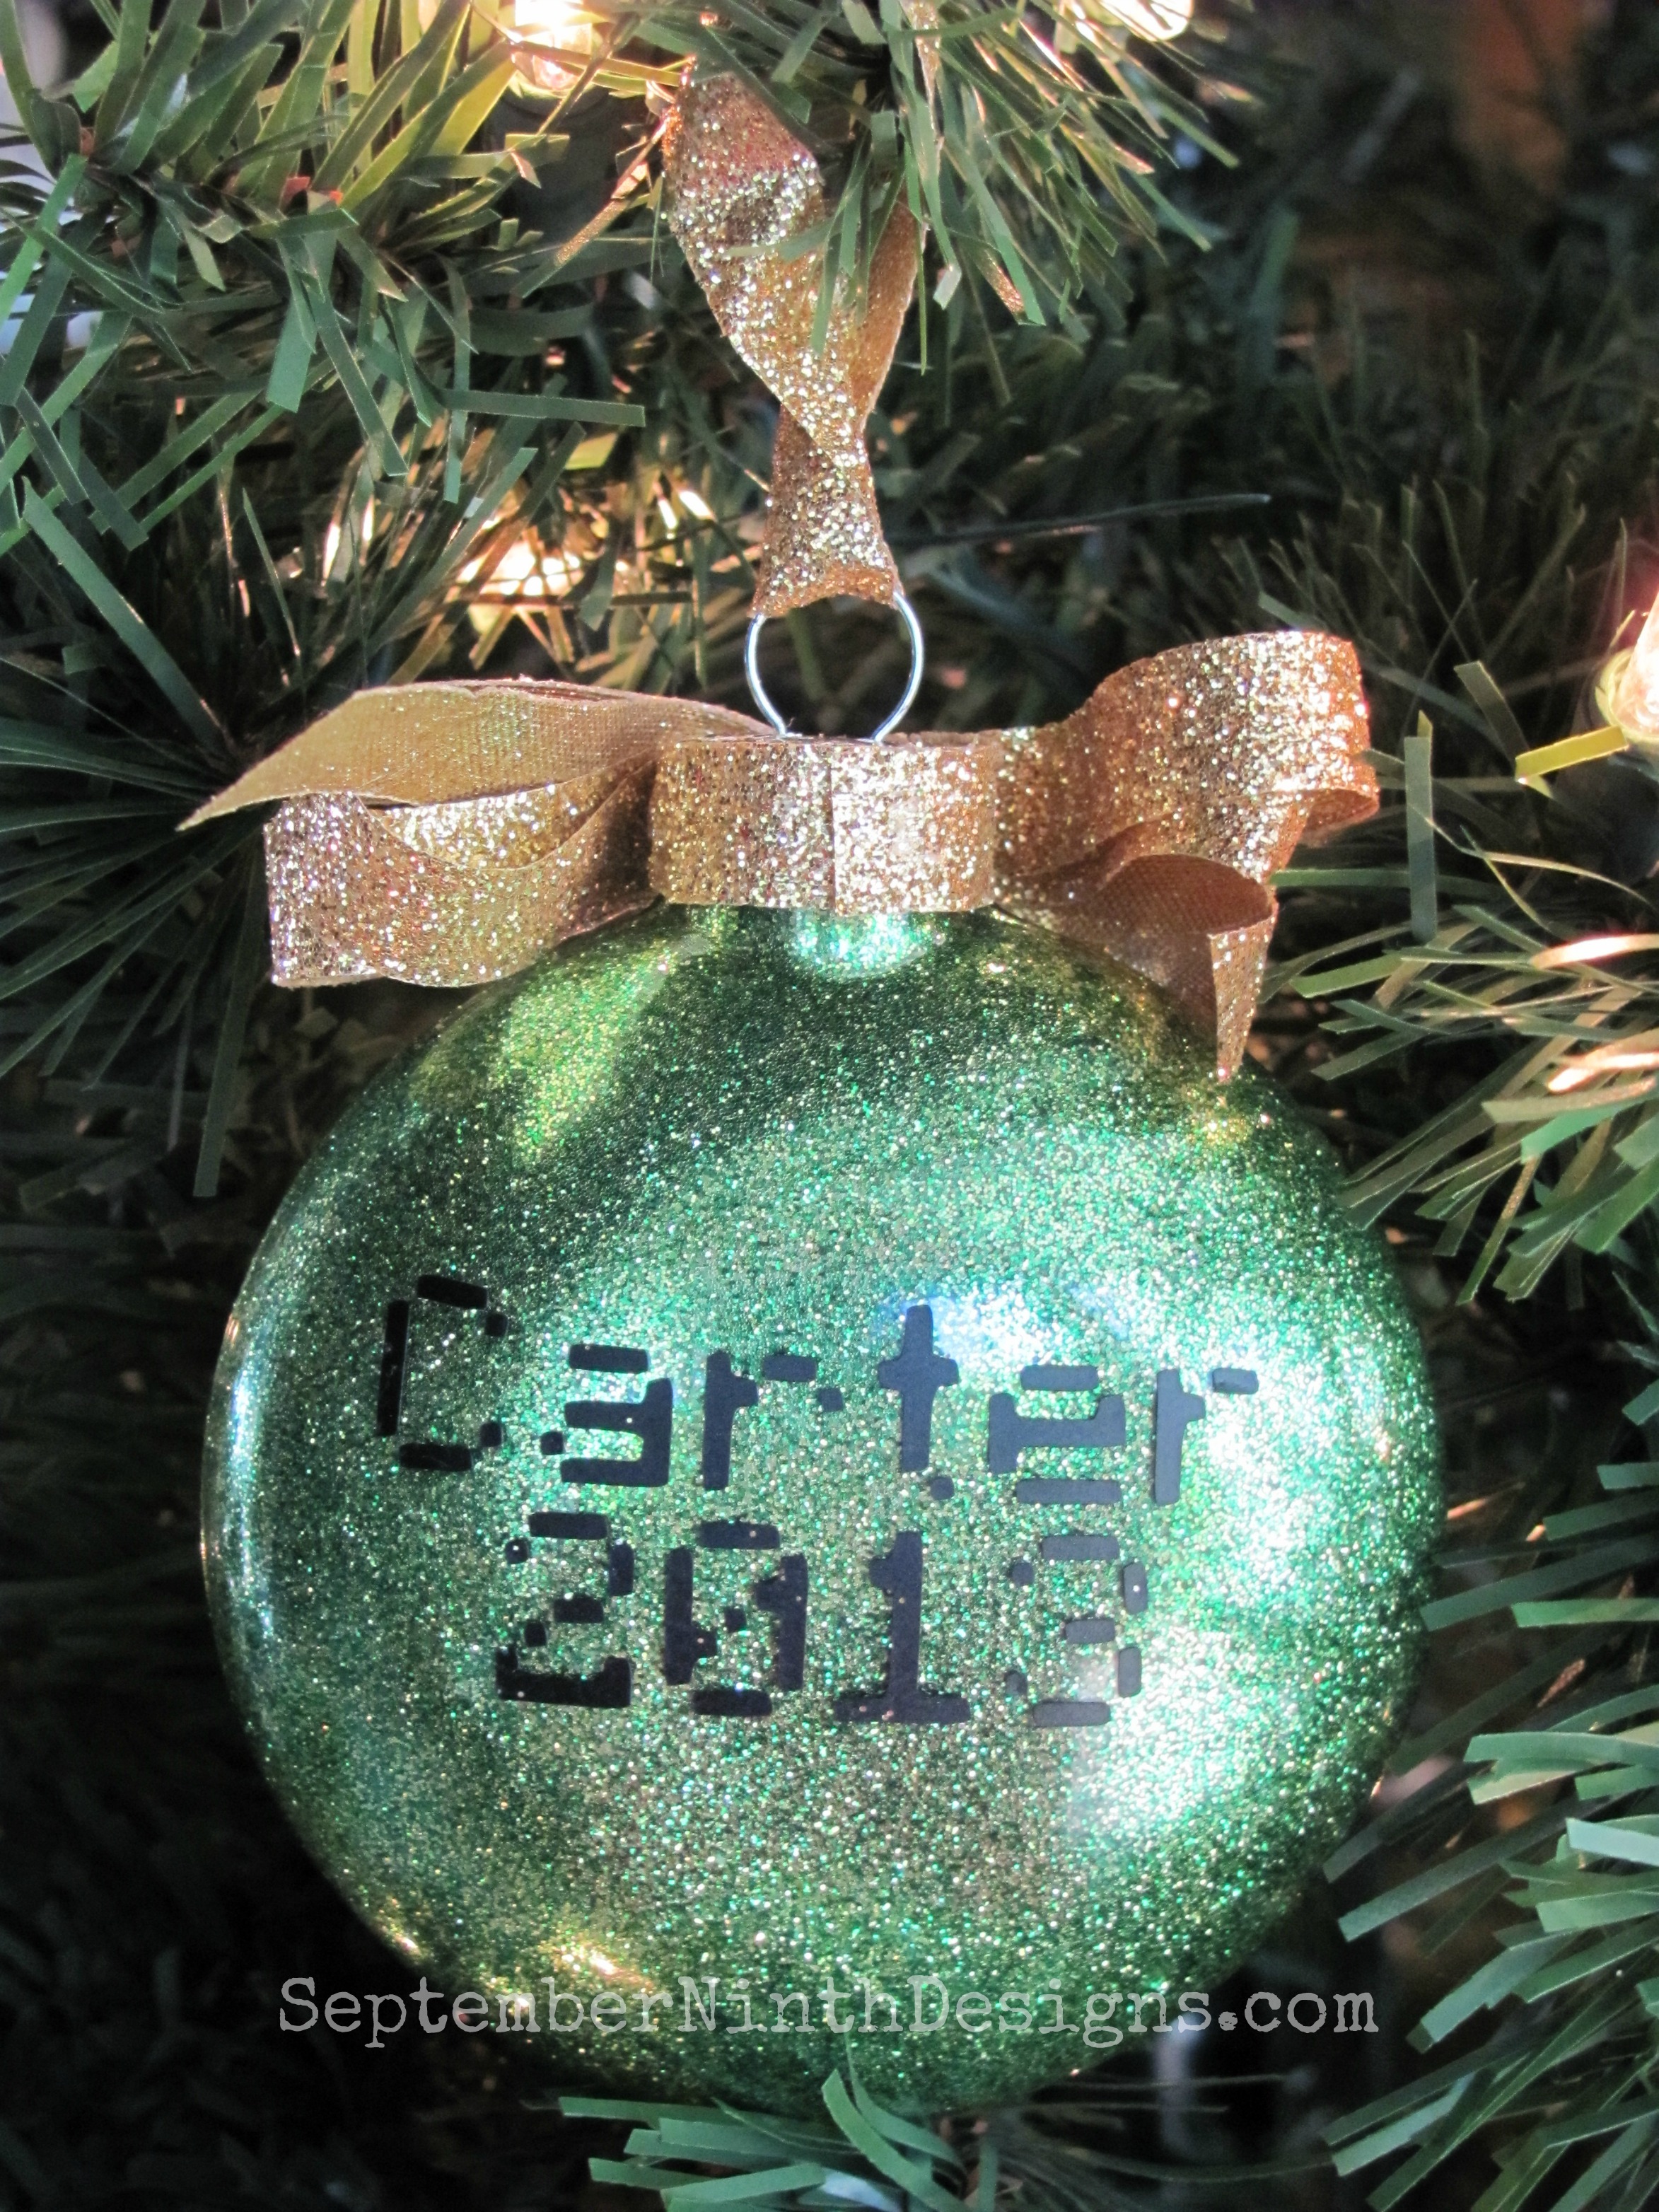
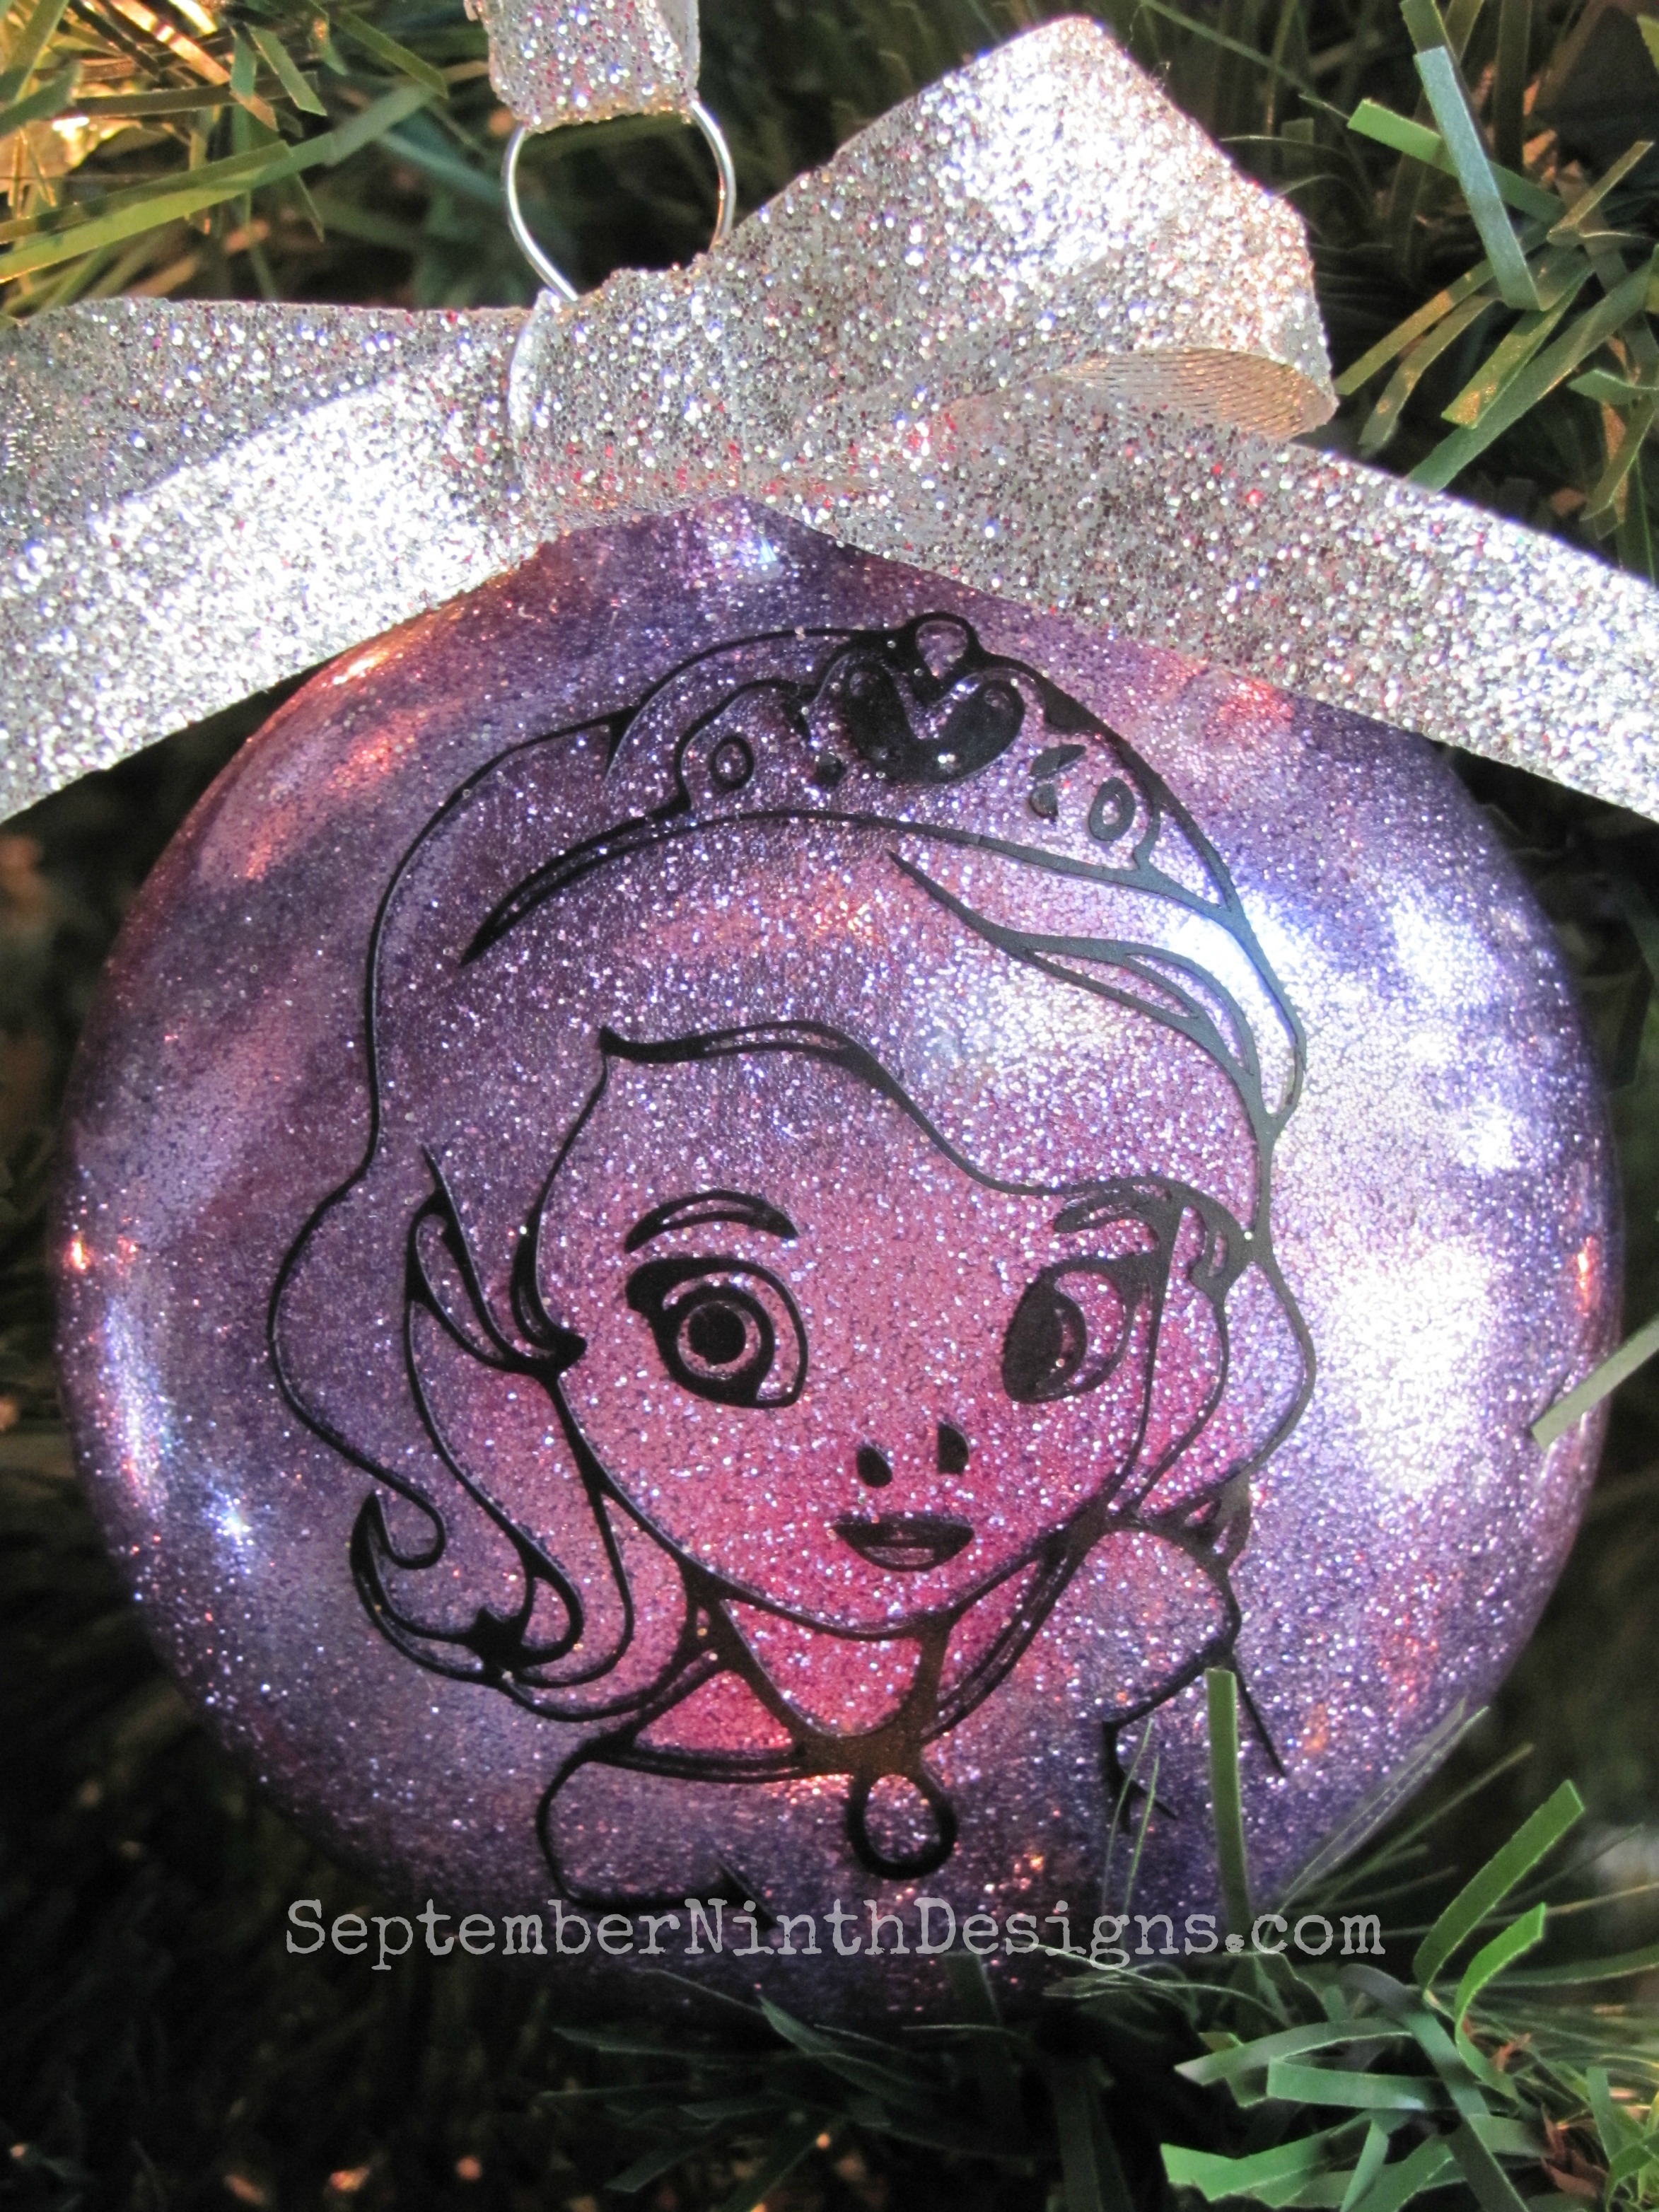
I bought the glass  ornaments at Michael's, they are on sale right now. Then I did the glitter technique. Michelle has a great video showing how it's done, here. Once I got my ornament glittered, I applied my Sofia. I found a free coloring page online, of Sofia, and converted/traced it in MTC, so that I could cut it  out of vinyl. I sized her at 2 1/2" tall.
3-3
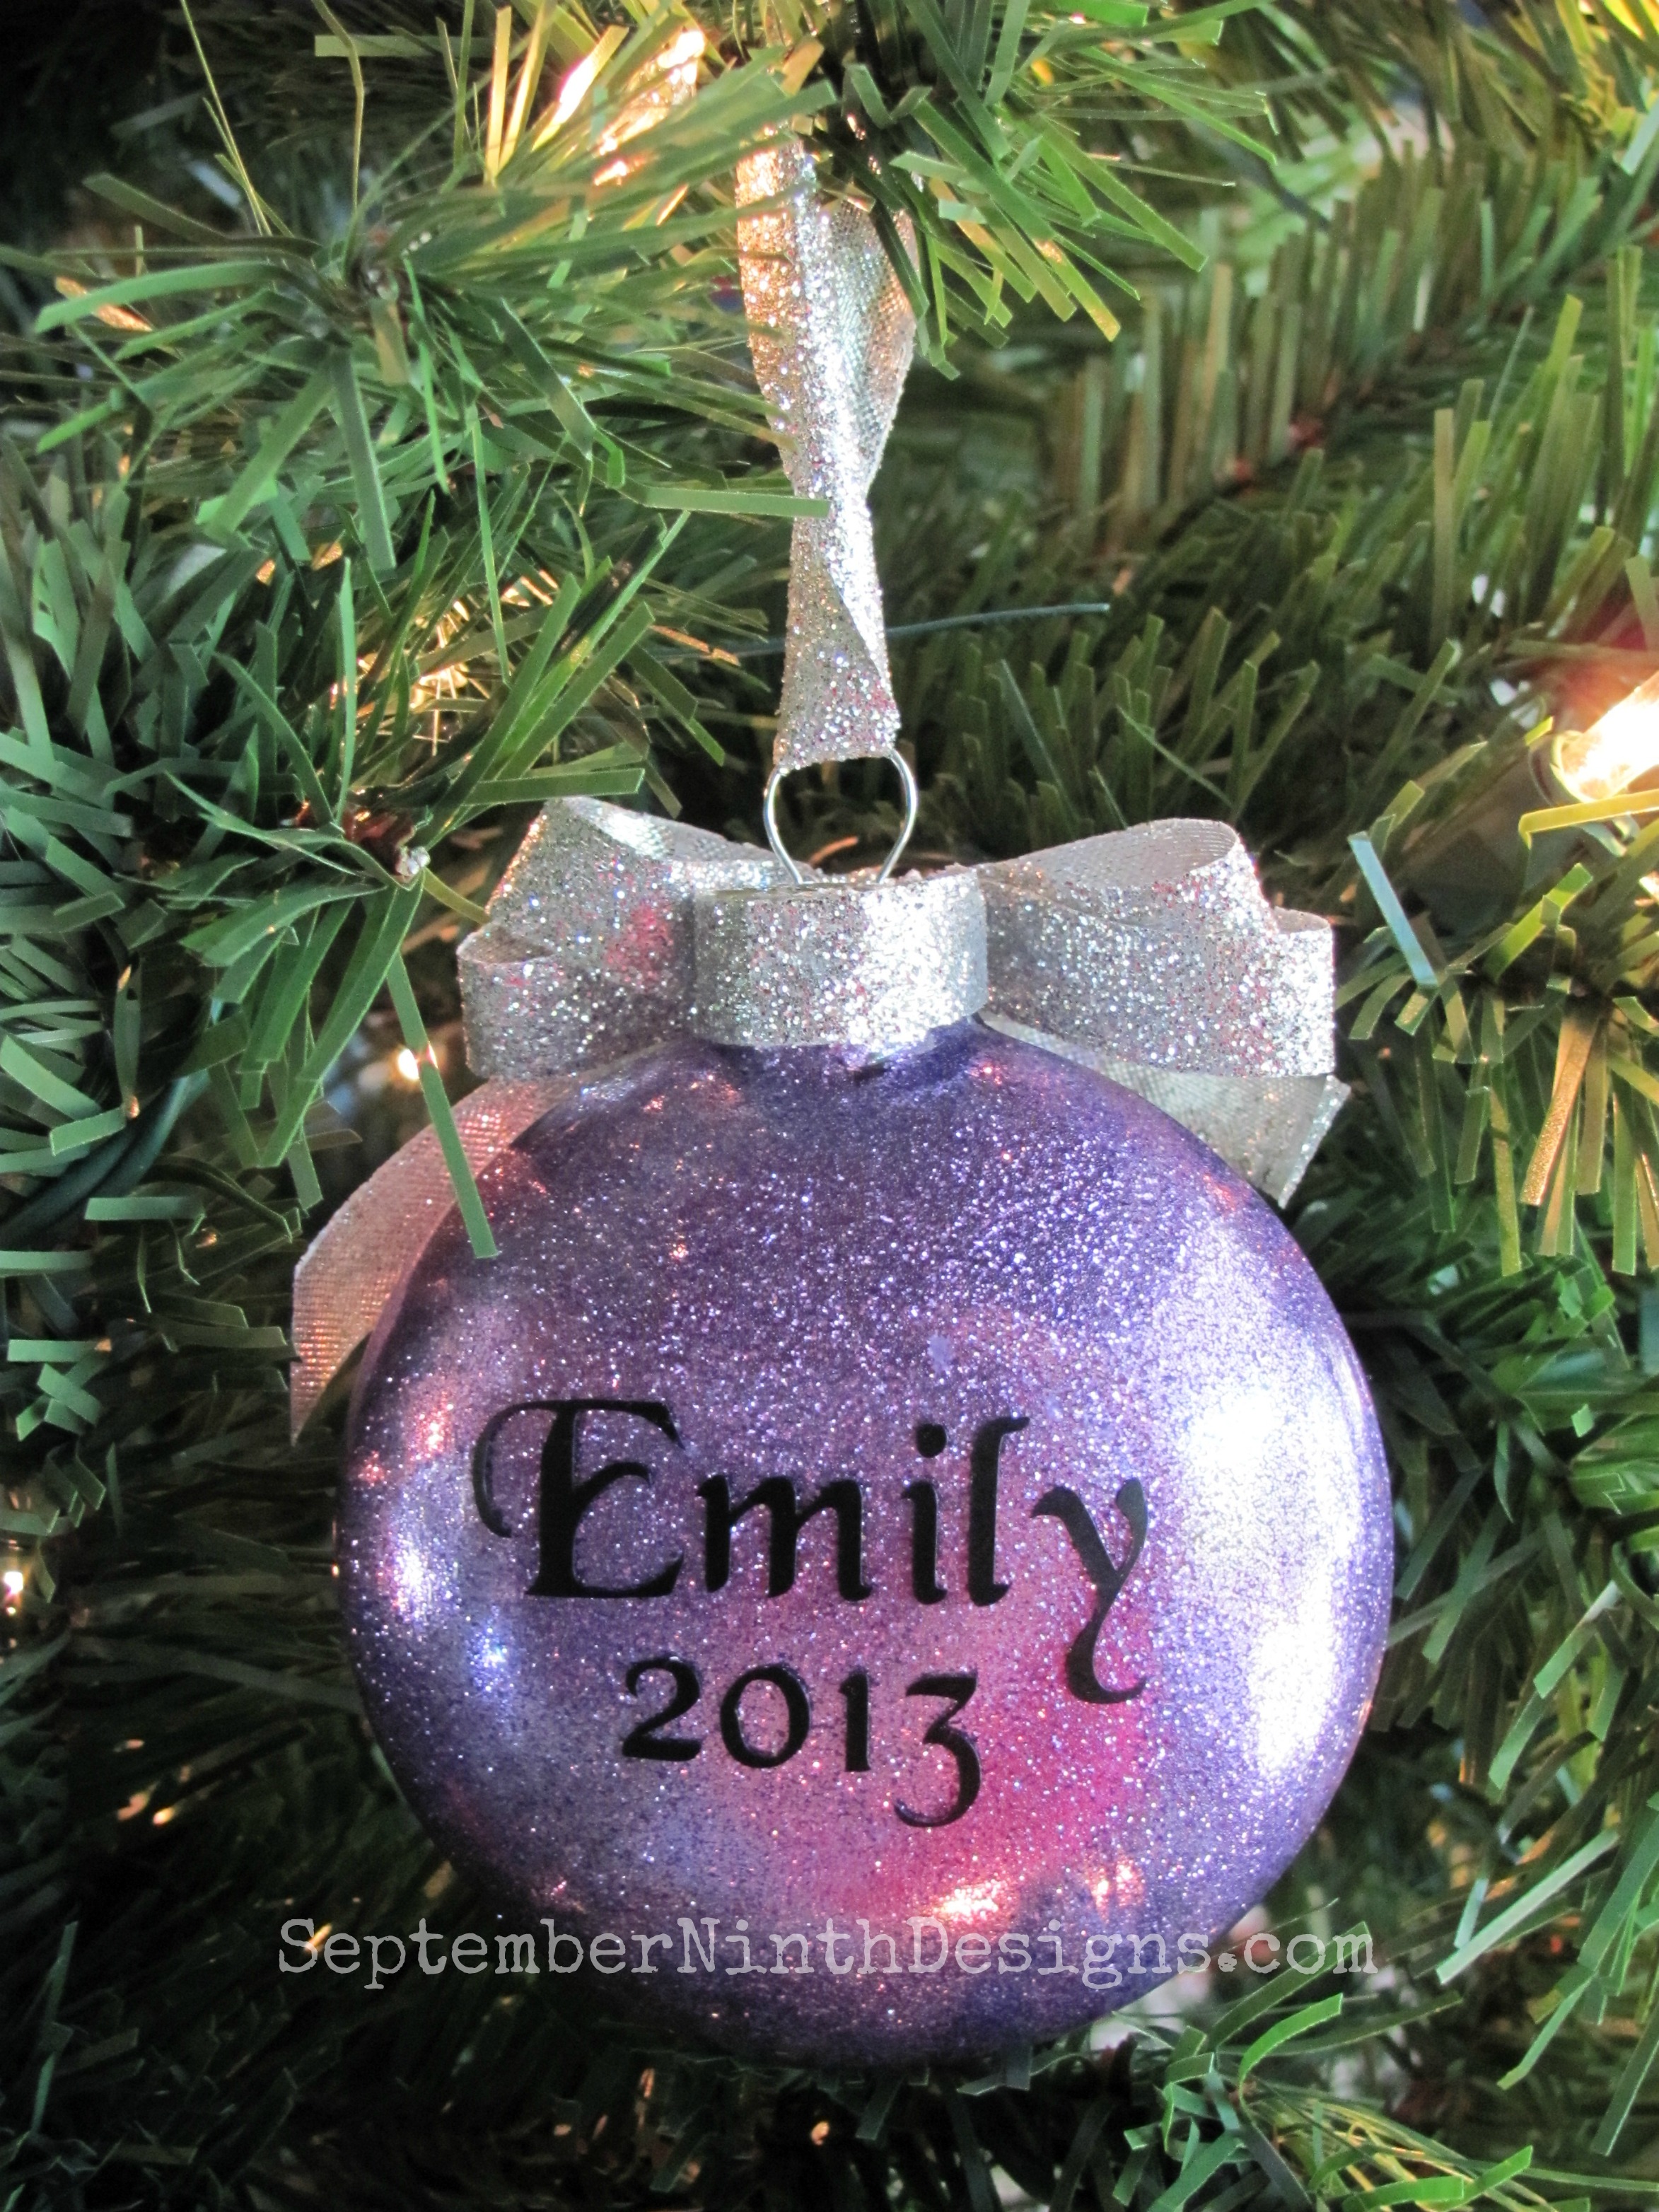
I found the "Sofia the First" font online for free, so I downloaded it and cut Emily's name and the date in that. It's sized at 2"wide x 1 1/4" tall, her name is a bit bigger then the date.

I found the glitter ribbon on sale at Michael's.
11-11
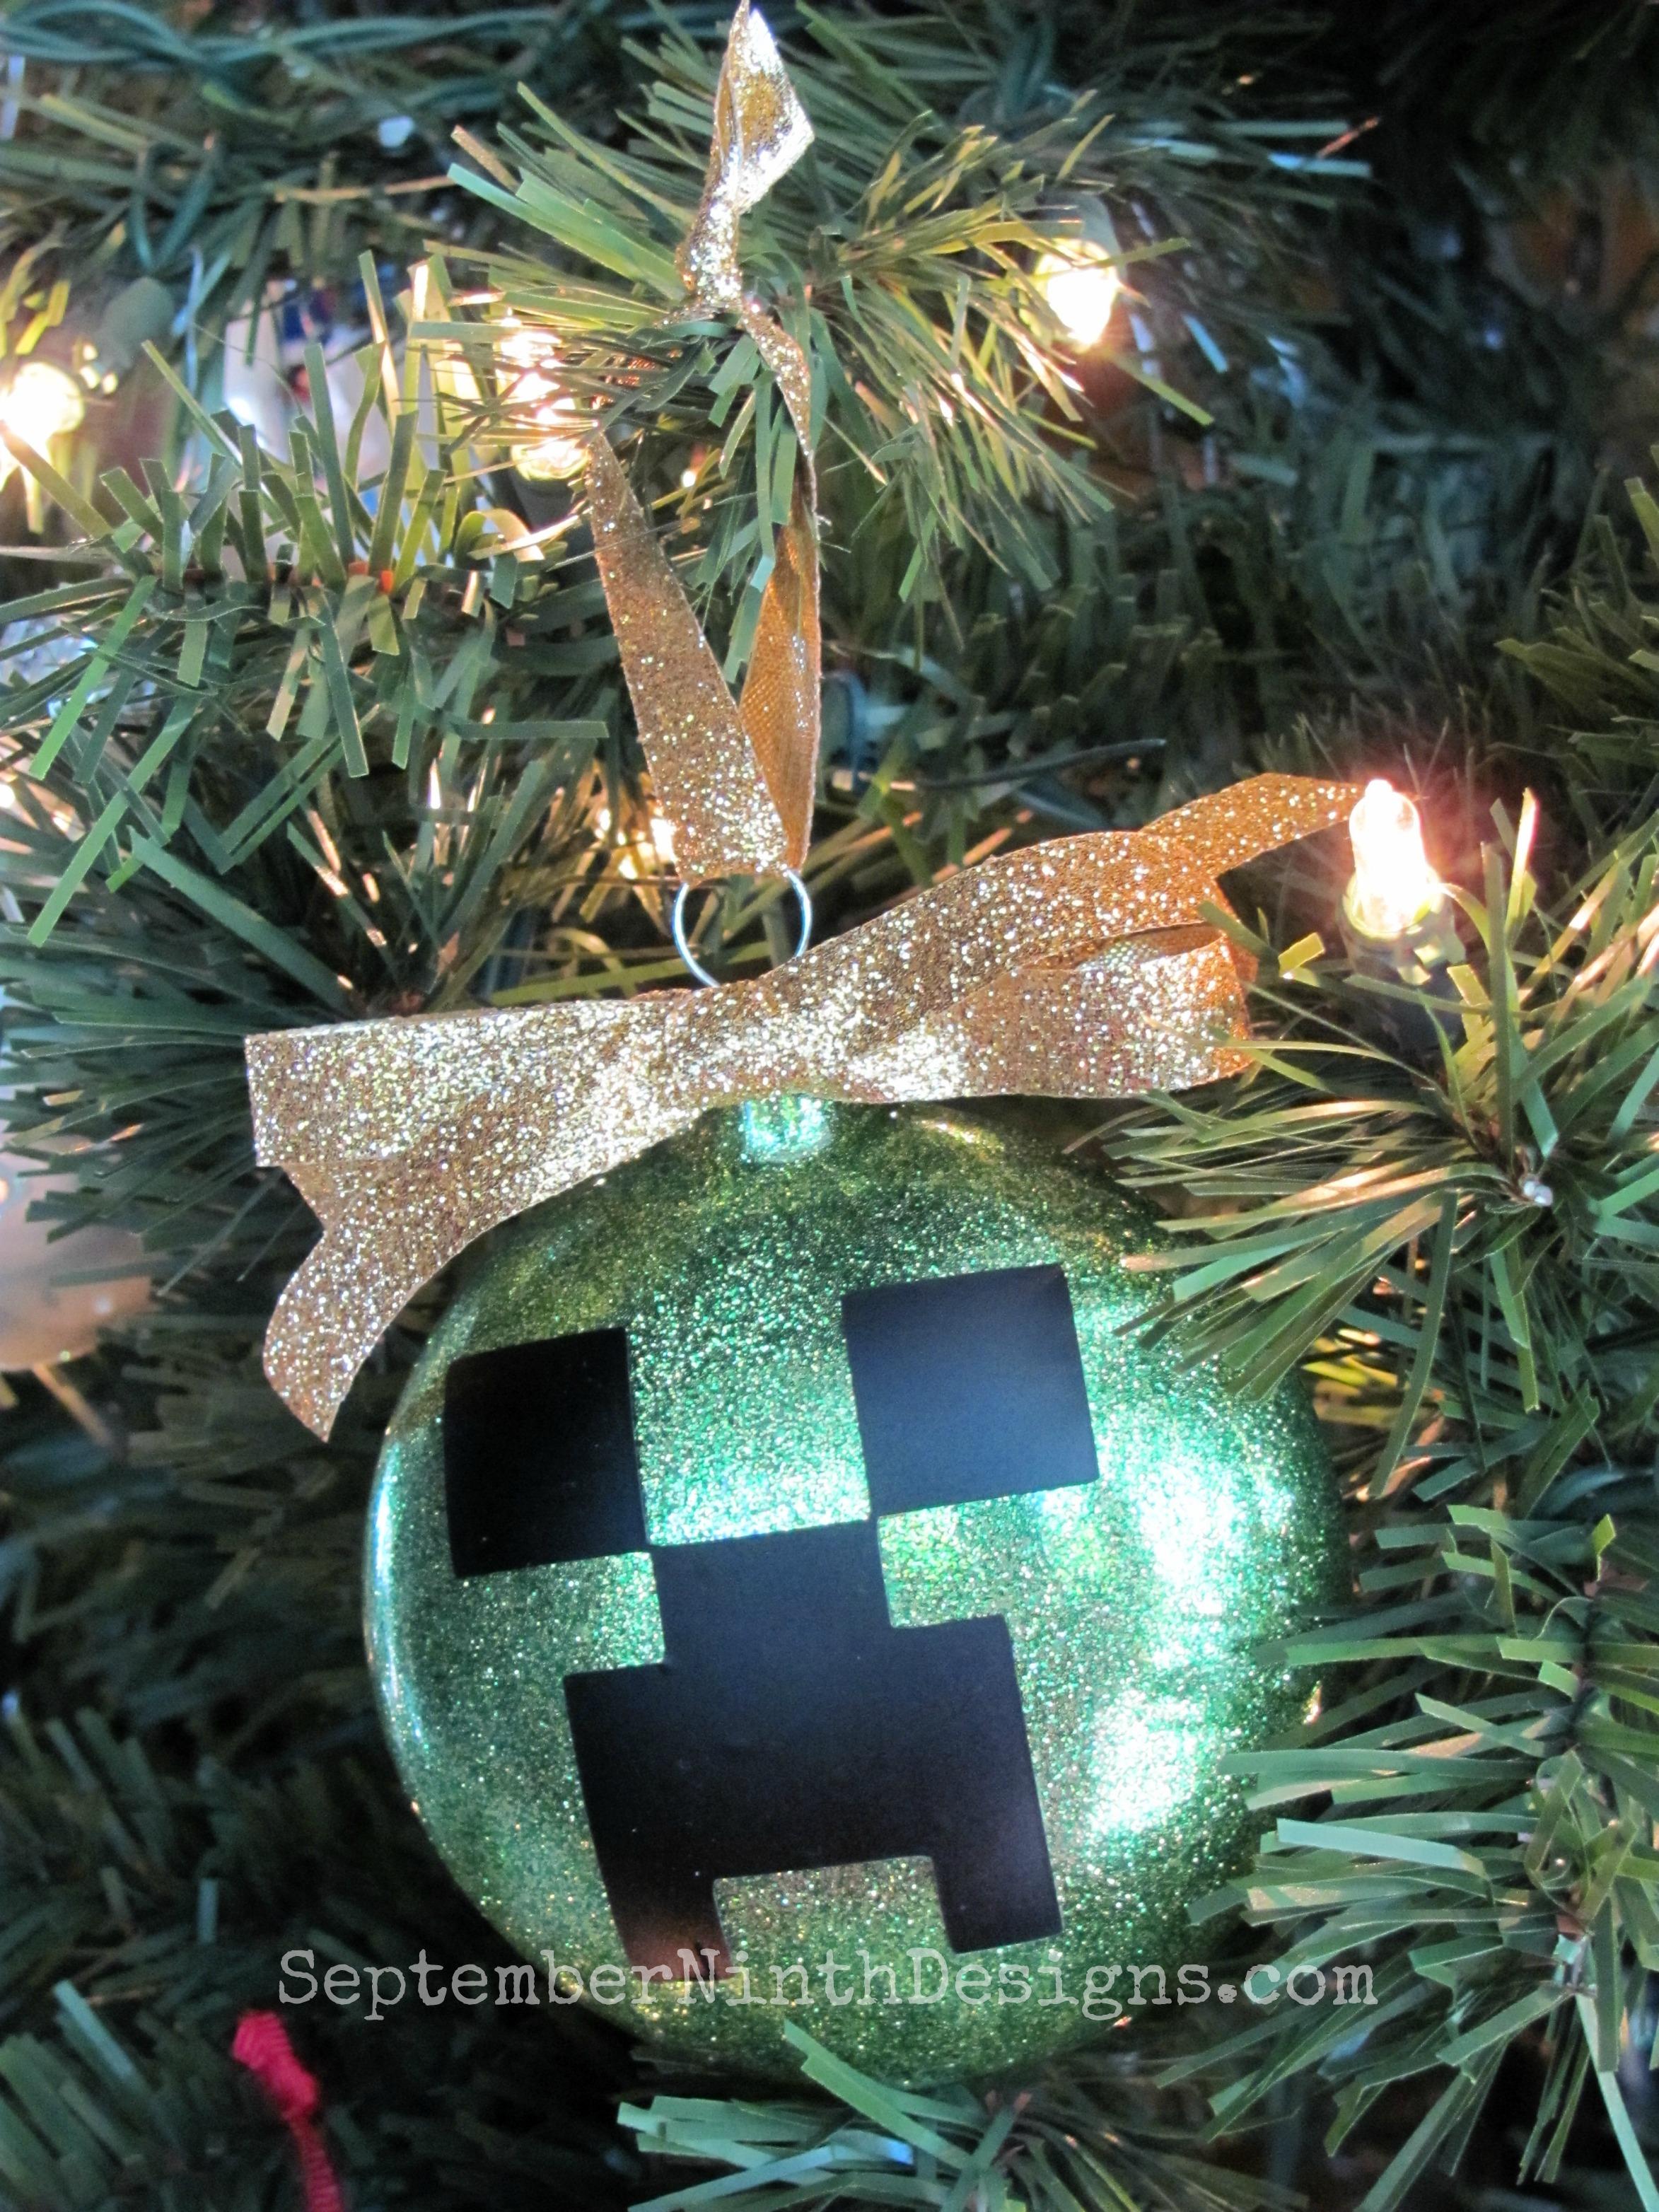
Emily's brother is a fan on Minecraft, so I looked online and found this image. It was easily traced in MTC, sized at 2" tall and cut out of black vinyl.
12-12
I googled for a Minecraft font as well. I found this one... I am not 100% in love with it, but it works. I actually found a better one, the next day. I have the link to it below.
2-2
Ornaments: Michael's
Glitter: Martha Stewart, Michael's
Glitter Ribbon: Michael's
Mop and Glo: Target
Black Vinyl: My Vinyl Direct
Sofia file: Freebie
Sofia Font: Found here
Minecraft cut file: Freebie
Minecraft Font: Found here

I share a few more ornaments tomorrow!
I hope you have a wonderful day!
November 18, 2013

Totally Treats Tuesday!

Happy Tuesday!!!

Today is Totally Treats Tuesday over on the My Creative Time blog and I thought I would share a treat that I made for my bestie to give to her hubby for turkey day. :)

I found these metal bucket's in the $1 Spot in Target a couple months ago and grabbed one of each color. I wasn't totally sure what I wanted to do with them, but hey, they were only a $1 and they were the perfect size for a small gift.
1-1
I made a silly turkey face (in MTC), cut him out in vinyl, and applied him to the front of the bucket. Then I filled the bucket with Chex Mix and tied it closed with some twine. I made the tag with a few of MCT's dies and the newest Teeny Tag Holidays stamp set.
2-2
Paper:
Twine: Timeless Twine
Turkey Face svg: My Design (Click here for file.)
Chex Mix: Target
My Creative Time Products:
Teeny Tags Layering Dies
Piles Of Smiles
Metal Adaptor Plate
Stitched Round Tab, Arrow & Tag Dies
Teeny Tag Holidays

To see more Totally Treats Tuesday ispiration, click here. 

See you back here tomorrow with the 1st day of sneaks for My Creative Time's November releases! Eeep!
1463963_10202467186578148_1229908268_a
I hope you have a wonderful day!
September 06, 2012

New Designer's Challenge at My Creative Time!

Happy Thursday!

Today is the start of an all new challenge on the My Creative Time blog. Every other week, one of the MCT designers will be choosing a new challenge.

This weeks challenge is a recycle challenge. You can make anything you want, as long as you are re-using something in the design.
I re-cycled these $1 store hurricane candle holders, into these super cute Halloween candy holders. Once the candy is gone, they can be used to hold a candle again.
 For the sentiment, I used MCT's new stamp set called Treats for My Sweet and the Scalloped and Stitched Circle die. I attached them to lollipop sticks with foam tape.
The jack-o-lantern faces are from Treasure Box Designs, Carving Out Memories file. I cut them out of black indoor vinyl at 2 1/4" tall and placed them on the front of the hurricane jars. The ribbon is from May Art's 3/4" Twill Ribbon with Chevron Stripes.
I designed everything in MCT and cut the vinyl out on my Silhouette Cameo.


Want to see more projects?

Click the picture to go to the MCT blog.
Head on over and check out what my fellow DT members made.

Thanks for stopping by, I hope you have a fabulous day!

August 23, 2012

Personalized Tumbler!

Happy Thursday!

Today is day four of my back-to-school, teacher's gift week. Those of you that missed Monday's post, I am dedicating this week to inexpensive and easy back-to-school gifts for teacher's.

My project today is a altered custom tumbler.
 I made these two tumblers, one for my SIL and one for the other 3rd grade teacher that she teaches with. Both tumblers were purchased at the 99 cent store. I designed the vinyl pieces in Make-the-Cut and cut them out on my Silhouette. The vinyl I used is "outdoor" vinyl, it is more durable and has a better stick to it. These will hold up to being hand washed with out any problem.

Here's the breakdown
Tumblers: 99 cent store - $1 eac
Font: LD Super Duper Cool (Free - Chose a font I already had)
SVG shapes: Lettering Delights (Free - used svg files I had previously purchased)
Vinyl: Free - in my stash

Total $1 eac.


I can't wait to make more of these, I have a ton of ideas swirling around in my head!

Thanks for stopping by, I hope you have a wonderful day!
 

August 20, 2012

Cutting Edge Magazine and Back to School Week

Happy Monday!

Have you heard about the newest magazine solely devoted to svg's and digital cutting machines? 
For more information about the magazine, click here to go to their website. 

You can also find them (and like them) on Facebook, here. Free subscriptions will be given away when they reach 50 likes, 100, 200 and so on until September 1, 2012. Head on over and see what all the fuss is all about! 

I can't wait to see the 1st issue!

Now on to today's post...

  Since August is the month that most kids find themselves going back to school, I thought it would be fun to devote a week to inexpensive and easy gifts, for the teacher, for that 1st day of school. It's always fun to have a little something to hand the teacher on the way to your desk. :) 

I realize that for most families the whole "going back to school" thing isn't cheap. Between new clothes (uniforms for some), shoes, school supplies, back packs, books, ect... usually most families aren't thinking about teacher gifts. So, I decided to challenge myself  and find things at the dollar store that I could alter with supplies that I already had on had, in my craftroom. All of the projects/gifts that I will be showing you this week will cost under $5, most even less then that.

Ready to get started?

My project today is a pencil holder with a custom vinyl decal.
I found the glass vase at the 99cent store. It measures 3" x 6" tall. I use Make-the-Cut to design the custom vinyl piece. I sized it at 3 1/4", and then cut the design out of black outdoor vinyl. Once I had "weeded" all the extra vinyl off (so that the only vinyl left is the design), I applied transfer tape and then transferred the design to the front of the vase.

I filled my vase with pencils and added some ruler ribbon around the top, but how cute would this been full of school essentials? You could add pencils, pens, highlighters, and a ruler, all of these items can bet purchased at the 99cent/$1 store.
Glass vase: 99 cent store - $1
Font: Girls are Weird (free font)
Black Vinyl: Oh My Crafts (already had the vinyl in my stash)
Pencils: Wal-Mart -$2
Ribbon: Wal-Mart (Purchased last year for another project)

Total cost: $3

Everything was designed in Make-the-Cut and cut out on my Silhouette.

Thanks for stopping by, I hope you have a fabulous day!